Classroom Organization Templates
Set up the room and the routines: rosters, seating charts, attendance sheets, hall passes, name tags, rules posters and schedules.
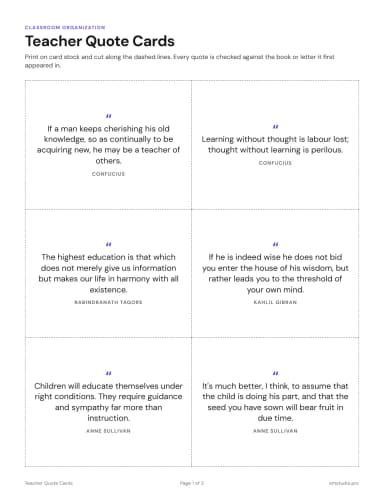
Teacher Quote Cards
PDF · Google Docs · Word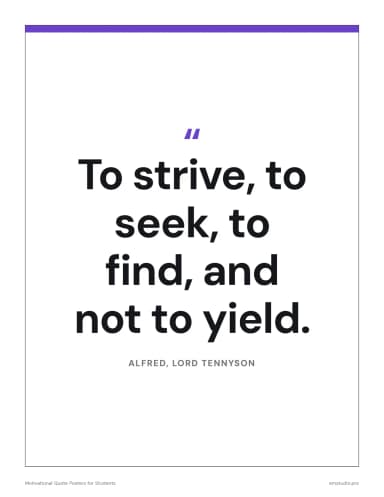
Motivational Quote Posters for Students
PDF · Google Docs · Word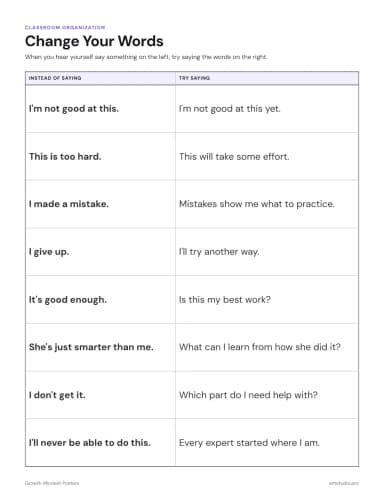
Growth Mindset Posters
PDF · Google Docs · Word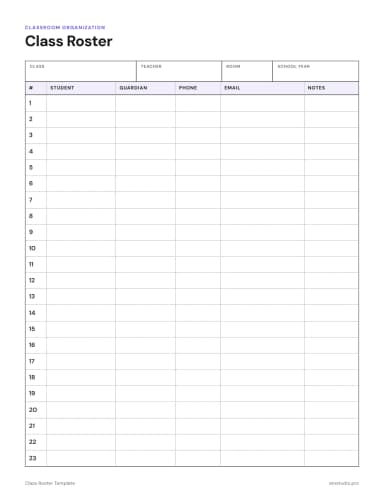
Class Roster Template
PDF · Google Docs · Word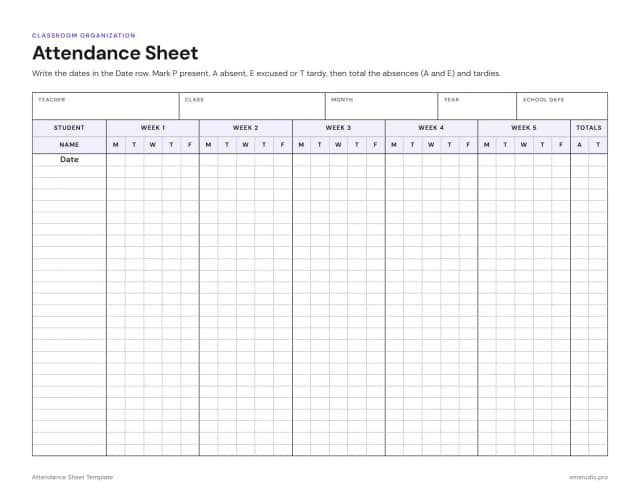
Attendance Sheet Template
PDF · Google Docs · Word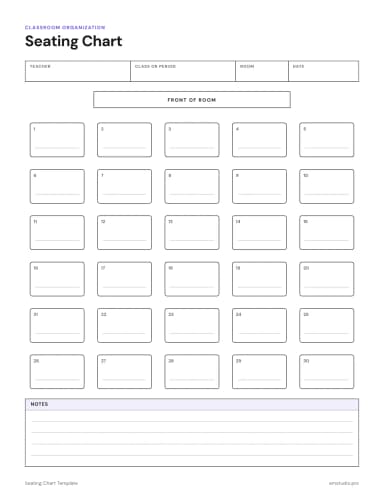
Seating Chart Template
PDF · Google Docs · Word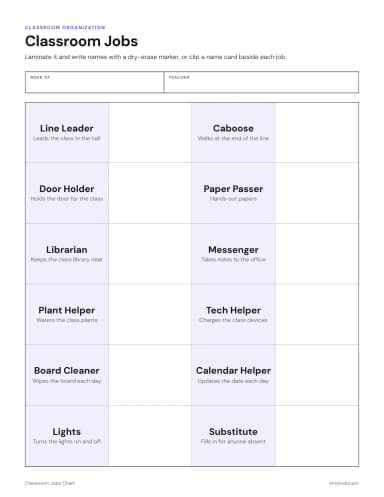
Classroom Jobs Chart
PDF · Google Docs · Word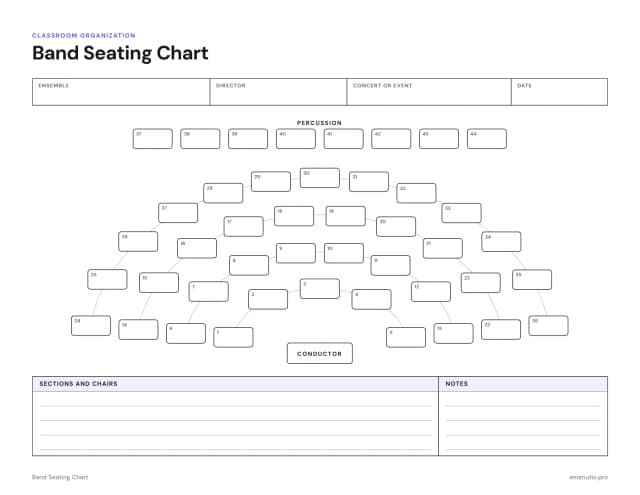
Band Seating Chart
PDF · Google Docs · Word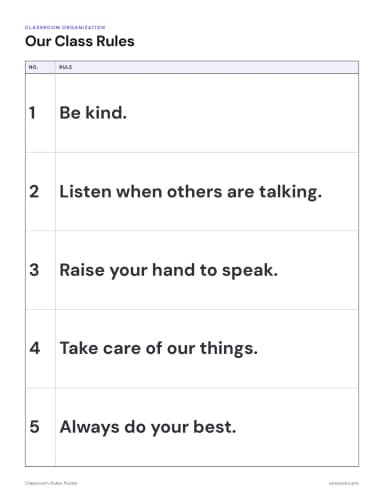
Classroom Rules Poster
PDF · Google Docs · Word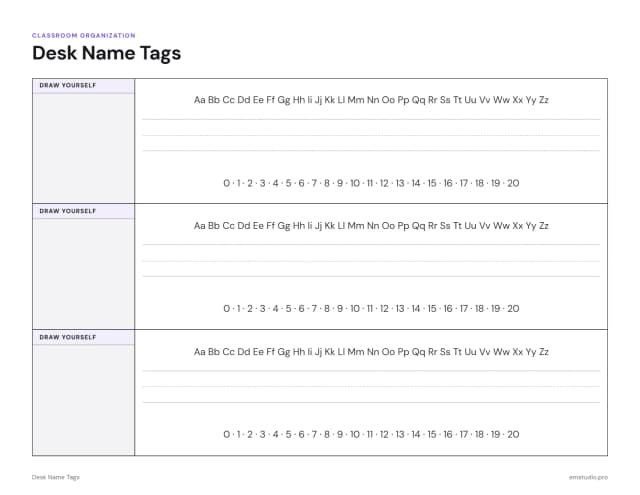
Desk Name Tags
PDF · Google Docs · Word
Classroom Quote Posters
PDF · Google Docs · Word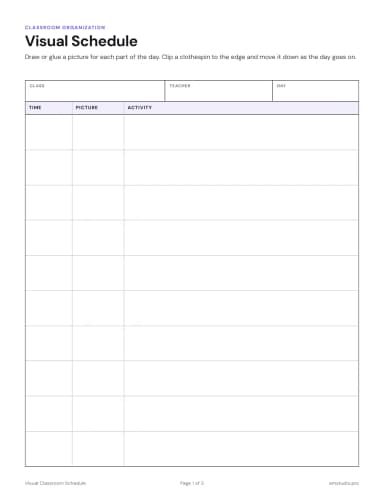
Visual Classroom Schedule
PDF · Google Docs · Word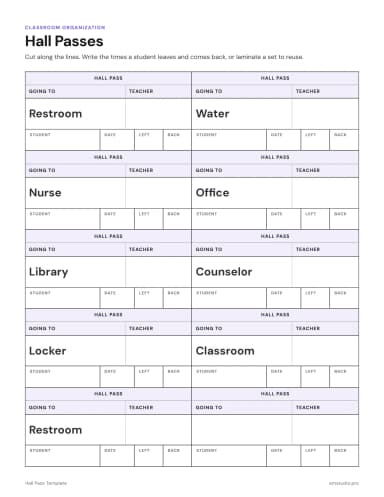
Hall Pass Template
PDF · Google Docs · Word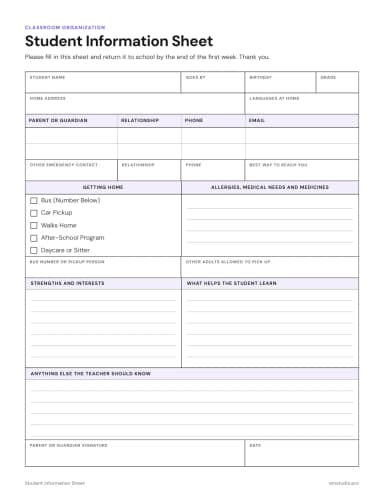
Student Information Sheet
PDF · Google Docs · Word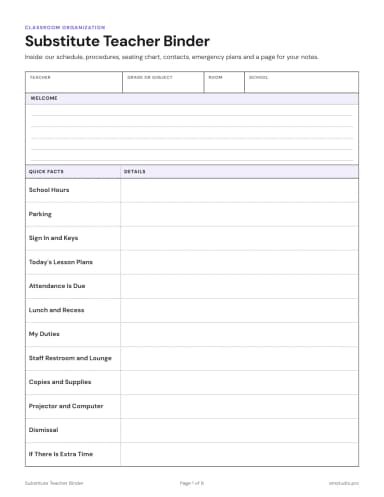
Substitute Teacher Binder
PDF · Google Docs · Word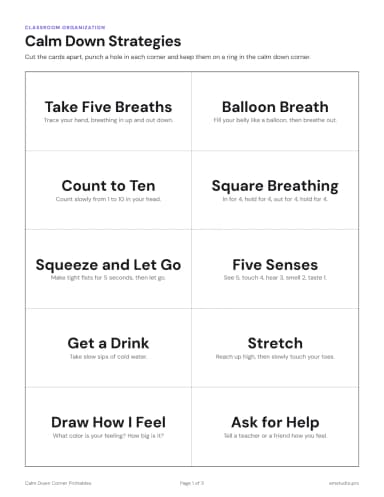
Calm Down Corner Printables
PDF · Google Docs · WordMore to Browse
Which Template Should I Use?
Pick by when you need it: before the first day, every day, or only now and then.
| Template | Use It For | When You Need It |
|---|---|---|
| Class Roster | Every student's name in one list, for checking off forms and work | Before the first day, then all year |
| Student Information Sheet | Contact details, health notes and what families want you to know | The first week |
| Attendance Sheet | Marking who is present, absent or late | Every day |
| Seating Chart | Planning where each student sits | Before the first day and after each change |
| Band Seating Chart | Seating an ensemble by section | Before rehearsals and concerts |
| Desk Name Tags | Learning names and labeling desks | The first day |
| Classroom Rules Poster | Posting the few rules you teach in the first week | The first week, then all year |
| Classroom Jobs Chart | Giving students jobs that keep the room running | Changed every week or two |
| Visual Classroom Schedule | Showing the order of the day in pictures for younger students | Every day |
| Hall Pass | Knowing who is out of the room | Every day |
| Substitute Teacher Binder | Everything a substitute needs to run your class | Before your first absence |
| Calm Down Corner Printables | Helping students name a feeling and choose a way to calm down | Whenever a student needs a reset |
| Growth Mindset Posters | Wall messages about effort and learning from mistakes | Before the first day |
How to Set Up Your Classroom Before Day One
Six steps, in the order that saves the most time in the first week.
Start with the Roster
Print the class roster and student information sheets. Names, allergies and contacts come before anything else.
Plan the Seating
Draw a seating chart that lets you reach every desk quickly, with students who need support near where you teach.
Write Three to Five Rules
Keep rules short, few and stated as what to do. Post them, then teach and practice each one in the first week.
Plan Your Procedures
Decide how students enter, turn in work, ask for help and leave. Teach each routine the way you teach a lesson.
Post the Schedule and Jobs
Hang the daily schedule and a jobs chart, so students know what comes next and who does what.
Get Ready for a Substitute
Build the sub binder now, while there is time: schedule, roster, seating chart, routines and emergency plans.
Procedures to Teach in the First Week
Procedures are how things get done. Teach each one, practice it, and practice again after every long break.
- Entering the RoomWhere bags go, what to start on and how loud the room should be.
- Getting AttentionOne signal, like a raised hand or a chime, that means stop and listen.
- Turning In WorkOne tray or folder per class, with a name on every paper.
- Asking for HelpWhat to try first, and how to ask without stopping the lesson.
- Leaving the RoomWhen students may go, how they sign out and where the hall pass lives.
- Finishing EarlyA short list of work to choose from, so early finishers never wait.
- Working in GroupsHow groups form, who does which job and how loud is too loud.
- Packing UpWho cleans what, how chairs are left and when students may line up.
Turning Rules into Actions Students Can See
A broad rule only works when students know what it looks like. Pair each one with an action you can point to.