Lesson Plan Parts: A Complete Guide to Every Core Element

Jump to section
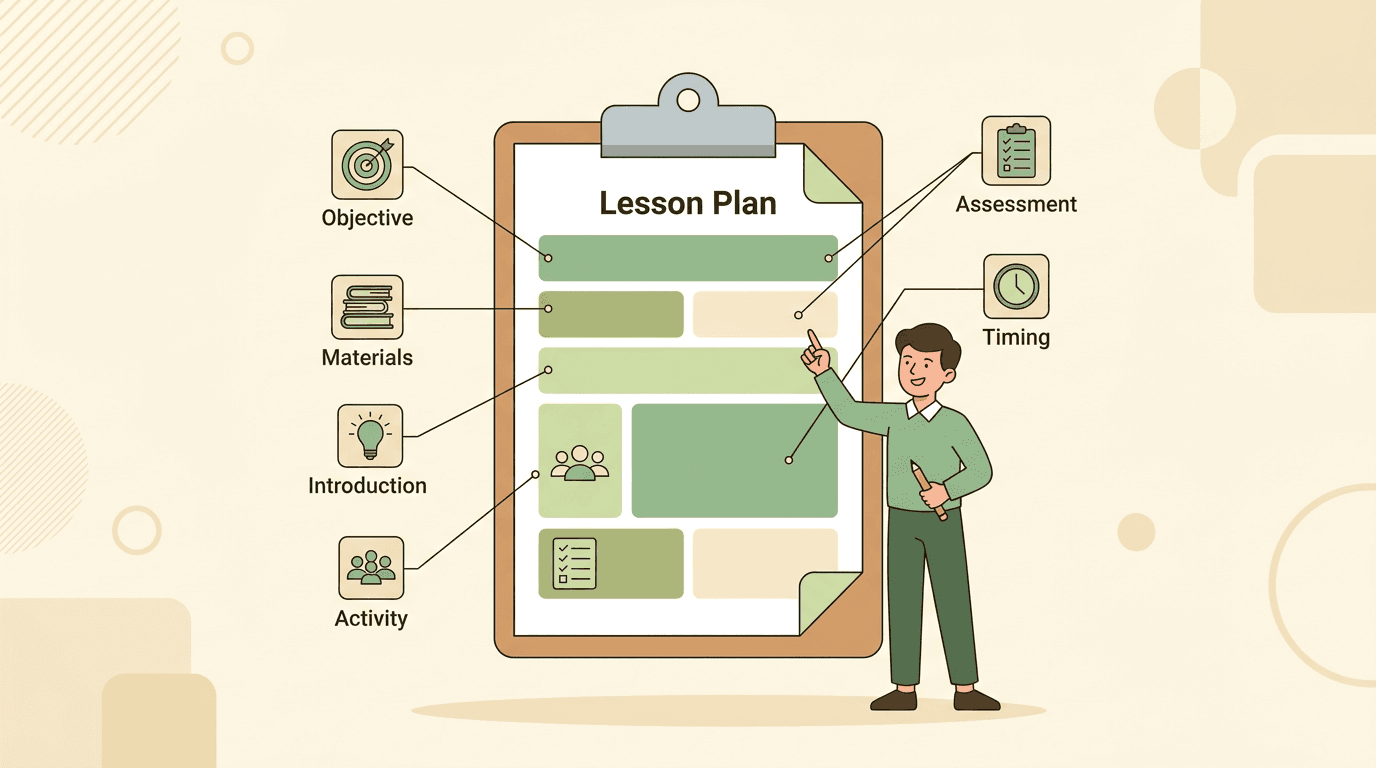
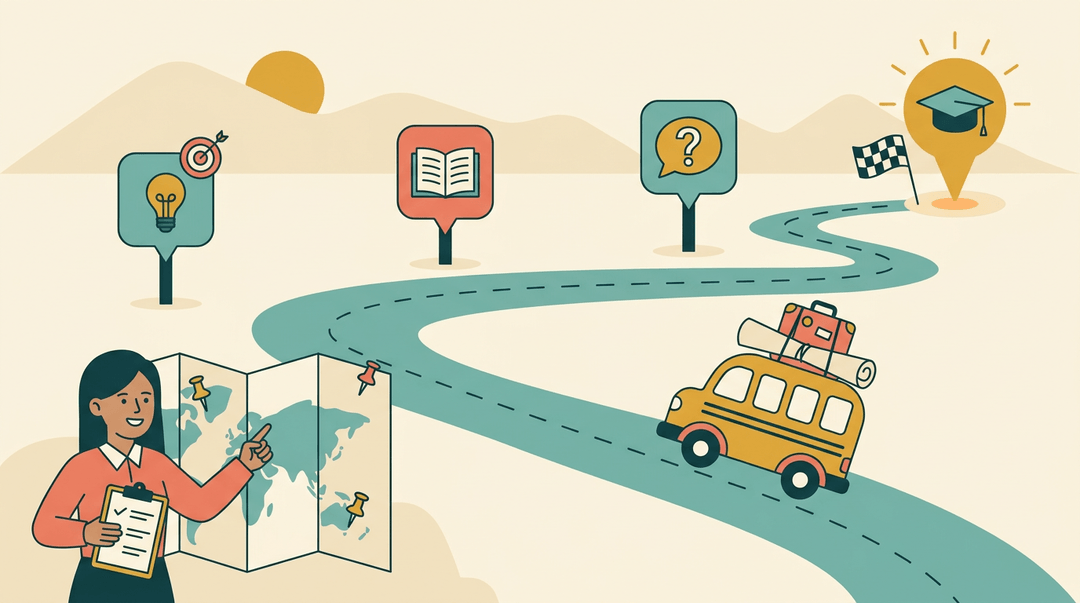
Think about planning a road trip. You wouldn't hit the highway without knowing your destination, packing the right gear, and mapping a few stops along the way. A lesson plan does the same job for your classroom.
It's a written roadmap that shows where your students are headed, how you'll get them there, and how you'll know they arrived.
In this post, we'll walk through every core part of a lesson plan, from objectives to checking for understanding, plus a practical checklist and grade-band examples you can use this week.
Objectives and Standards, Core Lesson Plan Parts
Every strong lesson starts with a destination. Objectives name where students are headed, and standards show what the school expects them to reach.
How to write measurable learning objectives
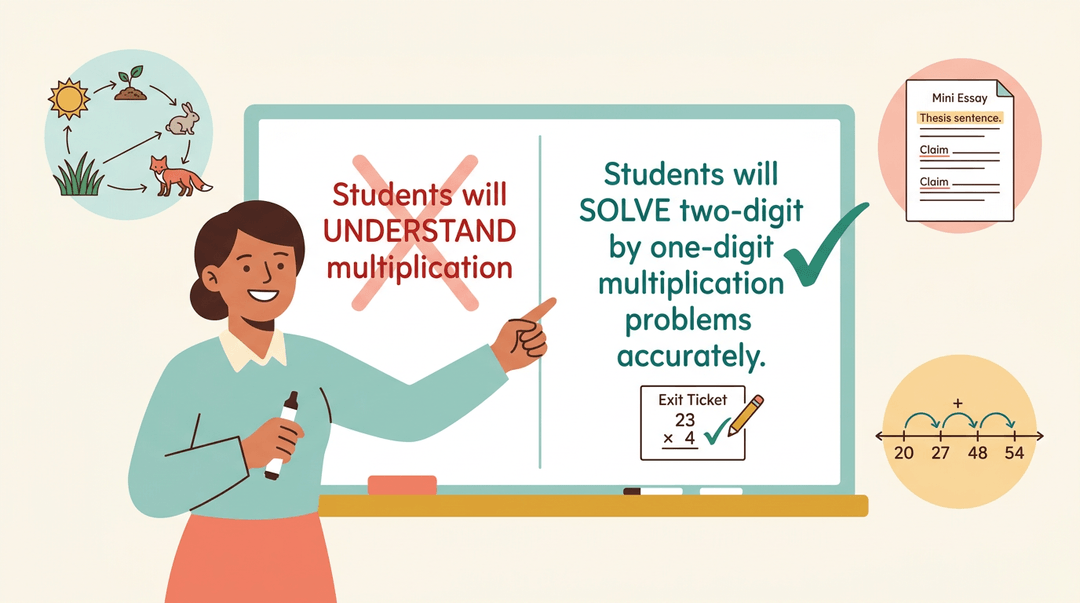
Picture a fourth-grade teacher planning multiplication. Instead of "Students will understand multiplication," she writes, "Students will solve two-digit by one-digit multiplication problems accurately."
That's measurable: you can see it and check it on an exit ticket.
Strong objectives focus on the concept or skill and describe what learners will do, not what you'll cover. Try a clarity test: could a substitute read it and know what success looks like?
- Science (grade 7): Explain how a food web shows energy moving between organisms.
- English (grade 10): Identify the thesis and two supporting claims in a persuasive essay.
- Math (grade 2): Add two-digit numbers on a number line.
What is subject matter in a lesson plan?
Subject matter is the content your lesson teaches: the facts, skills, and ideas students must learn. It's the what of the lesson.
Align it with your state or district standards and your school curriculum so the lesson fits the sequence students follow all year. Many educators also check national standards for rigor. Alignment is a shortcut.
Bloom's taxonomy and DOK levels help you gauge depth. Bloom's ranks thinking from remembering to creating, while DOK (Depth of Knowledge) measures how complex the task is. If every question only asks for recall, that's your cue to raise the bar.
Know Your Students' Background and Readiness
Before you plan a single activity, you need to know where your students are starting. Here's how to check what they already know and plan for the range of learners in your room.
Checking what students already know
Every lesson builds on something. Prior knowledge is what students bring with them, and a quick check tells you whether to build on it or fill gaps first.
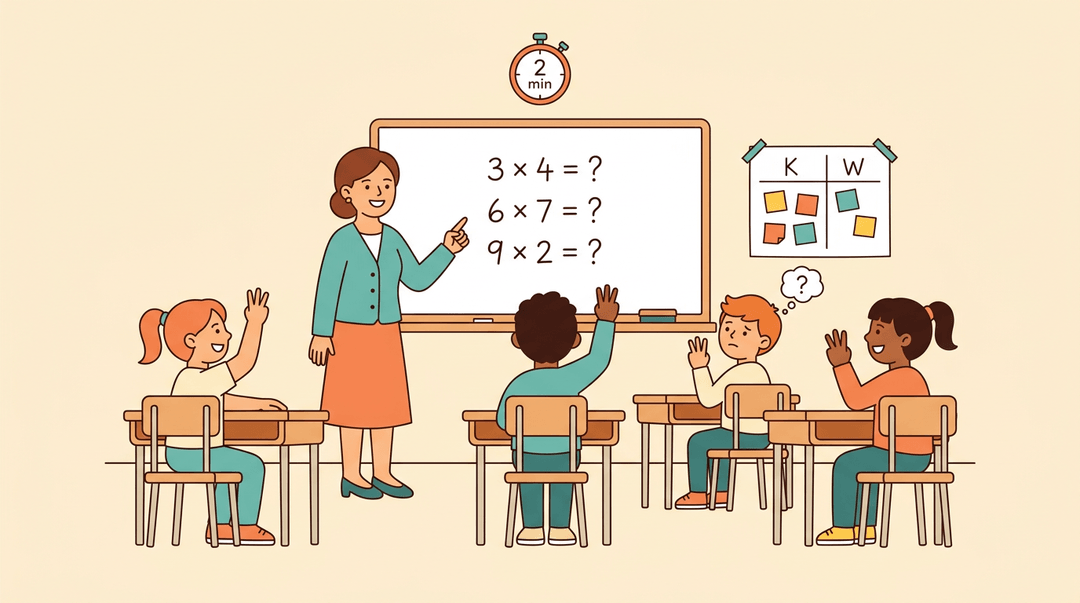
Consider a fifth-grade teacher starting a fractions unit with a three-question warm-up on whole-number multiplication. In two minutes, she knows which students are ready and which need a quick review.
Try one or more of these:
- KWL charts. Students list what they know, what they want to learn, and, at the end, what they learned. The first two columns give you a snapshot before instruction starts.
- Quiz or Q&A check. A few quick questions, a show of fingers, or an exit ticket from the last lesson reveal gaps fast.
- Anticipatory set. A short opening activity, such as a photo or a provocative question, hooks attention and surfaces what students already think about the topic.
- Activating prior learning. Connect today's content to something students already understand, like comparing a new science concept to a familiar kitchen example.
Checking first beats guessing.
Differentiating for each learner's needs
One-size-fits-all rarely fits anyone. Differentiation means adjusting content, process, or product for the learners you actually have. Think about who your students are, not just what they've covered.
- Academic level and grade info. Compare grade-level expectations with recent assessment data so you know where each group should start.
- Student interests and abilities. Use what students enjoy and do well. A student who loves soccer might tackle a word problem about team scores.
- Learning styles. Offer more than one way in, such as a diagram, a discussion, or a hands-on task, so students can show what they know.
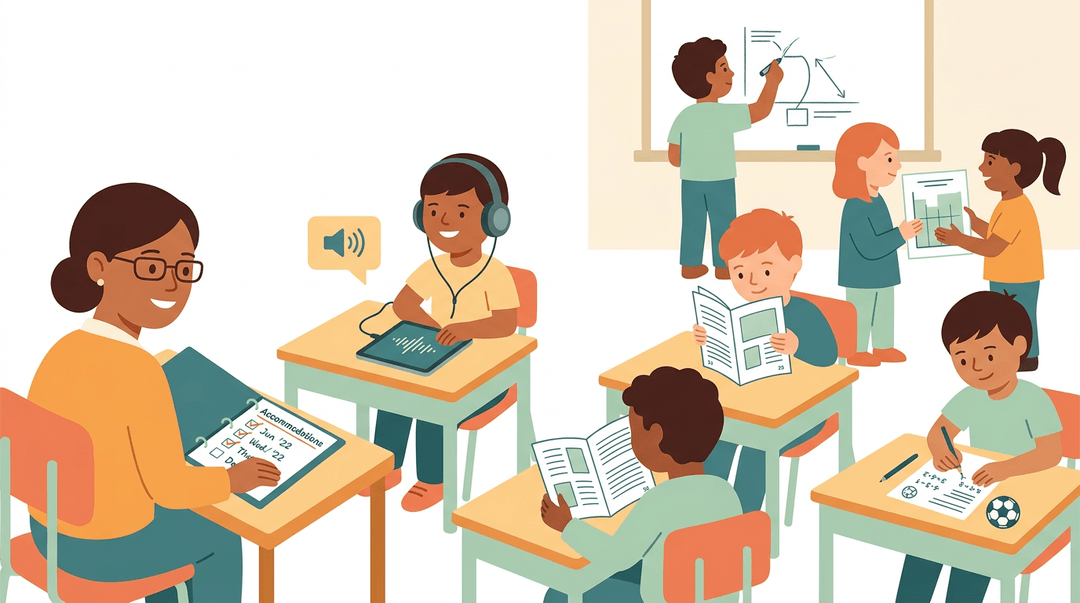
- IEP and special needs. An Individualized Education Program (IEP) is a written plan for students who receive special education services. Read it before you plan so your lesson supports the goals written there.
- IEP accommodation tips. Keep one running list of each student's accommodations, such as extended time or preferred seating. Review it at the start of each unit, and date any changes so you can show what you tried.
Consider a special education teacher who pulls a student's accommodation list before a reading lesson, swaps the printed passage for an audio version, and watches the student keep pace with the class. Plan with the list open.
Gathering Materials and Resources
Before you teach, pull together everything the lesson needs. A little planning here keeps you from scrambling for a missing handout mid-lesson.
Checklist of required materials
Use this list to see what each lesson requires:
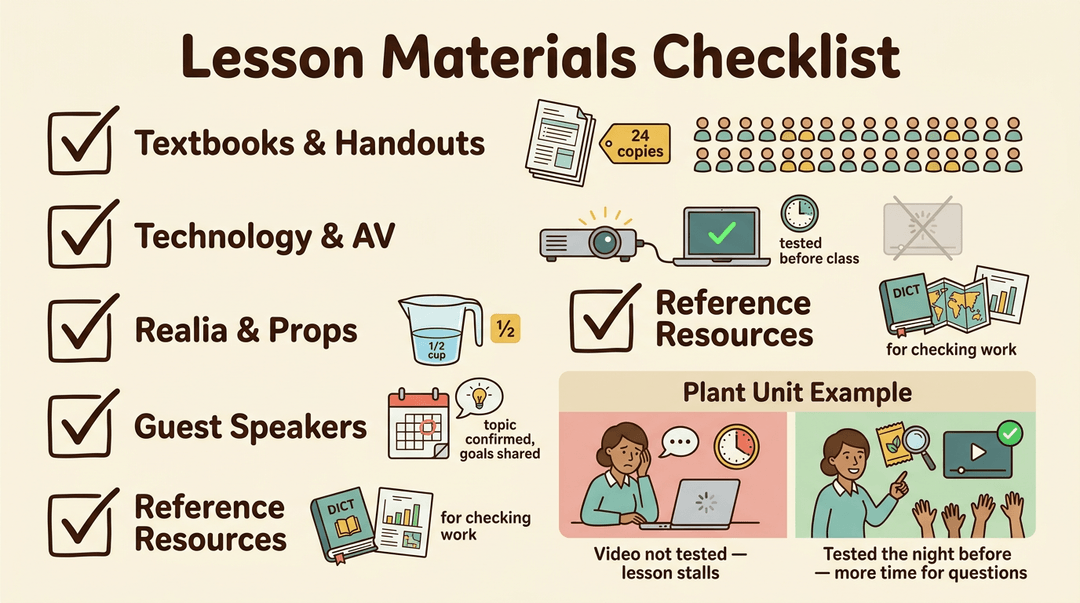
- Textbooks and handouts. Note the exact pages, worksheets, and copies you'll hand out, and check the count against your roster.
- Technology and AV aids. List any projector, document camera, audio clip, or video you'll use, and test each one before class starts, not while students wait.
- Realia and props. Gather real objects that make the idea concrete, like a measuring cup for a fractions lesson.
- Guest speakers. Confirm the date, time, and topic well ahead, and share your lesson goals so the speaker can plan with you.
- Reference resources. Pull the dictionaries, maps, charts, or class notes students will need to check their work.
Consider a fourth-grade teacher planning a unit on plants. She lists the seed packets, the magnifying glasses, and a short video, then tests the video link the night before. On the day of the lesson, nothing stalls.
She spends the saved time on questions instead of troubleshooting.
Delivering Instruction Step by Step
Once your objectives are set, delivery is where the lesson comes alive. Here's how to build each moment, from the first minute to the last.
Teaching through direct instruction
Direct instruction is your lecture or demonstration, where you model the skill before students try it. Use props and visuals (a real object, a diagram, a worked example on the board) so more students can see the idea, not just hear it.
Plan your content presentation in small chunks, and pause to check understanding before you move on.
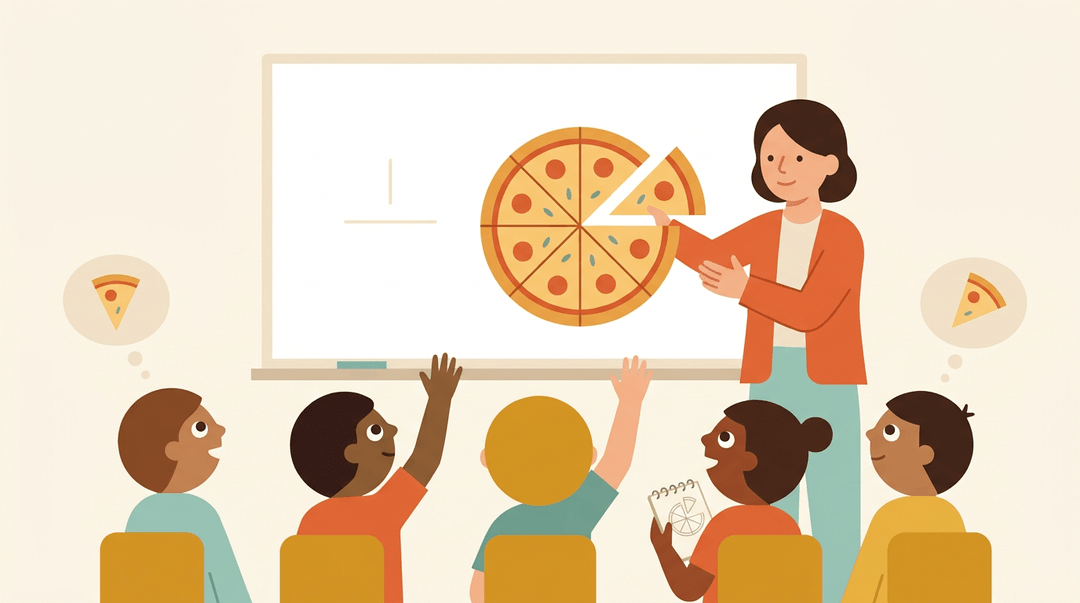
Consider a fifth-grade teacher introducing fractions with a pizza cut into eighths before she writes a single number on the board. Students see the idea first, and the symbols make sense after.
Hooking students at the start
A warm-up activity gets minds working before you say much at all. An engaging opener, like a surprising question or a quick puzzle, builds curiosity. The do-now task is a short prompt on the board that students complete as they walk in.
For example, a high school chemistry teacher posts a question about why ice floats. While students answer, she takes attendance without losing a minute of class time.
Sequencing the lesson's steps
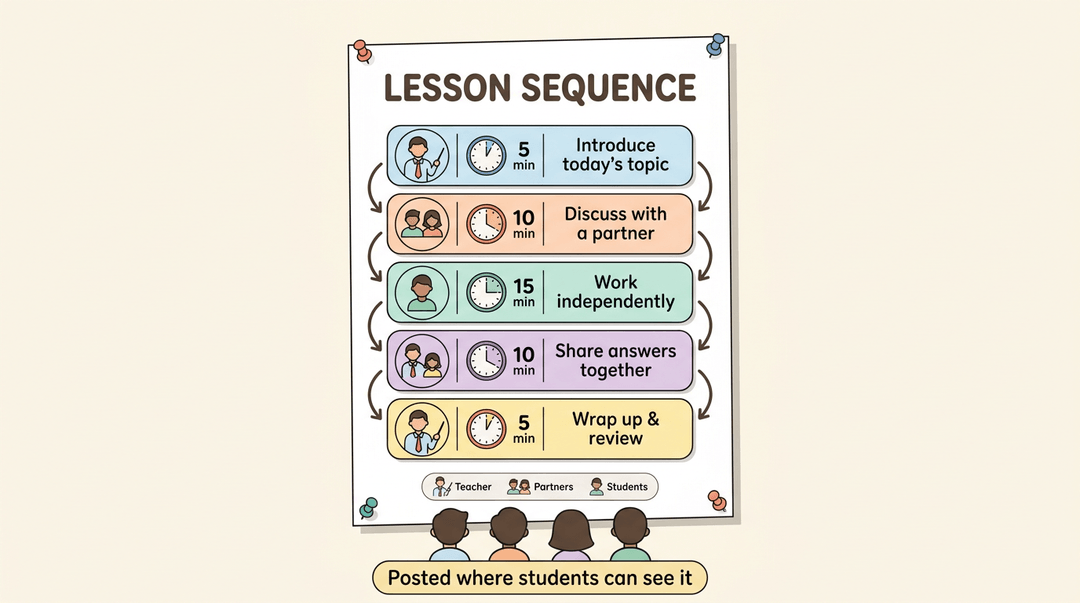
Map out who does what (you, the students, or partners), the time per activity, and a step-by-step procedure so nothing is left to chance. Then build a teaching-learning activity list that pairs each step with its task.
Post the sequence where students can see it, so they know what's coming.
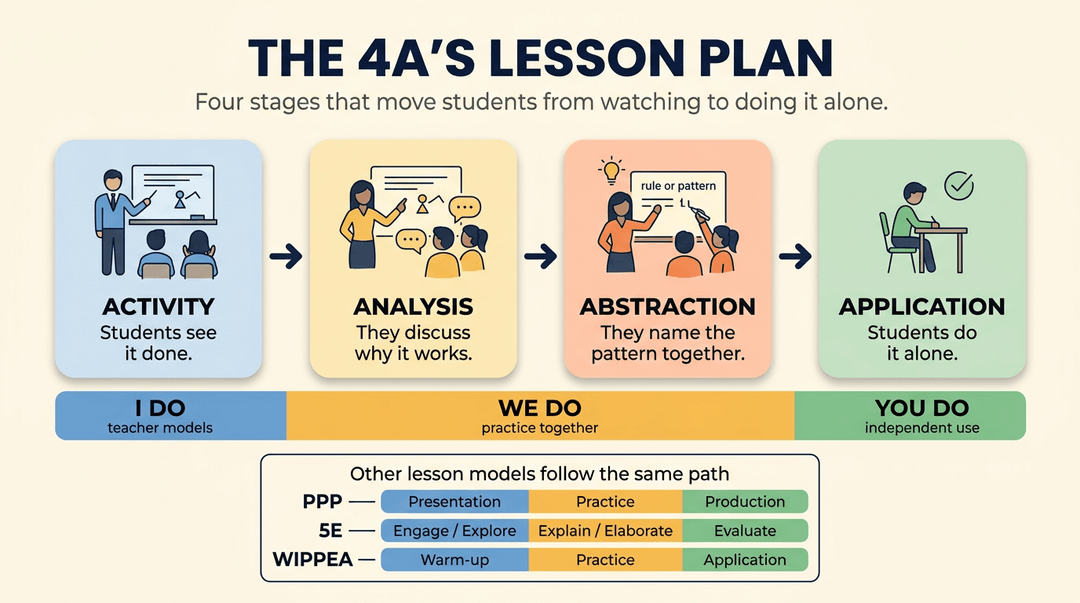
What is the 4A's lesson plan?
The 4A's lesson plan organizes a lesson into four stages that move students from exposure to independent use. It sits alongside several other models you may already know:
- PPP model: Presentation, Practice, and Production.
- Task-based language teaching (TBLT): the lesson is built around a real task students complete.
- Gagné's nine events: a sequence of instructional steps that prepares learners to take in new material.
- Madeline Hunter steps: a lesson structure that follows a set order from anticipatory set to closure.
- 5E model: Engage, Explore, Explain, Elaborate, and Evaluate.
- WIPPEA framework: a staged sequence that runs from warm-up through application.
Most of these share a gradual release pattern: you model it ("I do"), you practice together ("we do"), then students work on their own ("you do"). The four stages of the 4A's model follow that same path.
Students need to see it first, and then they need to practice it before they're asked to produce it alone.
How to Write a Lesson Plan
When you've got minutes, not an evening, this quick playbook gets a lesson on paper. Run the four steps, check the grade-band examples, then test your draft against the checklist.
Plan it in five minutes
- Pick the objective first.
- Finish this sentence: "By the end, students will ___."
- Example: "By the end, students will add fractions with like denominators."
- Choose a hook and main activity.
- Open with one question or object that sparks curiosity.
- Pick the activity that gets students doing the objective.
- List the materials you need.
- Jot them while you picture the lesson: "fraction strips, mini whiteboards, exit slips."
- Plan one assessment check.
- Say: "Show me your answer on your whiteboard."
- Decide now what a correct answer looks like.
Example: A third-grade teacher writes the objective above, opens with a half-eaten paper "pizza," and lists fraction strips and whiteboards. Her check is one whiteboard problem before students leave the carpet. The whole plan takes a few minutes, and every piece points at the same goal.
See it by grade band
The same four steps look different depending on who's in the room. Find your row and borrow the focus.
| Grade band | Lean on | What it looks like |
|---|---|---|
| Preschool | Short sensory tasks | Sorting smooth and rough fabric squares by touch |
| Elementary | Guided practice | You model one problem, then pairs try one while you circulate |
| Secondary | Inquiry or project tasks | Students investigate a question and share what they found |
⚠️ Watch out: Don't pick the activity first. A fun task with no objective behind it is hard to assess and harder to defend.
Check your draft
Before you teach, confirm:
- Objective stated clearly. A student could read it and say what they're learning.
- Hook grabs attention. It's a question, object, or problem, not a list of directions.
- Practice time allotted. Students get time to try it themselves, not just watch you.
- Closure wraps the lesson. You've planned a final check or a "what did we learn?" moment.
- Materials listed and ready. Everything's copied, charged, or set out before students arrive.
If one item is missing, fix that part and leave the rest alone.
Turn this checklist into a reusable template in EMStudio's lesson planner.
Giving Students Practice Time
Practice is where new learning either takes root or fades. Here's how to structure it, from guided support to work done at home.
Guiding practice together
Right after you model a skill, students need to try it while you're close enough to catch mistakes. That's teacher-supervised practice, the bridge between watching and doing.
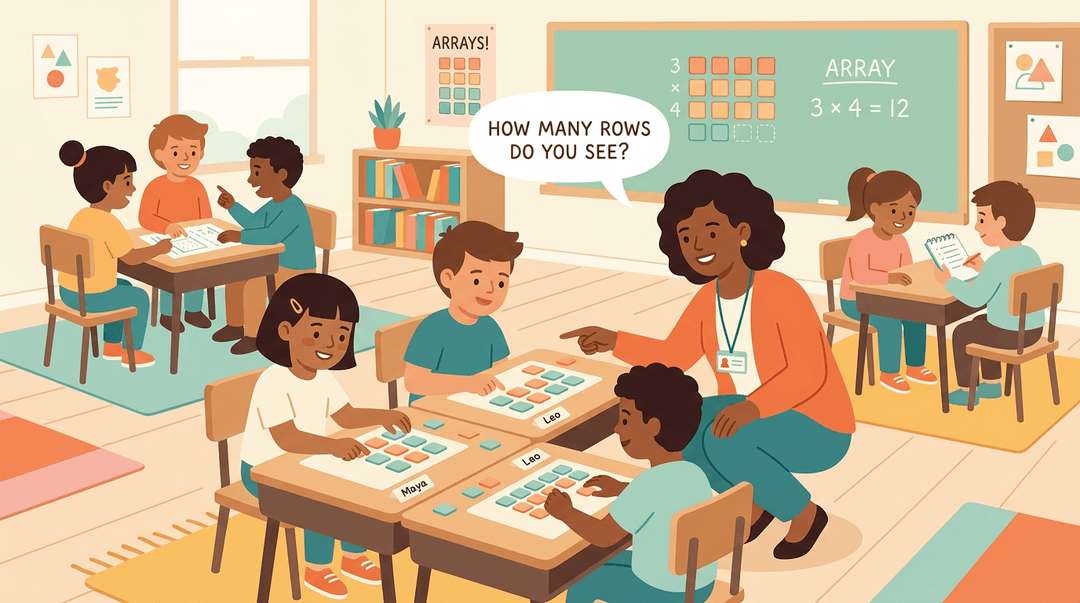
Think of a fourth-grade teacher introducing multiplication with arrays. Her students build them with tiles while she circulates and asks, "How many rows do you see?" In ten minutes, she knows who's ready to move on.
Next, small group work lets students talk through problems while you spend time with the table that's stuck. Pair that with individual/cooperative practice, where students solve alone, then compare answers with a partner.
Aim for talking through the math, not just getting the answer.
Independent practice and homework
Independent practice shows what students can do without you beside them. It's less about finishing and more about showing what sticks.
Take-home worksheets work best when they're short and familiar, reinforcing problems students just practiced. Longer homework assignments can revisit earlier units so students reinforce and synthesize skills instead of cramming one topic.
For bigger goals, at-home projects push learning into students' own lives. A middle school science teacher might have students track kitchen temperatures for a week and graph the results. You get a clear picture of what they understand.
Wrapping up the Lesson
The last few minutes of a lesson decide what students actually carry out the door. Here's how to close the loop so the learning sticks.
Summarizing what students learned
Start with a quick group discussion recap. Ask the class what stood out, and let a few voices fill in the gaps you noticed during the lesson.
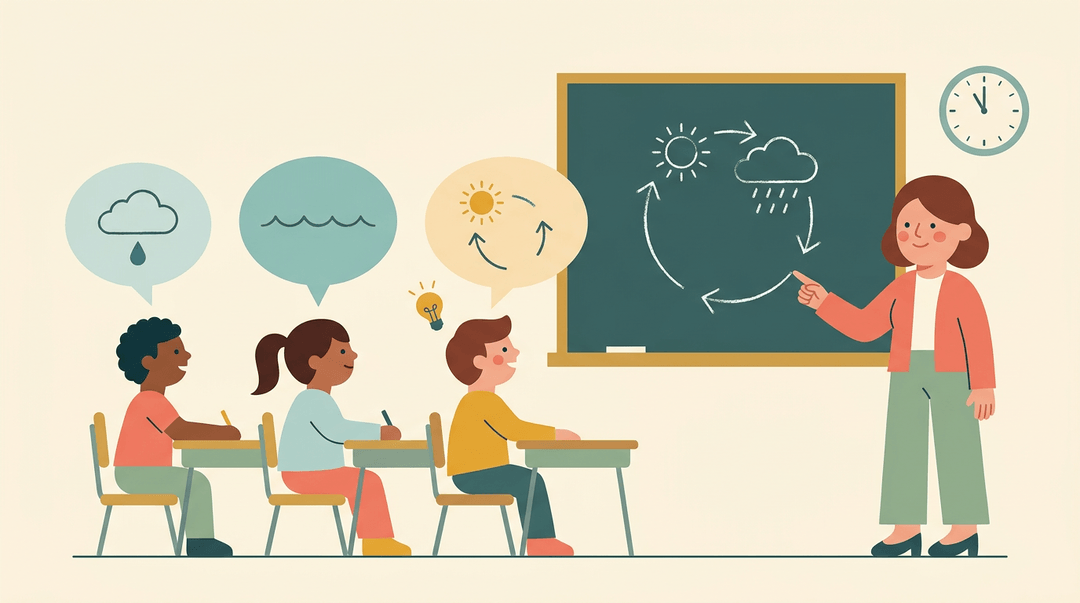
Think of a fifth-grade teacher who hears three different answers about the water cycle and uses them to correct one misconception before the bell rings.
Next, have each student write a student summary: two or three sentences in their own words. These show you who got the main idea and who only remembers the activity, which is far more useful than a show of hands.
Then bring the room together for a plenary session, a brief whole-class moment where you connect the day's pieces into one picture. Keep it tight. Two or three minutes is plenty, and it shouldn't feel like a second lesson.
Finally, finalize key ideas by writing three to five big takeaways on the board or chart paper. Students copy them down, and you have a reference for tomorrow's warm-up.
A short list students can explain beats a long list they can only recognize. Two minutes well spent.
Checking What Students Learned
Once the bell rings, the real question is whether students learned what you taught. Checking gives you that answer, so you know what to do next.
Measuring learning outcomes
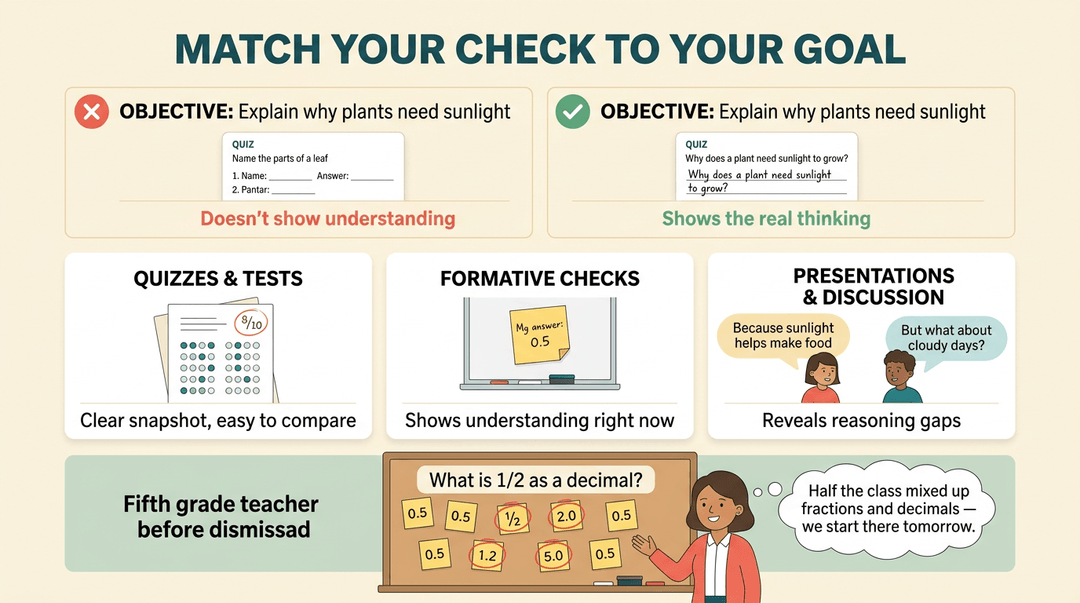
Match your checks to your objectives. If the goal is for students to explain why plants need sunlight, a quiz that only asks them to name leaf parts won't show it. Try a mix of tools:
- Quizzes and tests give you a clear snapshot of recall and skills you can compare across the class.
- Formative assessment, such as an exit ticket or a quick whiteboard check, shows understanding in the moment, while there's still time to adjust.
- Presentations and discussions let students show their reasoning out loud, which reveals gaps a multiple-choice question might hide.
Take a fifth-grade teacher who has students jot one answer on a sticky note before dismissal. In two minutes, she spots that half the class mixed up fractions and decimals, so tomorrow she starts there.
Reflecting and planning next steps
Results only help if you act on them. Revise the lesson: reteach the step that tripped students up, try a new example, or give a small group extra practice.
Then take a few minutes for teacher self-reflection. Ask which parts kept students engaged and which ones dragged, and jot it down while it's fresh.
Finally, identify what worked. Maybe the warm-up hook got everyone talking, or partner work kept your quietest learners involved. Keep those moves.
Organizing the Parts of Your Lesson Plan
Once you know what goes into a lesson, organize it so you can actually use it on a busy Tuesday.
Using templates and formats
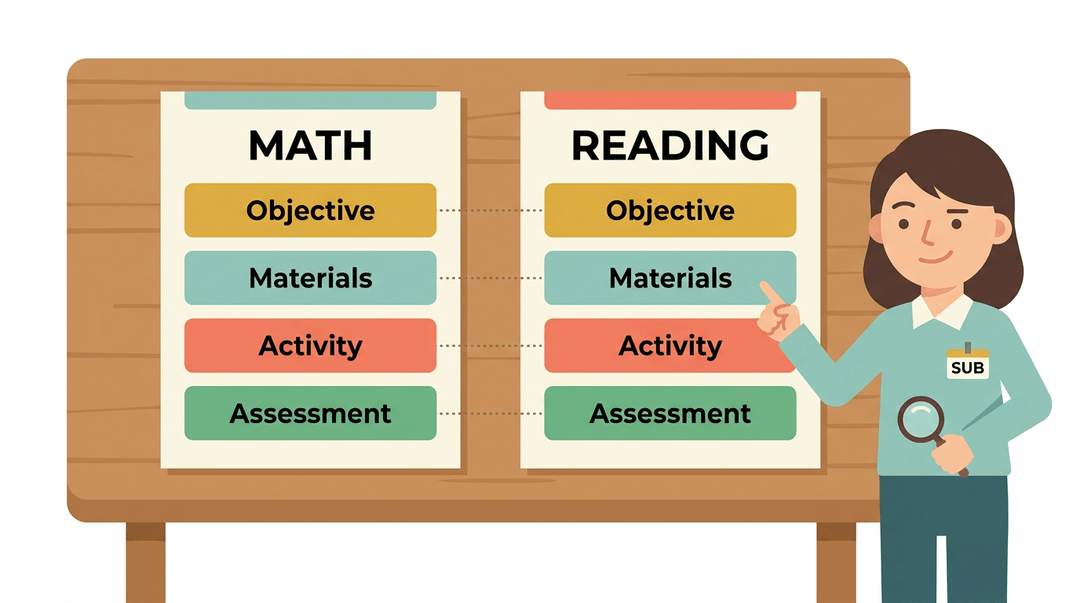
A reusable template is the fastest way there. Build one standard format, share it with your grade-level team, and check that every plan includes the same core fields.
Consider a fifth-grade teacher who reuses one layout across math and reading: each plan takes less time, and a substitute knows exactly where to look.
Managing time and staying flexible
Give each section a time allotment, such as ten minutes for the warm-up and twenty for practice. Build a contingency plan for the part most likely to run long, and keep a reserve activity ready for early finishers.
When the room loses focus mid-lesson, an agile (on-the-fly) adjustment, like a quick partner check, beats pushing through. The plan guides you; it doesn't bind you.
What are the 7 parts of a lesson plan pdf?
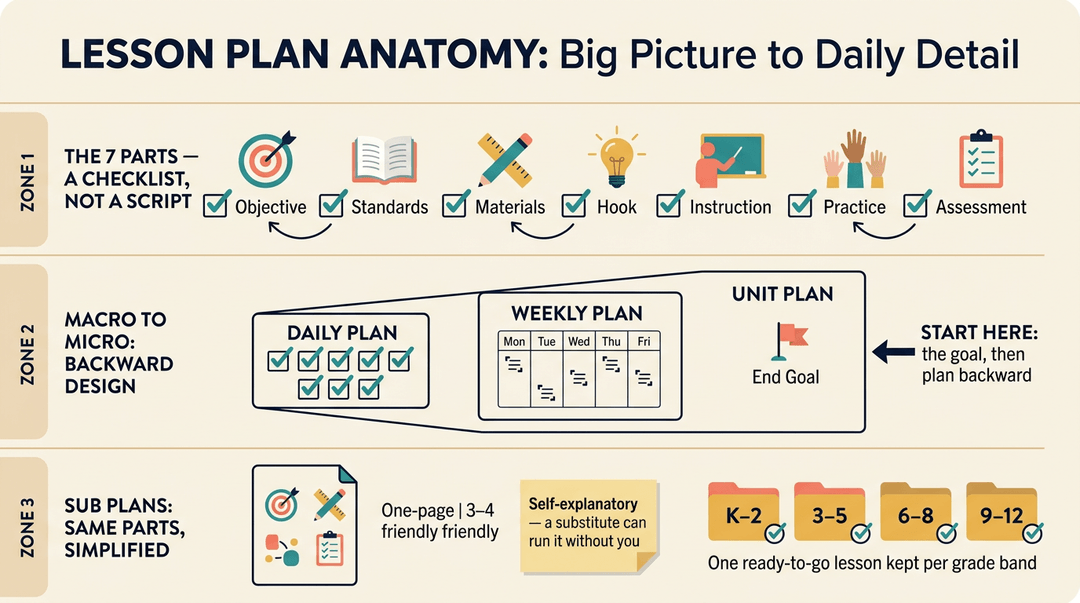
Most printable PDFs list their parts in order, so use them as a checklist, not a script. Daily plans hold the lesson-level detail, while weekly plans show which lessons land on which day.
A unit plan follows backward design: you start with the end goal, then plan the lessons that get students there. That's macro-to-micro planning: big picture first, then zoom in to the single lesson.
Sub plans and emergency lessons use the same parts, simplified. Keep one self-explanatory lesson per grade band so a substitute can run it without you.
Challenges You Might Face When Planning
Even a well-built plan meets resistance once it hits the room. Here's where it gets tricky.
Handling diverse student needs
Every class holds a mix of abilities and interests. Some students read well above grade level, others are still building basic skills, and most sit somewhere in between.
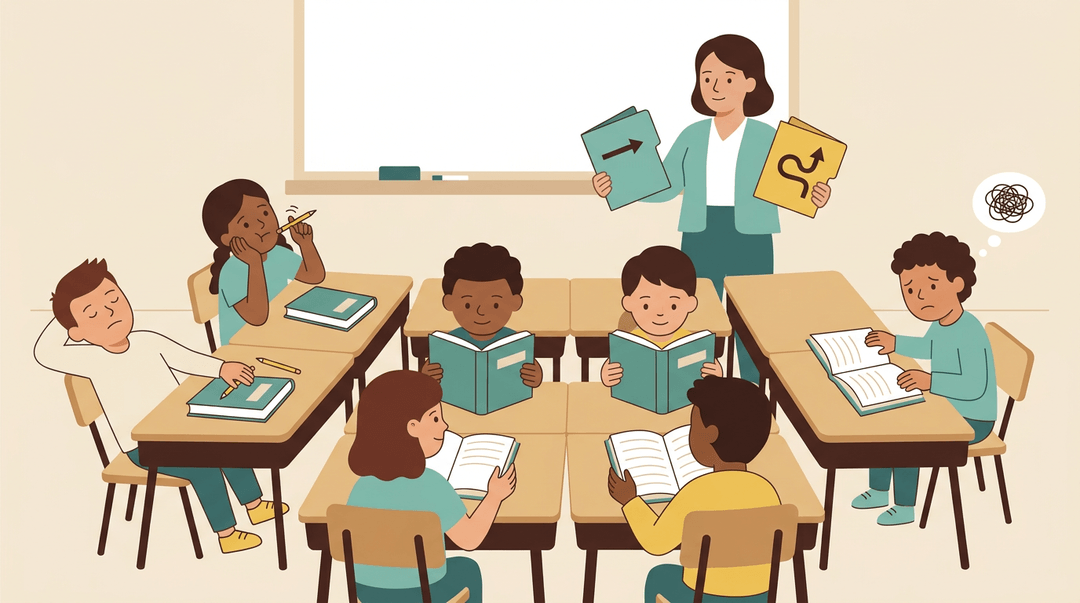
Consider a fourth-grade teacher who assigns one reading passage to everyone, only to watch half the class finish early while the rest are lost by the second paragraph. The plan didn't fail. It just assumed one speed.
That's where differentiation comes in: adjusting content, process, or product so each learner can reach the same goal. It takes more planning than teaching one version to everyone, and it's easy to run out of time before the second version is ready.
Start small. Pick one lesson a week and offer two paths to the same objective.
Keeping lessons flowing and engaging
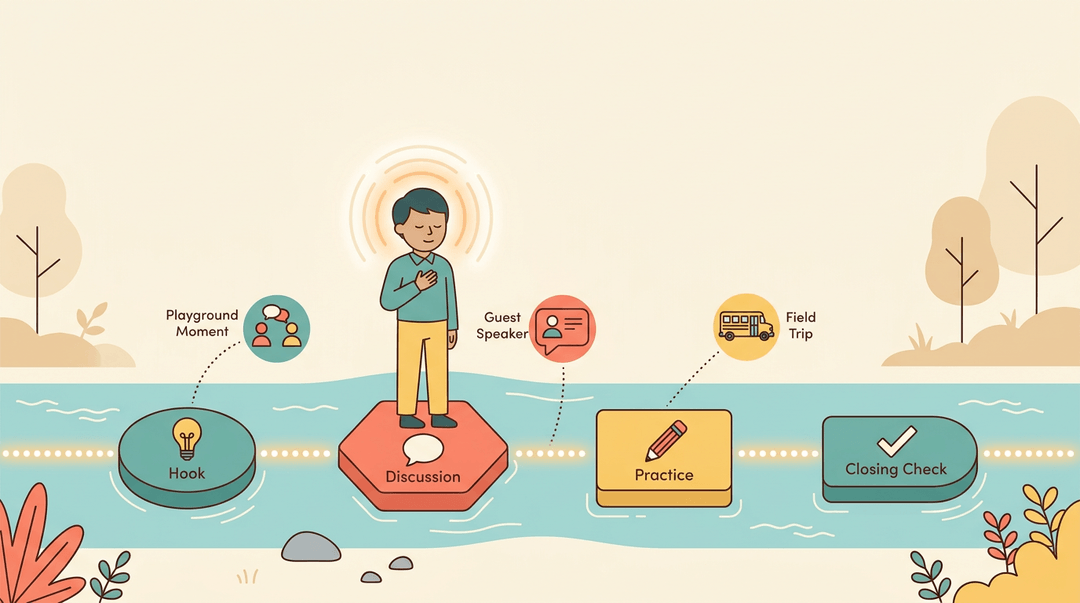
A lesson needs a clear thread from the opening hook to the closing check. When one activity doesn't connect to the next, students lose the thread, and you spend the rest of the period winning them back.
Ask yourself, "Does each step build on the one before it?"
Pacing matters too. Tasks that are too easy invite drifting, and tasks that are too hard invite shutting down. Aim for a difficulty balance where most work stretches learners slightly without overwhelming them.
Your own mood sets the tone, too. A rough morning can rattle anyone. Build in a calm reset you can reach for, like a short breathing break, so you recover without losing the period.
Outside experiences, such as a field trip, a guest speaker, or a recent playground argument, can enrich a lesson or derail it. Tie them to the objective on purpose so they're planned rather than improvised.
Every part of a lesson plan has a job. Objectives point the way, students' readiness shapes the route, and checking for understanding tells you whether everyone made it.
When these pieces fit together, your lessons feel less like guesswork and more like a plan you can count on. Ready to put these parts into practice?
Check out our Lesson Planning feature to write, organize, and reuse your plans across all your classes from one place.
Frequently asked questions
What is subject matter in a lesson plan?
Subject matter is the content a lesson teaches, including the facts, skills, and ideas students need to learn. It describes what students will study and should align with relevant standards and the school curriculum.
What are the essential components of a lesson plan?
Essential components include learning objectives and standards, subject matter, students’ prior knowledge and readiness, differentiation, materials and resources, instructional procedures, guided and independent practice, closure, assessment, and teacher reflection. A useful plan also includes time allotments and possible adjustments.
What are the 7 parts of a lesson plan pdf?
A common seven-part lesson plan format includes objectives, subject matter, materials, procedures or instructional activities, practice, assessment, and closure. Some schools use different labels or combine sections, so the exact PDF format may vary.