Gradual Release of Responsibility: A Complete Teaching Guide

Jump to section
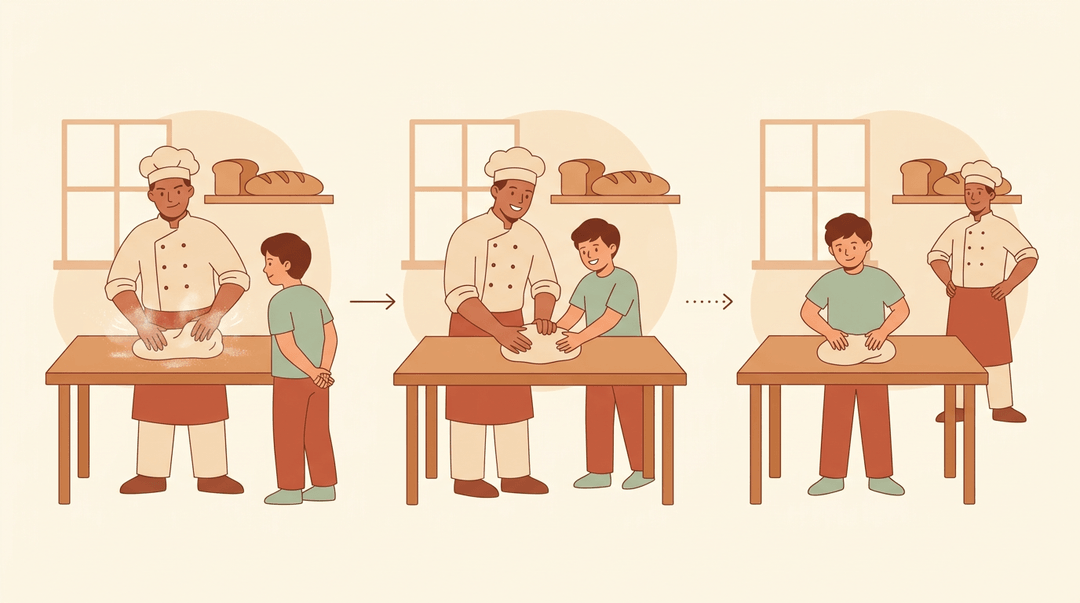
Think about learning to bake your first loaf of bread. You probably watched a friend knead the dough, then helped them shape it, and only later tried it on your own.
That slow handoff from watching to doing is exactly what the gradual release of responsibility model builds into a lesson.
In plain terms, the gradual release of responsibility is a teaching framework where you model a skill, practice it together with students, and then hand over control until they can work independently.
You do the heavy lifting at first, then step back a little at a time.
In this post, we'll cover the theory behind the model, its core phases, a practical planning checklist, and how it works across grade bands and subjects.
What Is the Gradual Release of Responsibility Model?
The gradual release of responsibility model moves students from "watch me" to "you've got this."
Moving From Teacher-Led to Student-Led Learning
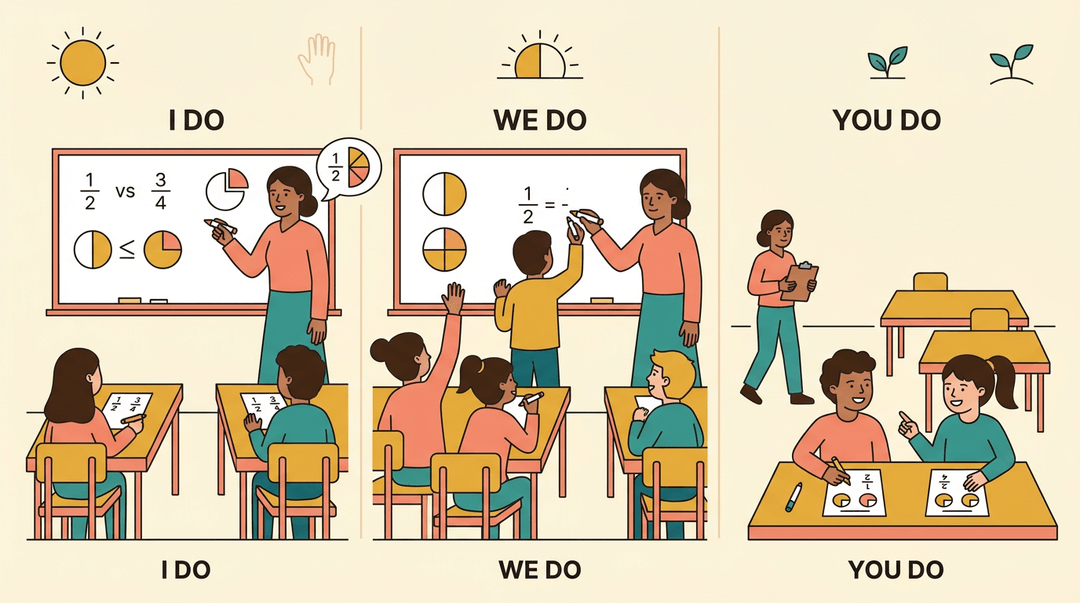
It's a scaffolded instructional model: you give heavy support first, then pull it back as students grow. Picture a third-grade teacher introducing a new standard on comparing fractions.
She models one problem aloud, solves the next with the class, then sends partners off to try one while she circulates. The goal is a shift from you doing the thinking to them doing it.
Use it when introducing a new standard, since students need to see the thinking before they can own it. Independence is the point, and comprehension comes with it.
Where the Gradual Release Model Comes From
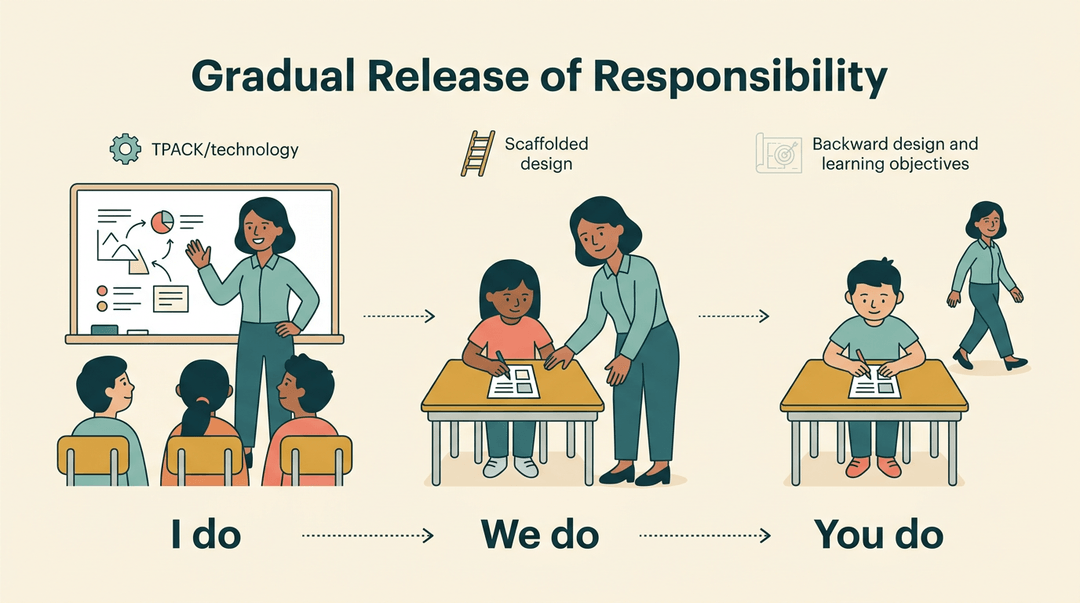
Douglas Fisher and Nancy Frey framed it as an instructional framework published through ASCD, and their diagram shows the release as a visual progression.
Their work also includes tips on how to differentiate instruction, since students need different amounts of support.
TPACK, or Technological Pedagogical Content Knowledge, describes the complex, situated knowledge teachers need to use technology well, as Punya Mishra and Matthew Koehler argue. For its seven components, read the original paper.
Marzano's Nine Strategies are another related framework, and one teacher-supervision study used the Marzano Nine for consistent terminology. Check that source for the full list.
The model also pairs with backward design, with an ASCD framework on ERIC covering planning from learning objectives, plus the 5E model and Understanding by Design (UbD) and Universal Design for Learning (UDL).
The Core Phases of the Model
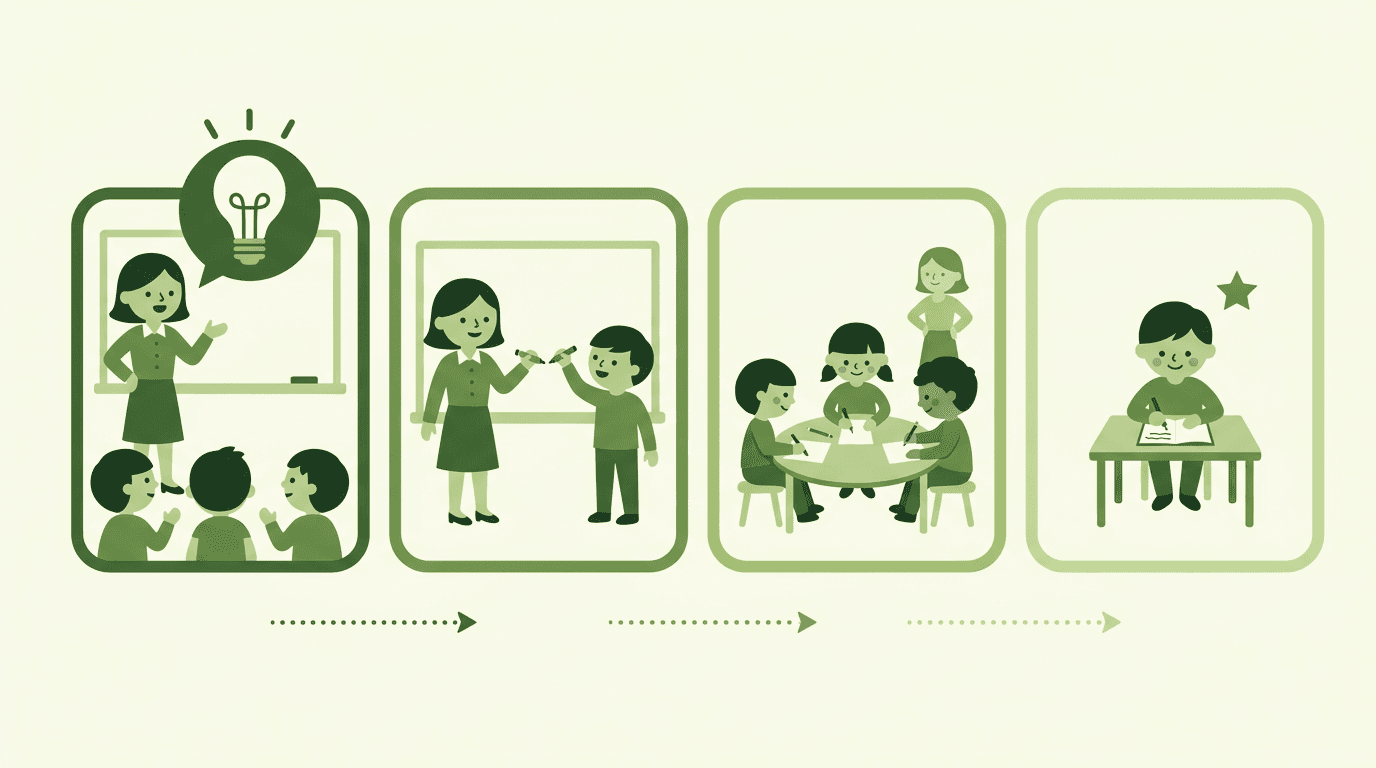
The gradual release of responsibility moves learning through four phases, shifting the work from the teacher to the student one step at a time. Here's how each phase works.
I Do: The Teacher Models the Skill
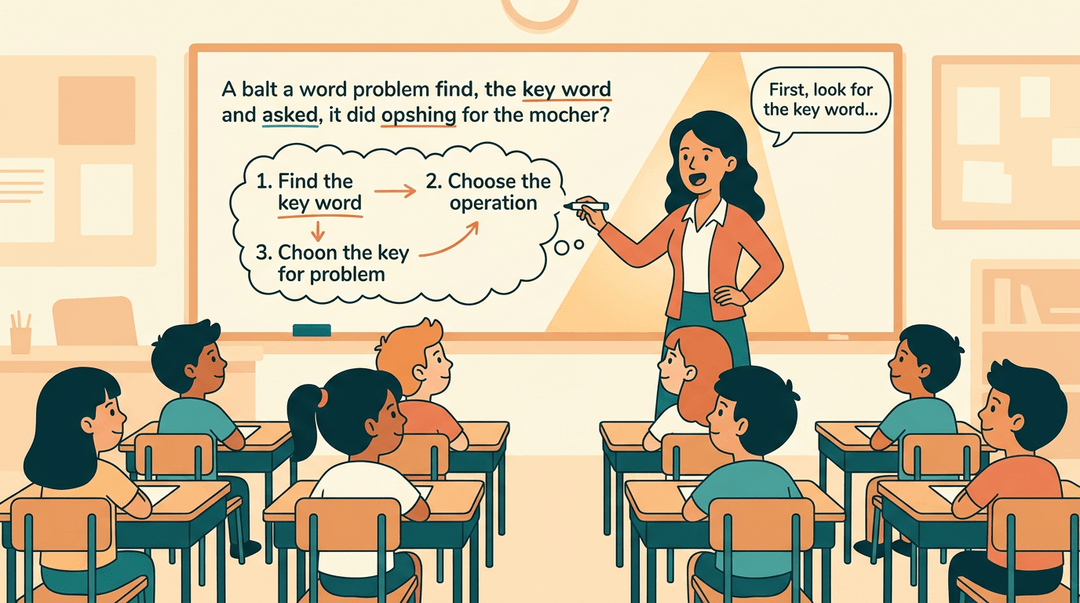
Every phase starts with the teacher carrying the load. You explain the skill, show exactly how it's done, and make your thinking visible. Many teachers use think-alouds for this, narrating each decision as they work through a problem.
Consider a fifth-grade teacher introducing multi-step word problems. She solves one out loud, pausing to say, "First, look for the key word, then check which operation it signals." Students see the reasoning before anyone asks them to produce it.
This modeling also sets the stage for the new concept, and at this point you're fully responsible for the task.
We Do: Practicing Together
Responsibility starts to shift here. You and your students share the task, and you guide it with questions, prompts, and cues rather than answers. Asking "What do you notice first?" scaffolds thinking without taking over.
Students contribute pieces of the work while you keep the process moving, and the class completes the task together with you still steering.
Peer Collaboration Before Going Solo
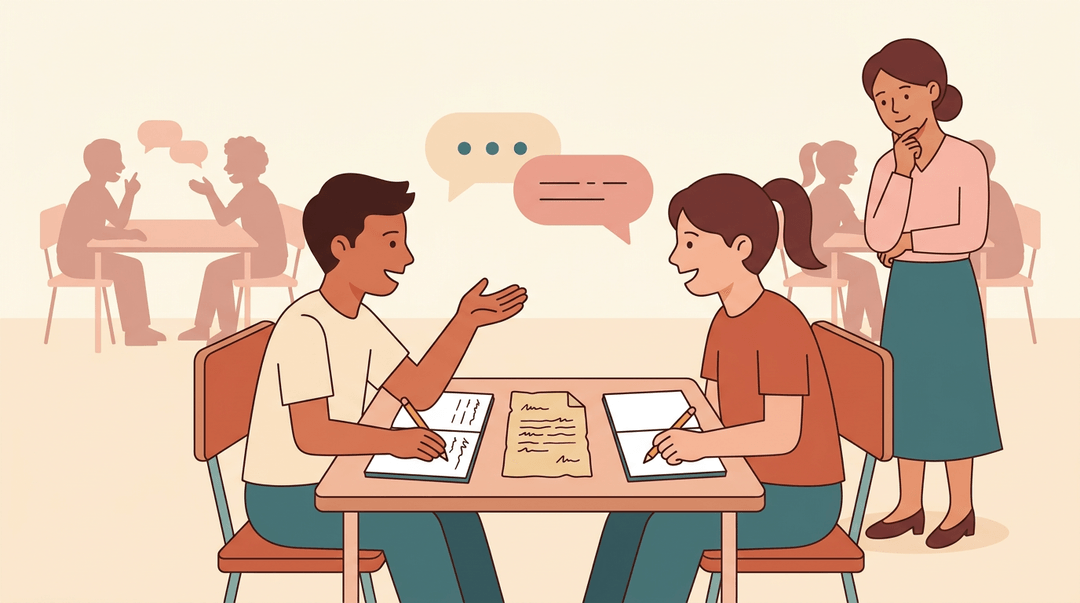
Before students work alone, they often need a chance to test ideas with classmates. Pairs or small groups talk through problems, compare approaches, and draft responses together.
Your role becomes facilitator: you listen in, redirect, and step in when a conversation stalls. This phase also reinforces the oral-to-written connection, since students who explain an idea aloud usually find it easier to write it down.
A high school history teacher might pair students to talk through a document's argument, then have each partner draft a one-paragraph summary. The talk comes first, so the writing is stronger.
You Do: Students Practice Independently
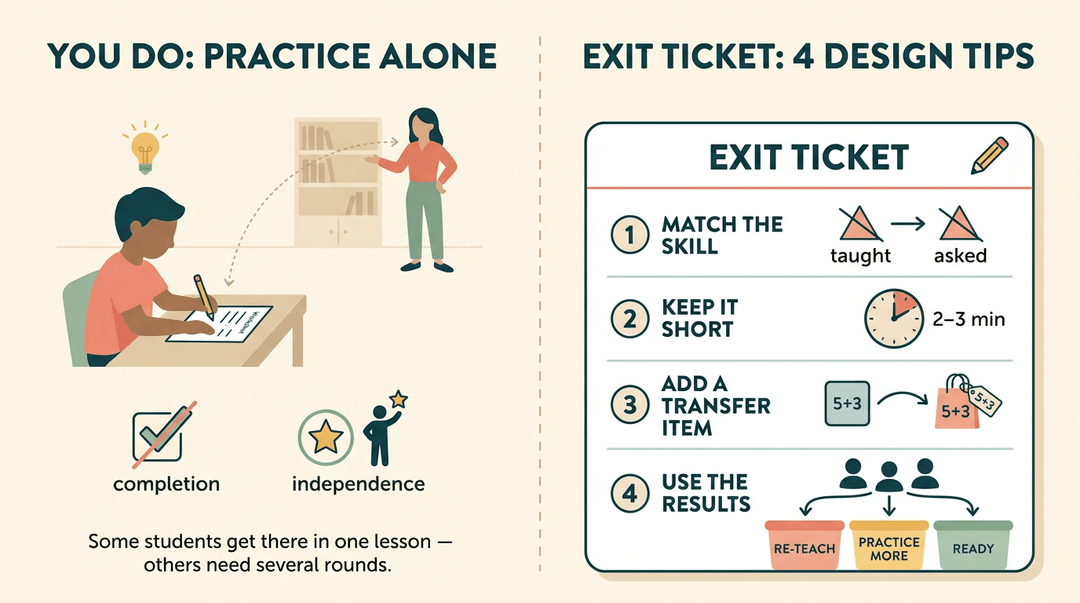
Now students apply the skill alone, with minimal teacher support. The goal is independence rather than completion, meaning students can use the skill without you at their elbow. Some students get there in one lesson. Others need several rounds.
An exit ticket is a quick way to check where each student stands. Here are a few tips for designing one:
- Match the skill. Ask one question that uses exactly what you modeled.
- Keep it short. Two or three minutes is enough to see who's ready.
- Include a transfer item. Add one question in a slightly new context to test real understanding.
- Use the results. Sort students into groups for tomorrow's practice.
Moving Back and Forth Between Phases
The model isn't a straight line. Students cycle through these phases repeatedly, and you move back and forth as needed. If a student stumbles during independent work, return to modeling: revisit the think-aloud, then try the We Do step again.
Flexibility is the point. The phases follow your students' needs, not a fixed calendar.
How Teacher and Student Roles Shift
Roles shift gradually, like a dimmer switch rather than a light switch. You turn support down a little at a time as students take on more.
How Teachers Model Their Thinking
Name the task and strategy out loud: "This is a compare-and-contrast task, so we'll use a two-column chart." Connect to prior learning: "Remember sorting shapes by their sides? Sorting fractions works the same way."
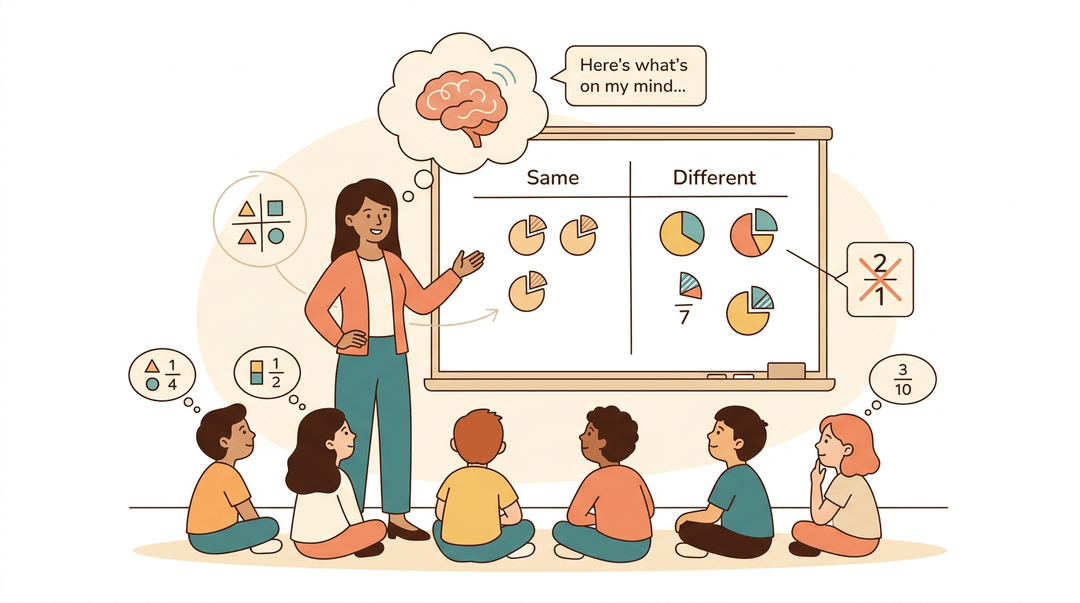
Flag common errors: "Most people flip the numerator and denominator here." Then build metacognition, or thinking about your own thinking, with phrases like "Here's what's on my mind."
Scaffolding Strategies That Support Learning
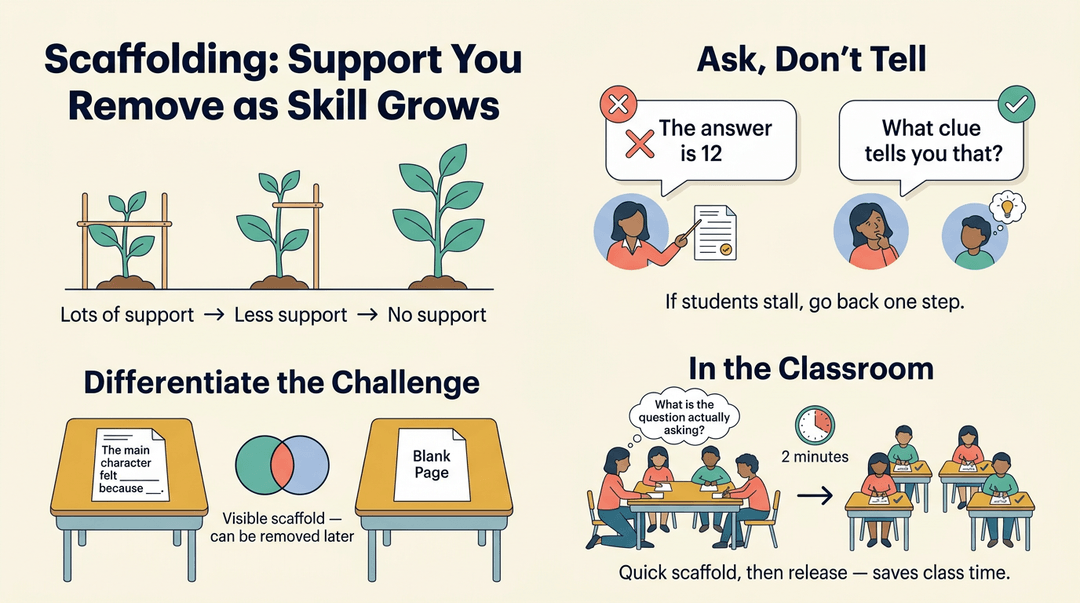
Scaffolding is temporary support you remove as skill grows. Use questions, prompts, and cues like "What clue tells you that?" instead of handing over answers. If students stall, return to an earlier phase.
Differentiate levels too: one student gets a sentence starter while a confident peer gets a blank page. Graphic organizers, like Venn diagrams, are visible scaffolds students can later drop.
For example, a fourth-grade teacher's table freezes on a word problem. She pulls them back for two minutes and asks, "What is the question actually asking?" They return to their seats and solve it alone, saving class time.
How Students Take Ownership of Learning
How do you facilitate students taking ownership for their learning? Give them real jobs. Use accountable talk in partner discussions where students build on a classmate's idea. Teach self-evaluation with a checklist before work is submitted.
Move from teacher-chosen tasks to student-chosen ones over time, and welcome productive struggle on hard tasks. Confusion signals learning, so give it room.
Signals it's time to release more:
- students answer without prompts
- their self-checks match your scores
- their questions get sharper
Giving Feedback While Students Work
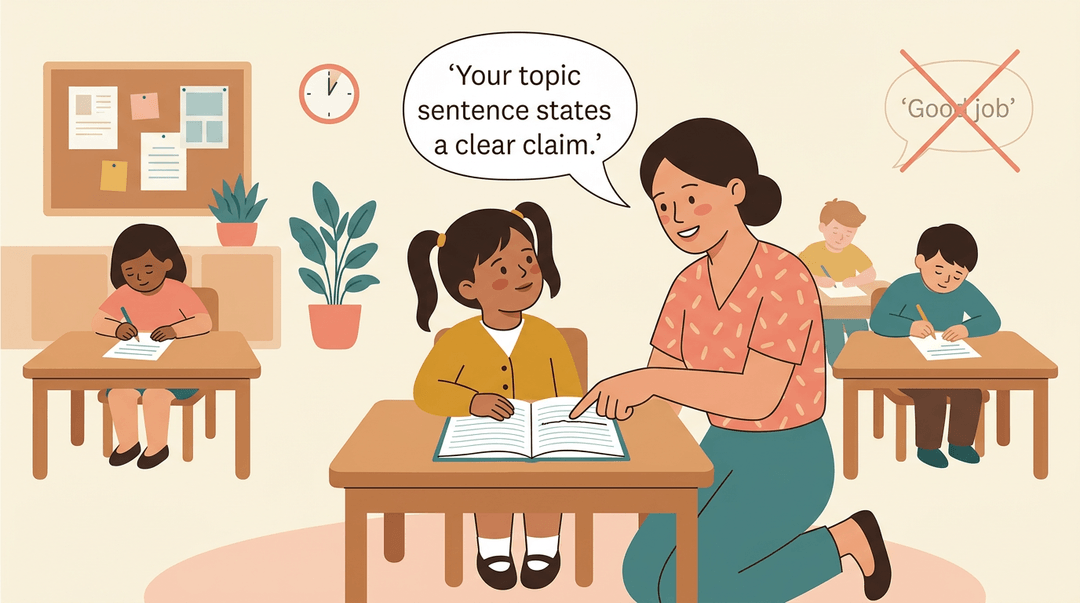
Feedback works best during the work, not a week later. Swap "Good job" for "Your topic sentence states a clear claim." Circulate during independent work, and conference on writing goals in quick five-minute check-ins.
Focus on process too: "What strategy did you use to check that?" builds how students think, not just what they produce.
How to Plan a Gradual Release Lesson
Use this when you're building an I Do / We Do / You Do lesson from scratch. Work the six slots in order, then adjust for your grade band.
The six-slot lesson plan
- Define the objective and success criteria
- Board version: "I can state a paragraph's main idea and support it with two details."
- Success looks like: one-sentence main idea, two details quoted from the text.
- Script the I Do think-aloud
- Say: "I check the title first, because it often hints at the topic."
- Script two or three decisions only. Short beats thorough.
- Plan We Do prompts and cues
- Try: "What should I look for next? Tell your partner."
- Order your cues: a hint, then a sentence stem, then you model one part.
- Design the peer task
- Same skill, new text: one partner finds details, the other checks them.
- Build independent practice and the exit ticket
- Exit ticket: "Write the main idea of this paragraph. Cite one detail."
- Match it to your success criteria, word for word.
- Set reteach and extension triggers
- Decide your next moves now, before you've seen the data.
Write the triggers as if/then rows you can read at a glance:
| When the exit tickets show... | Try... |
|---|---|
| Most students miss the criteria | Reteach tomorrow with a fresh I Do |
| A handful miss it | Pull a small group while others practice |
| Nearly everyone meets it | Extension: harder text, same skill |
Example: A fourth-grade teacher plans a main-idea lesson. Her I Do models one paragraph aloud. In We Do, partners find the main idea of the next paragraph together. Independent practice is a third paragraph, and the exit ticket mirrors her board objective. Two students miss it, so she meets with them first the next day.
Adjusting for grade band
The three phases stay the same. What changes is how long each one runs and how much support it carries.
| Setting | Shift | What it looks like |
|---|---|---|
| K-2 | Shorter I Do, more visuals | Brief modeling with pictures, objects, or an anchor chart |
| 3-5 | More We Do cycles | Repeat guided practice with new examples before releasing |
| 6-12 | Longer independent phase | Keep I Do tight; give most of the period to You Do |
| Tutoring or homeschool | 1:1 pacing | Watch each response; release when the learner is ready |
💡 Tip: With one learner, the phases blur. Let your cues fade as their answers get faster and more accurate.
Save your I Do/We Do/You Do blocks as a reusable template in EMStudio's lesson planner.
Putting the Model into Practice
Knowing the phases is the easy part. Here's how to plan timing, grouping, and lessons so the model works in your room.
How Long Each Lesson Phase Takes
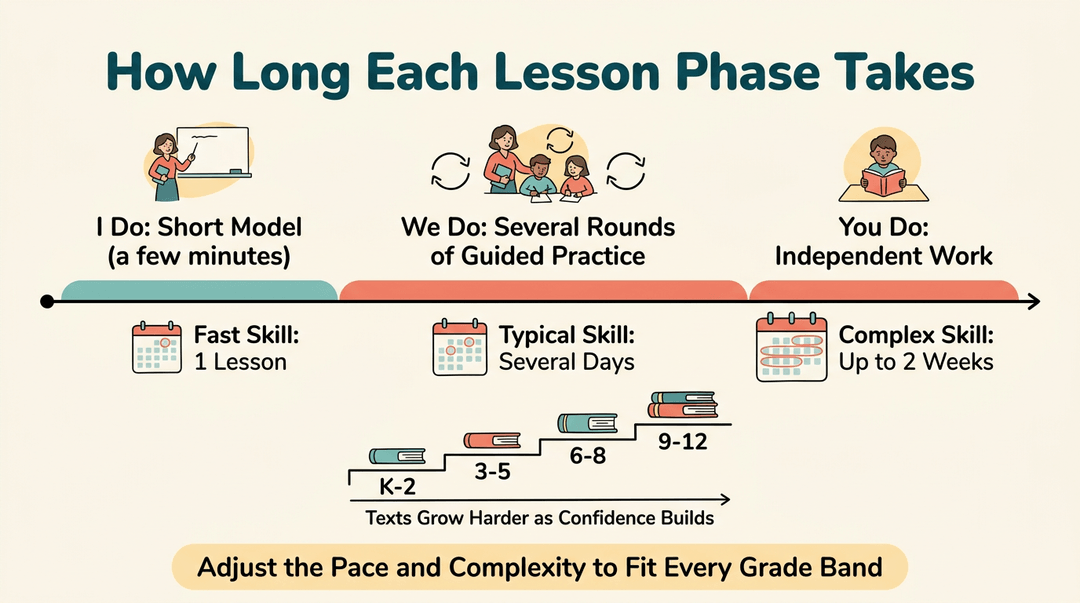
The pace depends on the objective, from a few days to two weeks. According to The Art of Education, the process can happen "over one lesson or over a few weeks of instruction."
Reading lessons often follow a daily rhythm: a short model, guided practice, then independent work. Expect several We Do rounds before students work alone, and let the texts grow harder as students gain confidence.
Adjust length and text complexity by grade band, from K to 12.
Grouping Students Flexibly for Instruction
Use formative assessment, quick checks of current understanding, to build small groups. Groups match student strengths and needs, and they shift as those needs change.
Whole group handles the model, small groups give targeted support, and one-on-one time closes remaining gaps. Students still stuck after independent practice return to a small group for reteaching or remediation.
Sample Lessons Across Grade Levels
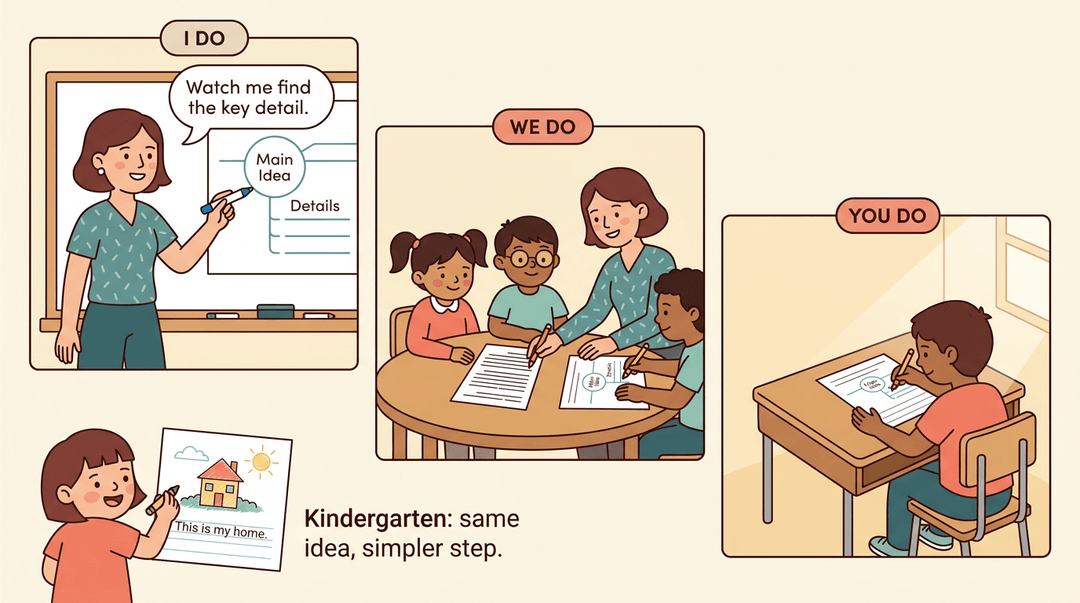
Take a main idea lesson: you model finding the main idea with a graphic organizer, the class works a passage together, then students complete their own. In kindergarten, the same release might mean writing one sentence about a picture.
Keep scripts short, like "Watch me find the key detail." Worksheets belong at the final independent step, after students have seen the model. Rushing to independent work is the most common pitfall, and it leaves students guessing.
Using the Model Across Subjects
The model works across subjects, with materials and timing adjusted for the content.
Applying It to Reading Lessons
In a main idea lesson, read a short passage aloud and think out loud about how you find the big point. Work a second passage together, then let students try a third alone, so they learn how to find the main idea, not just what it is.
For nonfiction text comprehension, model previewing headings and captions, then hand those steps over gradually.
Once students work independently, set up elementary literacy stations, using whole-group time for modeling and small groups for guided practice.
Applying It to Writing Lessons
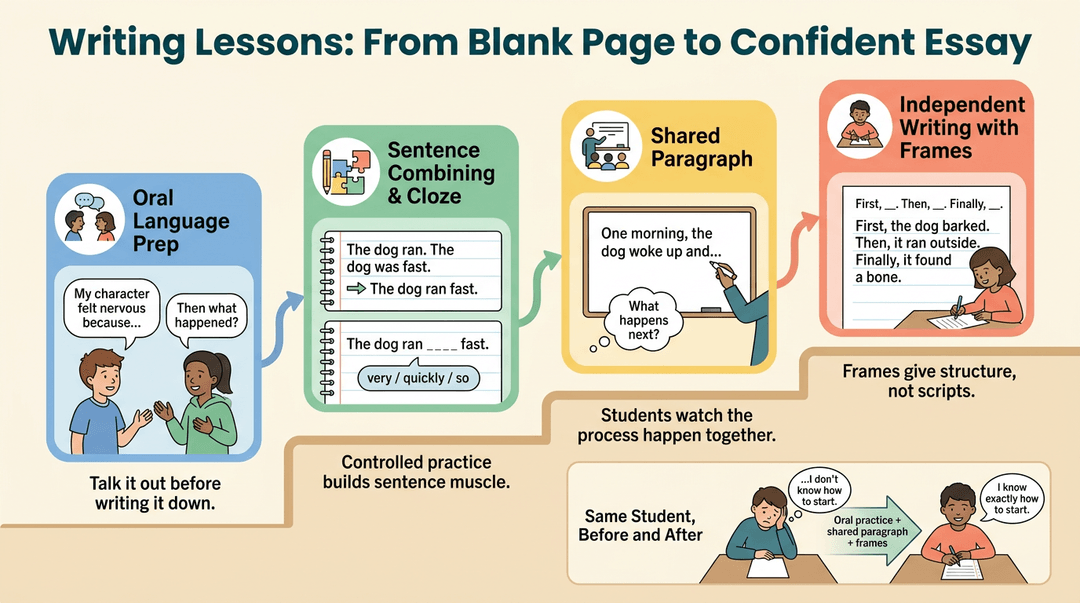
Start with oral language prep so students talk through ideas before writing. Use sentence combining and cloze exercises (passages with blanks to fill in) for controlled practice, and draft a paragraph together so students see the process.
Then move to independent essays with frames (sentence starters students adapt).
Think of a seventh-grade teacher whose students freeze at a blank page. After oral practice and one shared paragraph, the same students write alone with frames. The blank page stops being scary.
Applying It to Math Lessons
Use fraction strips or drawings for fraction value illustration before students touch symbols. Then send them to independent math centers, and pair whole group and small group math lessons: model for everyone, then pull small groups for another pass.
Why Gradual Release Works so Well
Gradual release works because it never asks students to swim before they've learned to float. Here's what it does for them, and for you.
Building Student Confidence and Independence
Students gain confidence when they can see the path to working alone. You model the thinking, share the work, then hand it over. That steady handoff builds autonomy, and it gives students real ownership of the answers they reach.
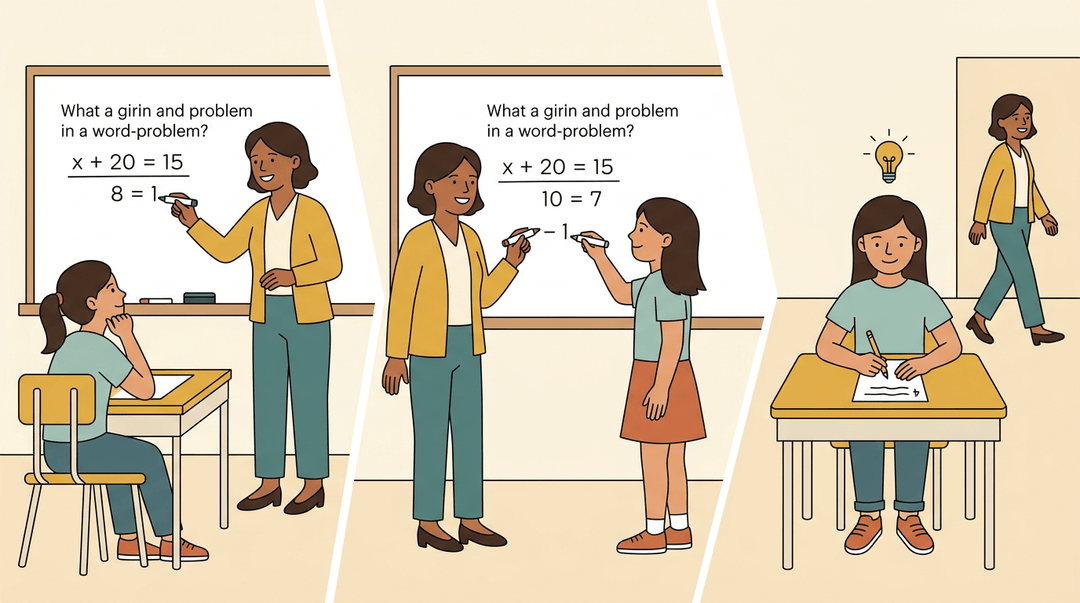
Over time, this fosters independent thinkers, not just students who follow directions. Picture a seventh grader who has watched her teacher solve three word problems aloud. Handed a fourth, she doesn't freeze. She tries a strategy she's already seen.
Flexibility to Meet Every Learner's Needs
Not every student reaches independence at the same pace. Gradual release adapts to learner readiness, so a student who's ready early can move on while another gets more time in guided practice.
It also supports varied interests and profiles, since one skill can be practiced through different tasks.
Movement between phases isn't one-way. If a group stumbles during independent work, you can step back into guided practice without starting over. That's corrective feedback at its best: you catch misconceptions while they're small.
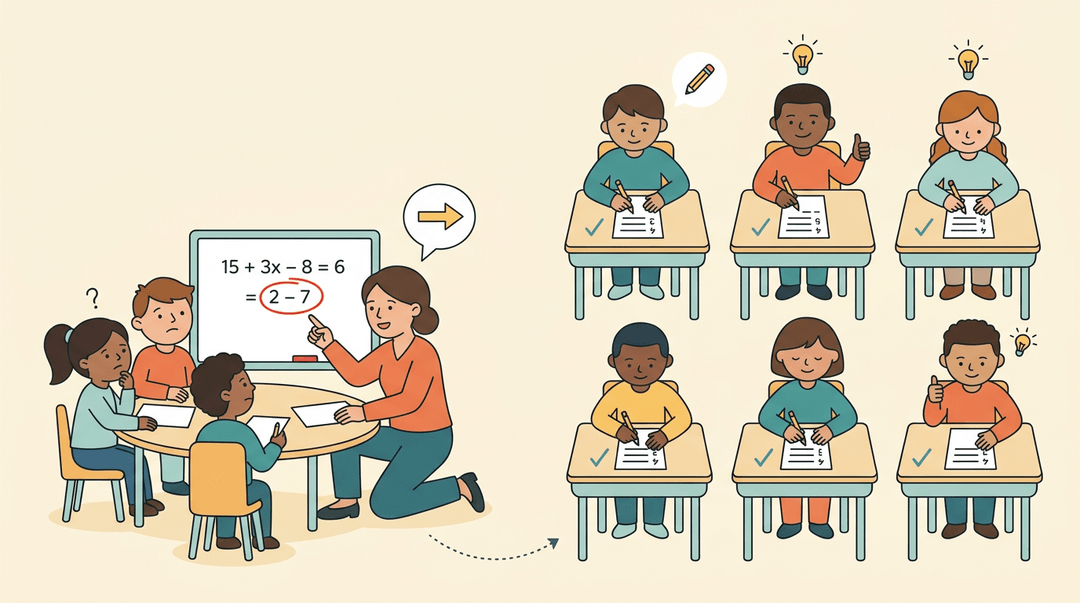
Consider a math teacher who sees half her class missing the same step on a practice set. She pulls that group for a short reteach and sends them back out. Catching the mistake today beats finding it on the unit test.
Gradual release works because it moves students from watching to doing without leaving them stranded. When you plan with the phases in mind, you give students support where they need it and independence as soon as they're ready.
Ready to build your next lesson around this approach? Check out our Lesson Planning feature to write, organize, and reuse your plans across multiple classes from one place.
References
- Marzano's Nine Strategies as a Template for Teacher Candidate Supervision — doi.org (2022)
- How to Teach Skills With the Gradual Release Model — theartofeducation.edu
- Technological Pedagogical Content Knowledge: A Framework for Teacher Knowledge — journals.sagepub.com
- ERIC - ED509133 - Better Learning through Structured Teaching: A Framework for the Gradual Release of Responsibility, Association for Supervision and Curriculum Development, 2008-Feb — eric.ed.gov
- Gradual Release of Responsibility Instructional Framework — keystoliteracy.com
Frequently asked questions
What is the gradual release of responsibility model of instruction?
The gradual release of responsibility model is a scaffolded teaching framework that moves students from teacher-led instruction to independent learning. Teachers first model a skill, guide students through shared practice, support peer collaboration, and then have students apply the skill independently, moving between phases as needed.
What are the 7 components of TPACK?
TPACK has seven components: content knowledge, pedagogical knowledge, technological knowledge, pedagogical content knowledge, technological content knowledge, technological pedagogical knowledge, and technological pedagogical content knowledge. Together, these describe the knowledge teachers need to integrate technology effectively with subject matter and teaching methods.
What are Marzano's 9 instructional strategies?
Marzano's nine instructional strategies are: identifying similarities and differences; summarizing and note-taking; reinforcing effort and providing recognition; homework and practice; using nonlinguistic representations; cooperative learning; setting objectives and providing feedback; generating and testing hypotheses; and cues, questions, and advance organizers.
How do you facilitate students taking ownership for their learning?
Facilitate ownership by giving students meaningful responsibilities, using accountable partner talk, and teaching them to self-evaluate with checklists or other criteria. Gradually offer more choice in tasks, allow productive struggle, give specific feedback focused on process, and release support when students can respond, self-check, and ask increasingly focused questions independently.