Demonstration Teaching: What It Is and Why It Works

Jump to section
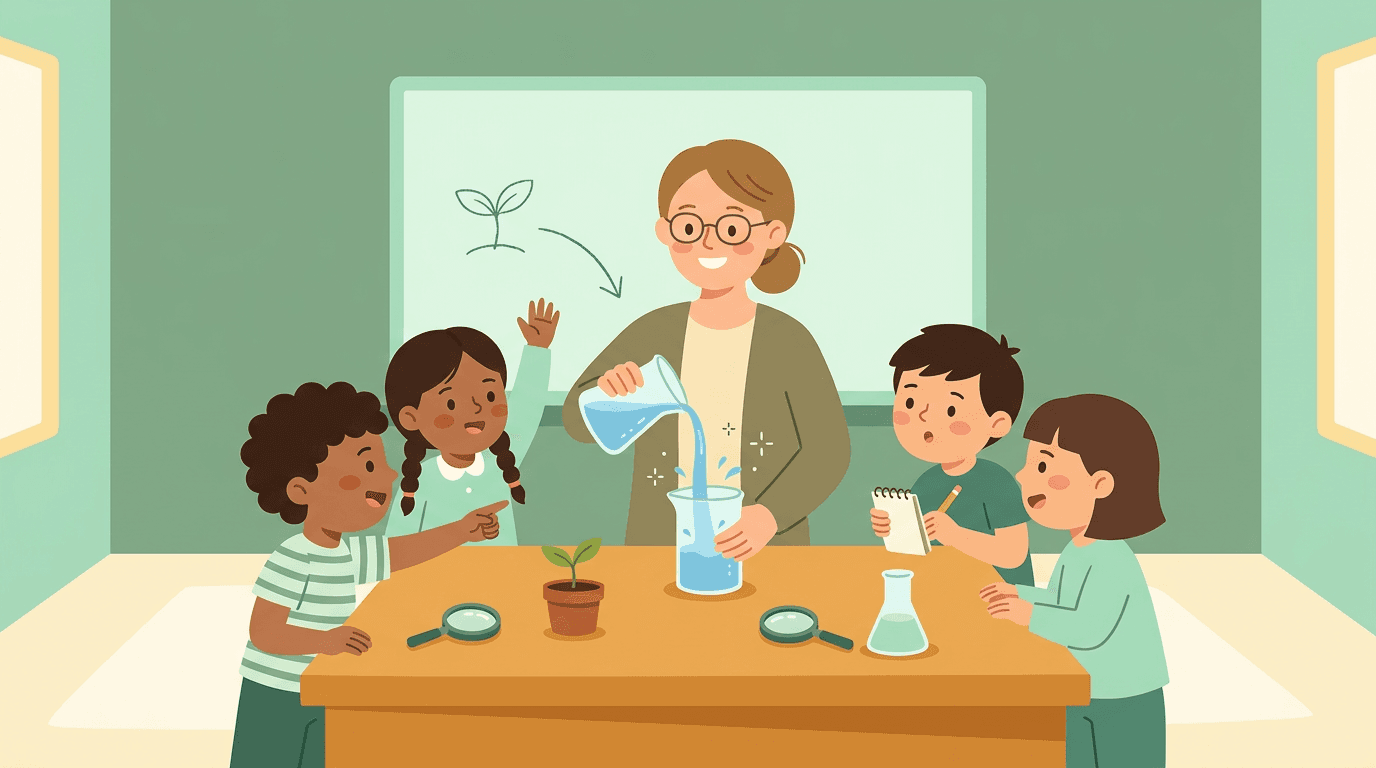
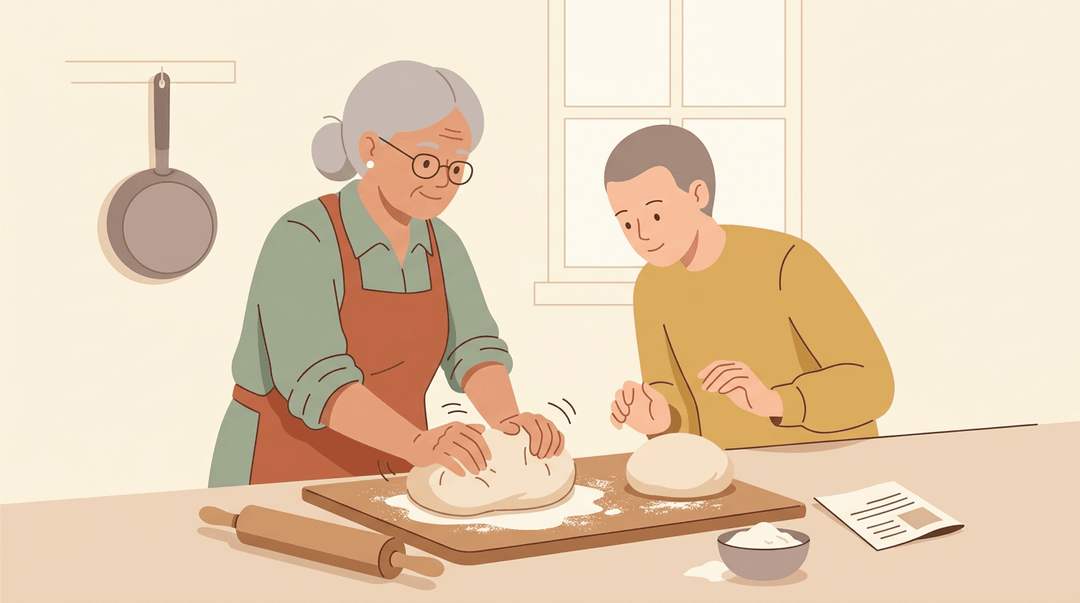
Think about the last time someone taught you a new recipe. They probably didn't just hand you a list of steps. They showed you how the dough should feel, then let you try it yourself.
That's demonstration teaching in a nutshell: you show learners how something is done before they attempt it.
In this post, we'll explain what demonstration teaching is and why it helps, walk through how to plan and deliver one, compare it with other methods, and share a ready-to-use demo lesson plan structure.
Demonstration Teaching Explained and Why It Helps
A demonstration lets students watch a skill done well before they try it.
What is a demonstration class?
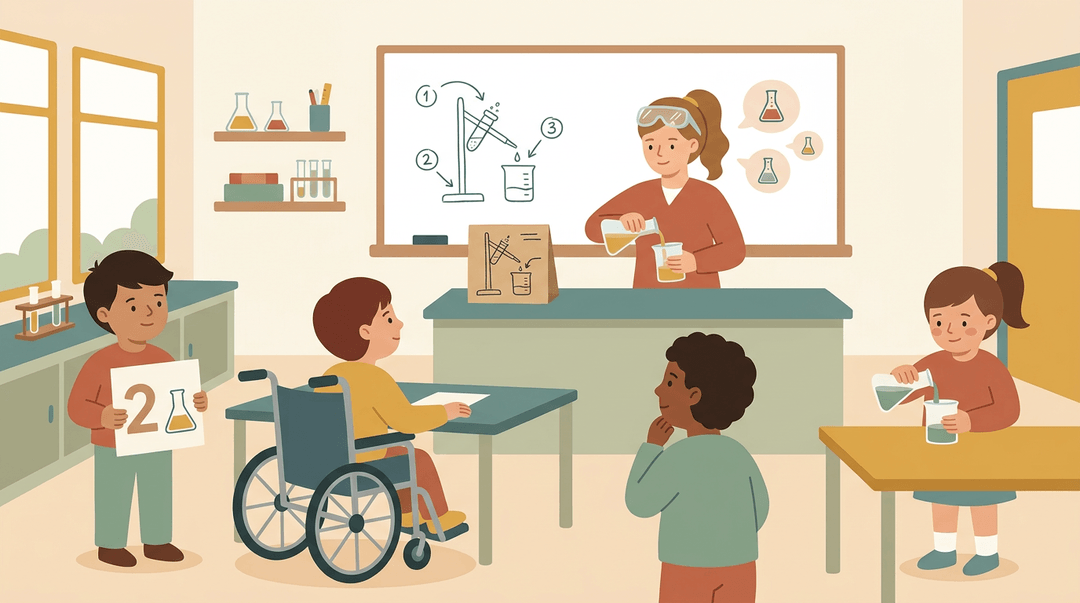
A demonstration class is a lesson where the teacher shows students how something is done: a skill, a concept, or a principle.
It's most useful when the work is delicate or needs careful manipulation, like folding a paper model or setting up lab equipment.
It supports both psychomotor objectives (goals for physical skills) and cognitive objectives (goals for knowledge and thinking). The best topic is one where the process is hard to picture from words alone, such as a multi-step lab technique.
Why watching helps learners copy skills
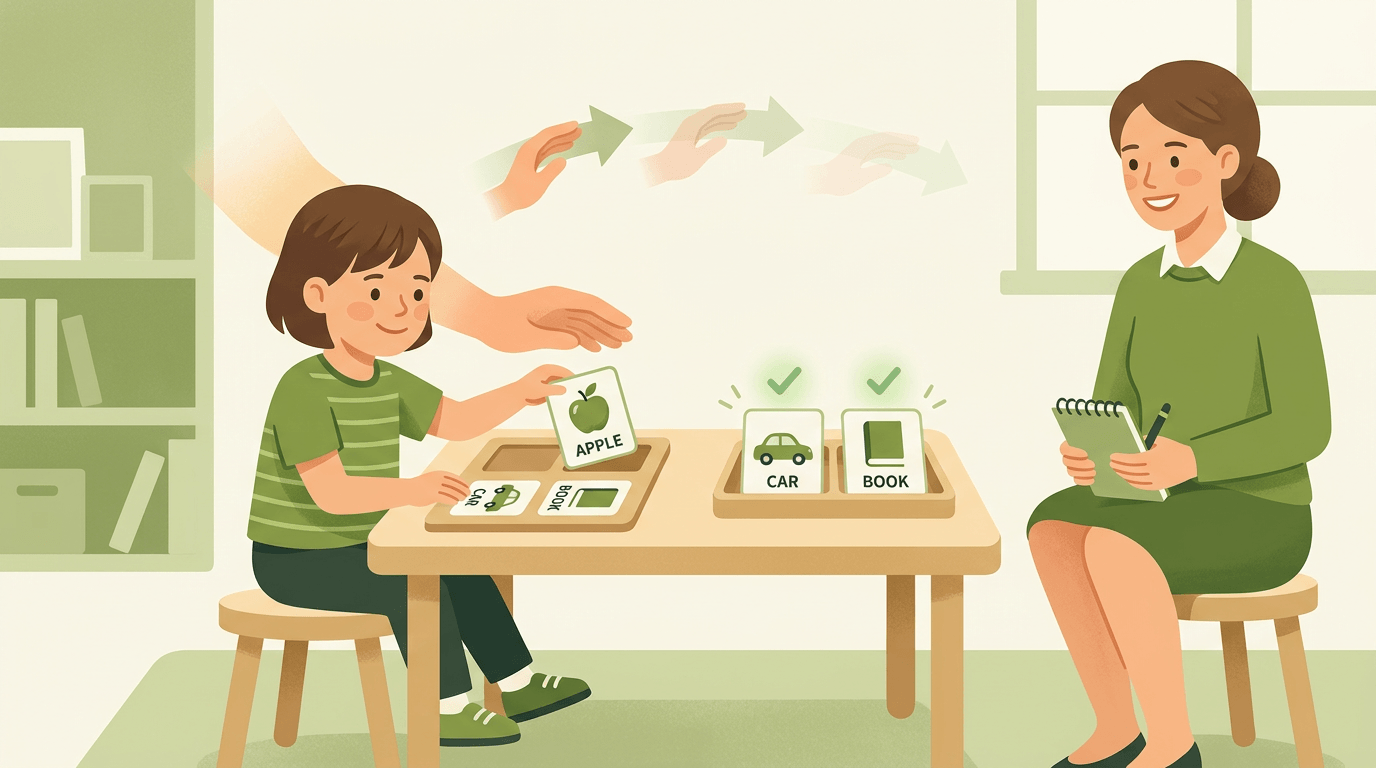
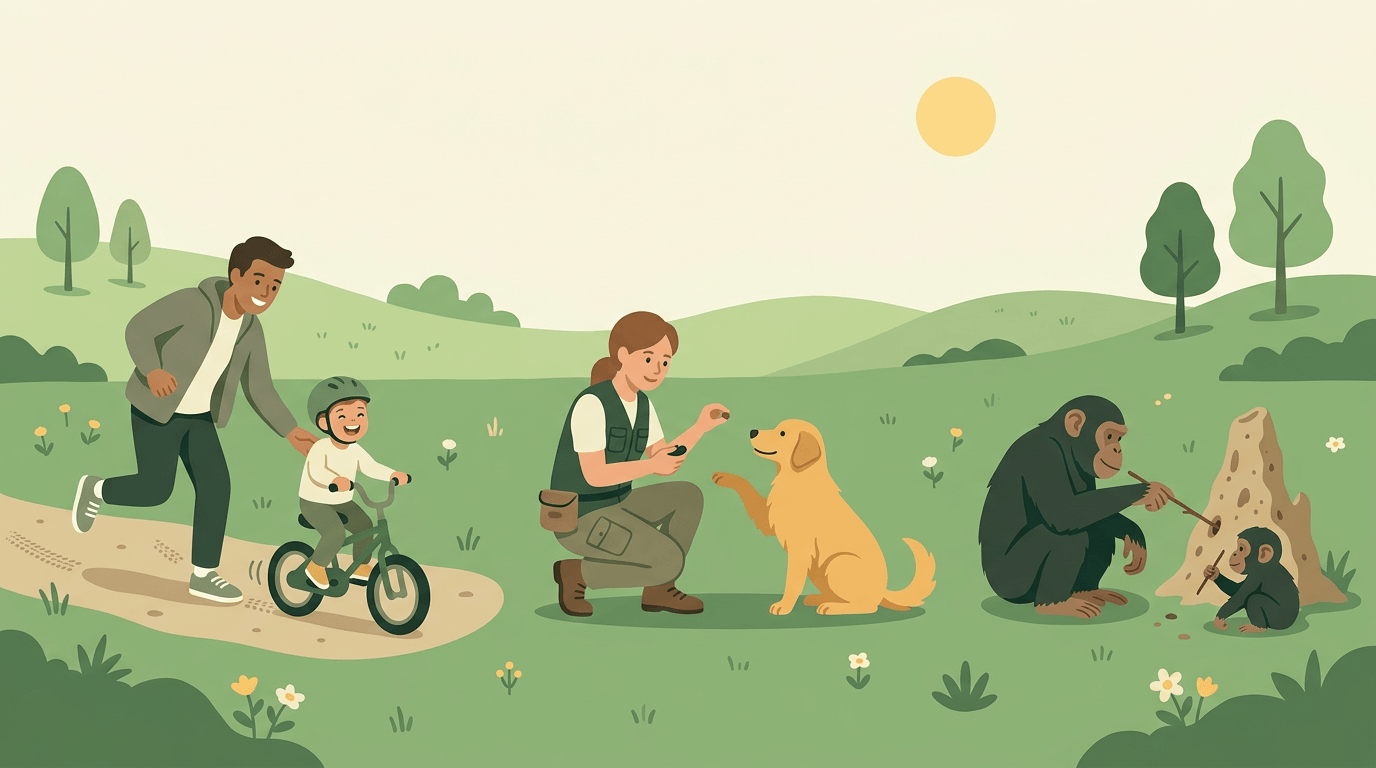
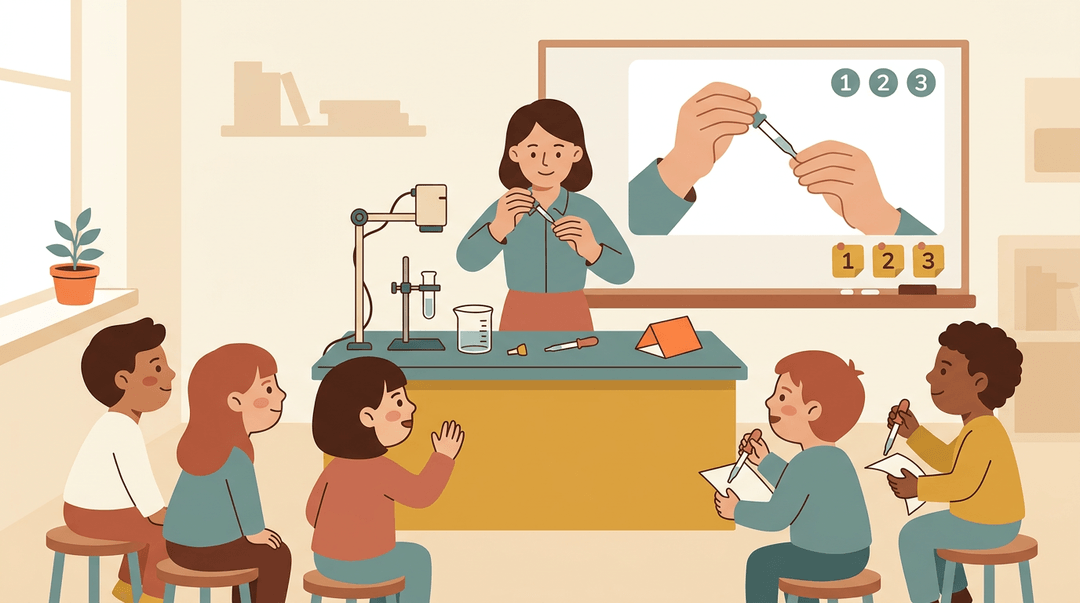
Students learn by doing, but watching first gives them a clear picture of success. Many skills are developed by imitation, and perception aids imitation: when students see each movement up close, they know what to copy.
Picture a middle school art teacher demonstrating how to hold a brush for shading. Students track the angle, pressure, and pace. When they pick up their own brushes, they copy a clear model instead of guessing.
The goal is to see how the work gets done, not just the finished piece.
What the teacher does while demonstrating
As the demonstrator, you're the model, and that takes real technical know-how. Students will copy exactly what they see, so your execution needs to be accurate and steady.
Students act as observers, holding their own attempts until you've finished. Meanwhile, you explain each step and the principle behind it, so they grasp the why as well as the how. Watching comes first.
Plan a Demonstration Lesson Step by Step
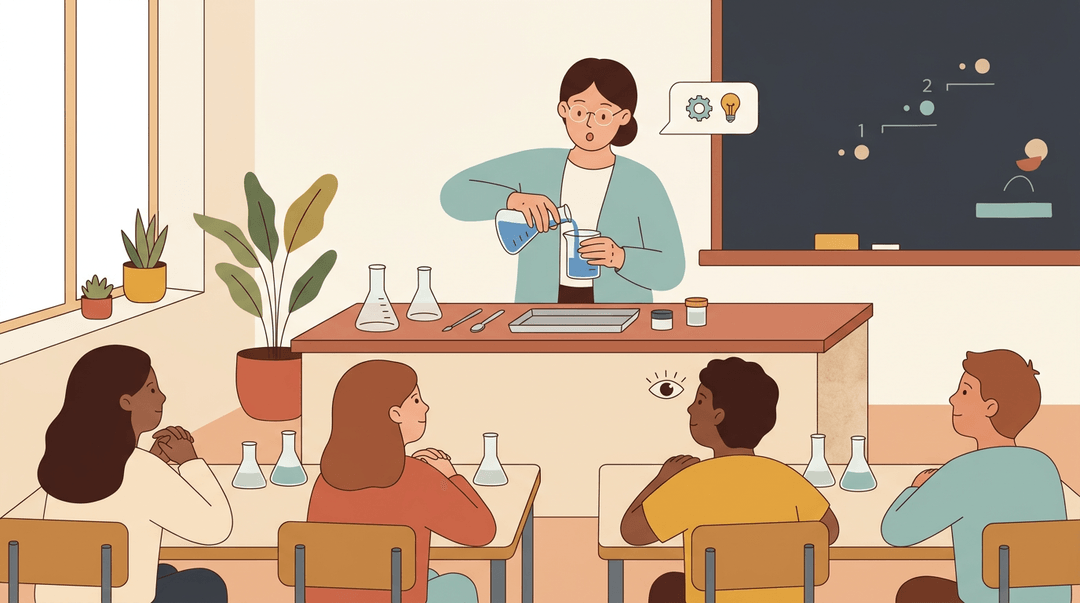
Use this guide when you're teaching a hands-on skill and want students to watch it done before they try it. Plan first, then run it in two passes: you show, then they do.
Plan the demo
- Write a skill-based objective.
- Start with a doing verb. On the board: "I can measure 100 mL of water at eye level."
- List materials and setup.
- Jot what you need and where it sits: "Beaker, tray, paper towels; demo table at front."
- Break the task into steps.
- Aim for three to six. Handwashing: wet, soap, scrub, rinse, dry.
- Plan your safety checks.
- Attach one check to the risky step: "Goggles on before anyone touches the equipment."
Run it in class
Students learn the most when they hear your thinking, not just see your hands.
- Hook and preview the outcome.
- Show the finished result first. Say: "By the end, you'll be able to do this yourself."
- Model it, narrating each step.
- Think aloud: "I'm reading the line at eye level, so the water isn't misleading me."
- Check understanding mid-demo.
- Pause and say: "Show me with your fingers: which step comes next?"
- Move to guided, then independent practice.
- Guided: students copy each step while you circulate. Independent: they do the whole task alone.
⚠️ Watch out: A silent demo shows students motion, not reasoning. If you catch yourself working quietly, stop and say what you're deciding.
Demo ideas by level
| Level | Demo | What you narrate |
|---|---|---|
| Elementary | Handwashing, measuring | The order of steps |
| Middle school | Lab equipment use | Safe handling and why |
| High school | Solving equations aloud | The reason for each move |
| Tutoring | One-on-one modeling | Your thinking, then hand over the pencil |
Example: A high school algebra teacher writes 3x + 5 = 20 and says, "I want x alone, so I undo the +5 first." She subtracts 5 on both sides, then asks, "What's my next move?" Students answer before she writes it.
Pre-demo checklist
Confirm each of these before students walk in:
- Objective stated: it's on the board in student-friendly words.
- Materials tested: you've run the demo once, start to finish.
- Visible to all students: you've checked sightlines from the back row.
- Exit ticket included: one question or task that shows who can do the skill.
Save your demonstration lesson as a reusable template in EMStudio's online lesson planner.
Get Your Demonstration Ready Before Class
A good demo rarely happens by accident. Here's what to plan, and where it fits in gradual release: the sequence that moves students from watching you to working on their own.
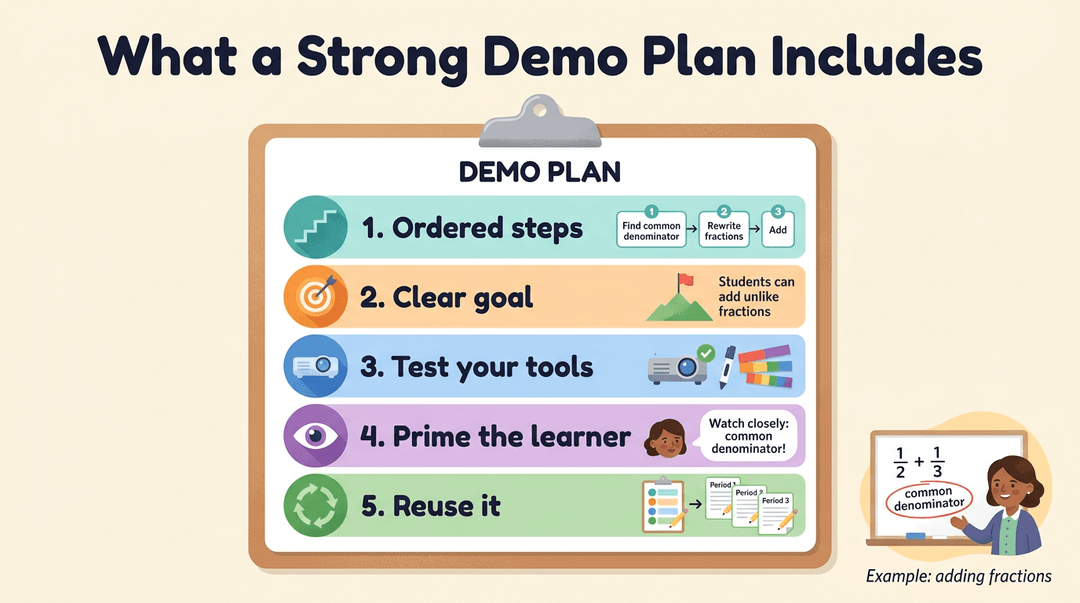
What a strong demo plan includes
A strong demo plan covers five things:
- Logical step-by-step points. Break the skill into ordered moves students can follow.
- Set teaching objectives. Decide what students should master by the end, and let that goal shape every step.
- Proper tools and equipment. Gather what you need and test it early, so a stalled projector doesn't derail the lesson.
- Prepare the learner. Tell students what to watch for and why it matters before you start.
- Reuse demo plans across classes. Write the plan once, then tweak it for each period instead of starting over.
Consider a fifth-grade teacher modeling how to add fractions with unlike denominators. She tells students to watch closely when she finds the common denominator, since every later step depends on it.
Teach the job, try it, follow up
This part runs in three stages:
- Teach the job. Model the whole task, thinking aloud so students hear your reasoning.
- Try them out. Let students attempt the skill, first with support, then on their own. Aim for more doing than watching.
- Follow them up. Check for understanding, then reteach whatever tripped up most students.
Your demo is the modeling stage of gradual release, so practice comes next. Keep it clear, then hand the work over.
Delivering the Demonstration to Learners
A good plan only pays off in the room. Here's how to get learners from hook to hands-on practice, and keep things moving once you're up front. Open with an anticipatory set that gets students curious before you model anything.
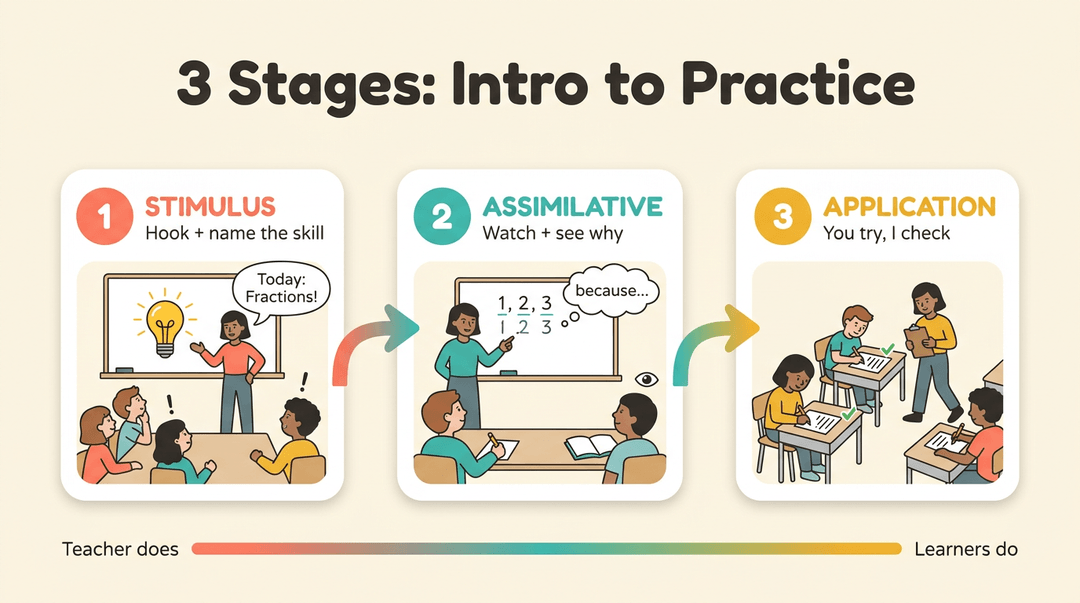
Three stages from intro to practice
- Stimulus step (introduction): Hook learners and name the skill, so they know what's coming.
- Assimilative step (development): Learners absorb the demo as you model each move and explain why it works.
- Application (rehearsal, evaluation): Learners practice the skill themselves while you check their work.
The steps to follow during the demo
- Orient the learners. Tell them where this fits and what's coming.
- Show the intended outcome. Show what success looks like before how to get there.
- Show and describe equipment. Name each tool and what it does before you pick it up.
- Emphasize safety. Hold up the goggles before lighting the burner, so the rule is clear before anyone gets close. Safety first.
- Give the demonstration, then summarize. Model each step, then restate the key points in a sentence or two.
- Rehearse beforehand. Run the full demo once before class, so you're not fumbling with equipment up front.
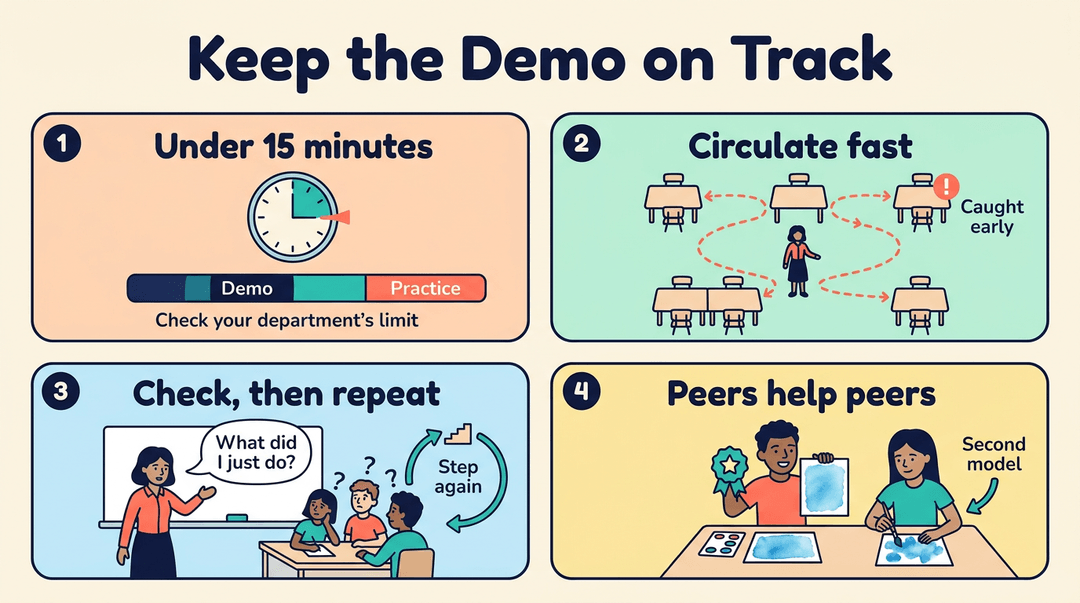
Tips for keeping the demo on track
- Keep it under 15 minutes when you can, leaving time for practice. A noxi.ai post on teaching demonstrations notes they usually run 15 to 30 minutes, but your department may set the length, so confirm yours first.
- Move between learners quickly. Don't camp at one table. A fast circuit of the room catches misunderstandings early.
- Repeat if learners struggle. Pause every few steps to check understanding with a quick question about what you just showed. If several learners look lost, run that step again.
- Skilled learners assist peers. A middle school art teacher demonstrating a watercolor wash pairs the student who nailed the blend with a classmate still fighting puddles, so the classmate gets a second model.
Strengths and Weak Spots of Demonstrations
A demo is only as strong as the moment it fits, so let's look at both sides. Here's where demonstration teaching shines and where it stumbles.
Why demonstrations are worth using
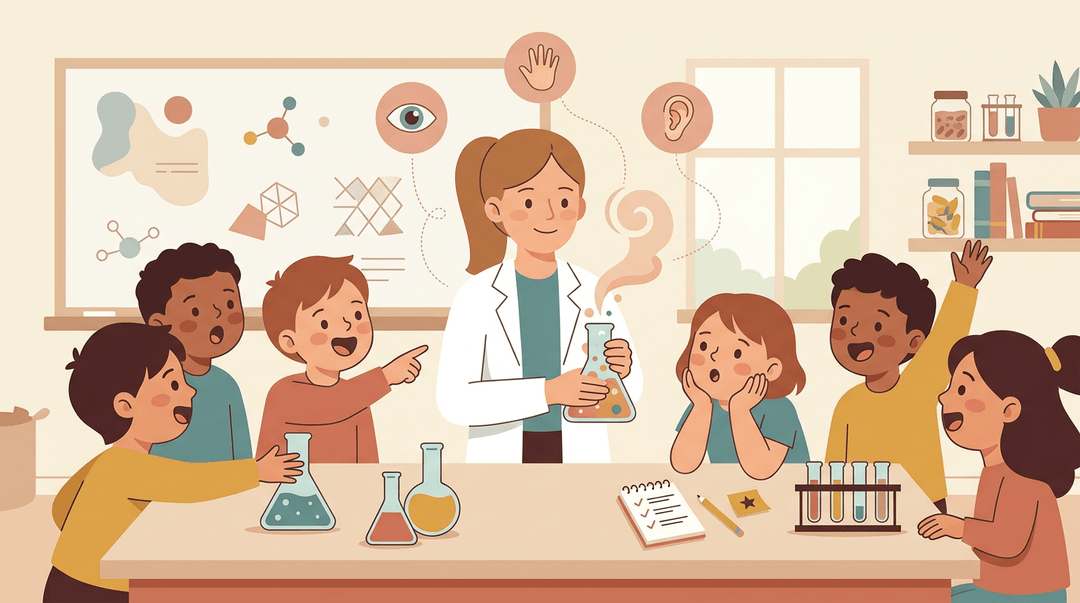
Demos engage several senses at once. A scoping review in STEM learning, published by Frontiers, found that tactile and haptic interaction supported conceptual access to abstract phenomena and active participation.
That's the appeal of multisensory learning.
Because students watch the whole process unfold, what they learn is more likely to last. Seeing a process up close also sparks curiosity and motivation.
Demos boost your confidence, too. Picture a first-year chemistry teacher who rehearses a lab demo the night before and spots the step that trips students up. By class time, she's calm and the model runs smoothly.
Set beside direct instruction, class discussion, or hands-on practice, a demo puts the process right in front of learners, which is why it often comes first.
Drawbacks to watch for in demos
- Mainly for skills subjects. Demos shine for processes like lab technique or a dance step, and they're less natural for ideas that live mostly in reading or debate.
- Only attention is engaged. Watching isn't doing, so pair every demo with a chance to practice.
- Scarce audio-visual equipment. Without a projector or document camera, a demo can get lost. Plan a low-tech backup, like a physical model or a whiteboard sketch.
Adapting demos for diverse learners takes small moves. A special education teacher modeling lab setup might slow each step, repeat key vocabulary, and hand one student a printed step card so everyone can follow along.
A good demonstration does more than show learners the steps. It gives them a clear model of success, a chance to watch thinking in action, and a path into their own practice. Pair it with time to try, and learners can take that first step with confidence.
Ready to put this into practice? Start planning your next demo with Lesson Planning in EMStudio, where you can write, organize, and reuse lessons across multiple classes from one place.
References
Frequently asked questions
What is the demonstration method in teaching and learning?
The demonstration method is a teaching approach in which an instructor shows learners how to perform a skill or understand a process before they try it themselves. The teacher models each step and explains the reasoning, then learners practice with guidance and independently.
What is a demonstration class?
A demonstration class is a lesson in which the teacher models a skill, concept, or principle for students to observe before practicing it. It works especially well for processes that are difficult to understand from verbal directions alone, such as using lab equipment or folding a model.
What is the best topic for a demonstration teaching?
Choose a topic with a process that is difficult to picture from words alone, especially one involving clear, observable steps. Examples include a lab technique, a cooking skill, measuring accurately, solving an equation aloud, or using an art tool safely.
What are the 10 teaching strategies?
There is no single official list of 10 teaching strategies, but common strategies include direct instruction, demonstration and modeling, discussion, cooperative learning, inquiry-based learning, problem-based learning, project-based learning, guided practice, independent practice, and formative assessment. Teachers often combine several strategies to suit the learning goal and students’ needs.
What are the four models of teaching?
The four commonly cited models of teaching are information-processing, social interaction, personal, and behavioral systems models. They emphasize, respectively, thinking and information skills, learning with others, personal growth, and observable behavior or skill development.
What are the 5 methods of teaching with examples?
Five common teaching methods are direct instruction, such as explaining a math rule; demonstration, such as modeling a lab procedure; discussion, such as debating a historical decision; cooperative learning, such as solving a problem in groups; and inquiry-based learning, such as testing which materials conduct heat. The best method depends on the objective, content, and learners.