Teaching for Artistic Behavior: A Complete Guide

Jump to section
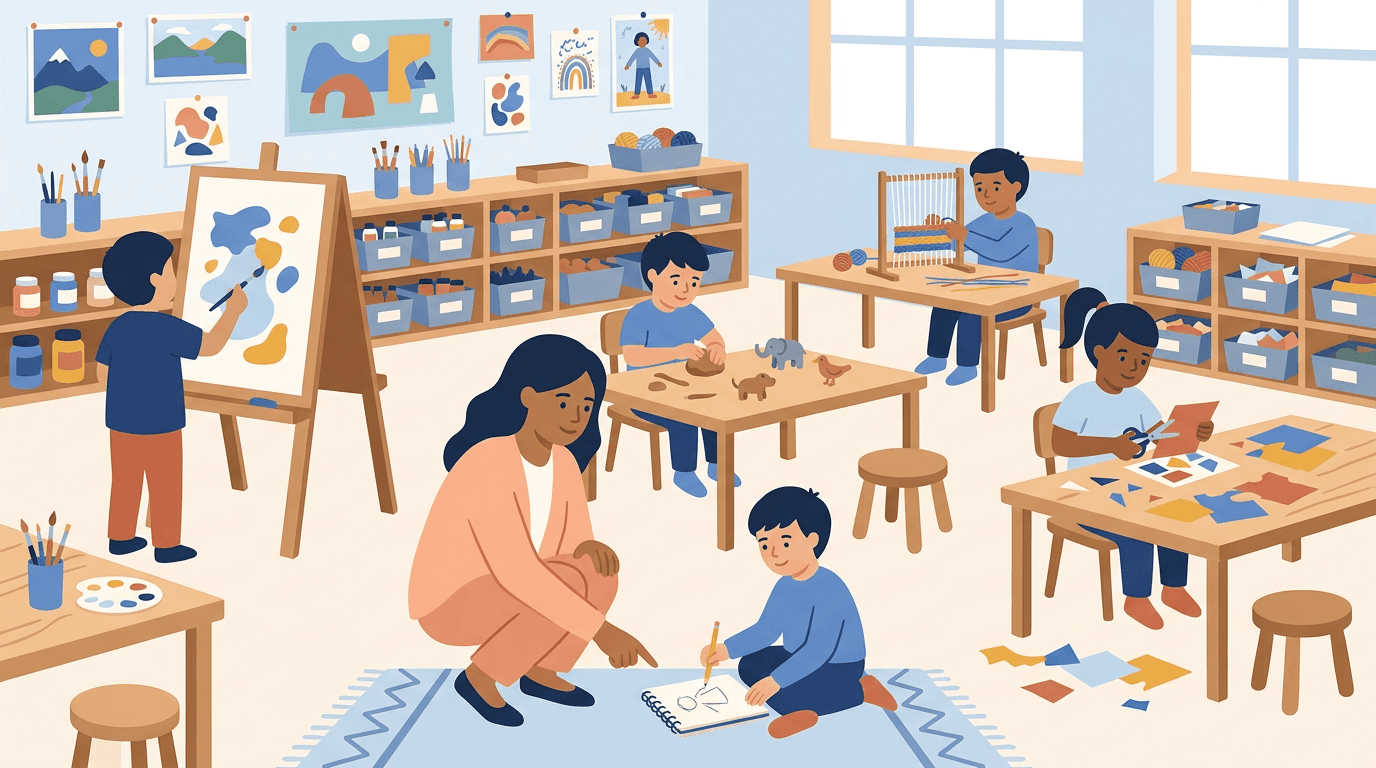
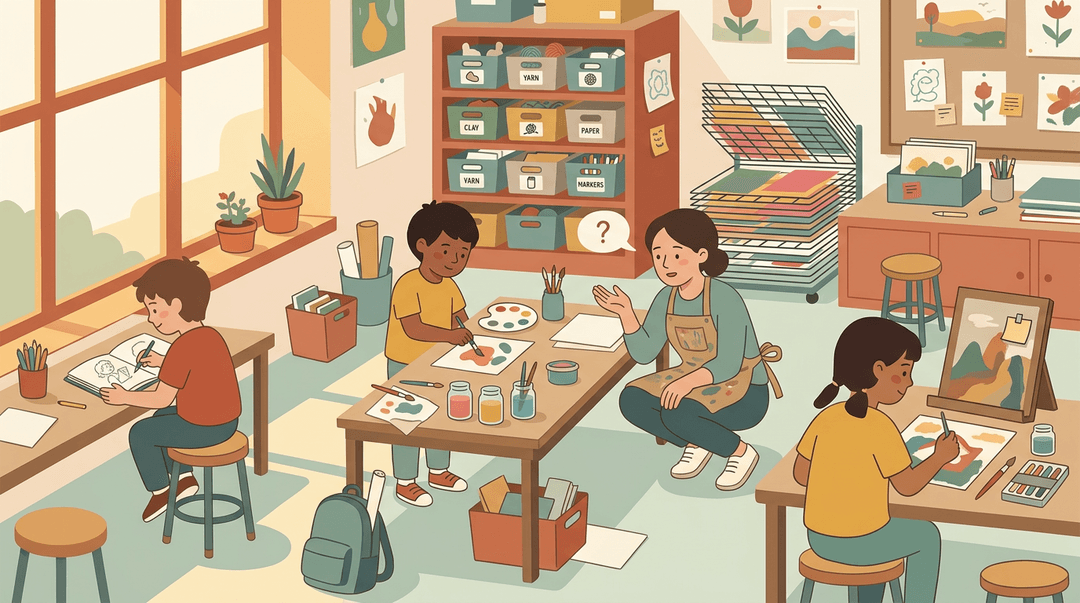
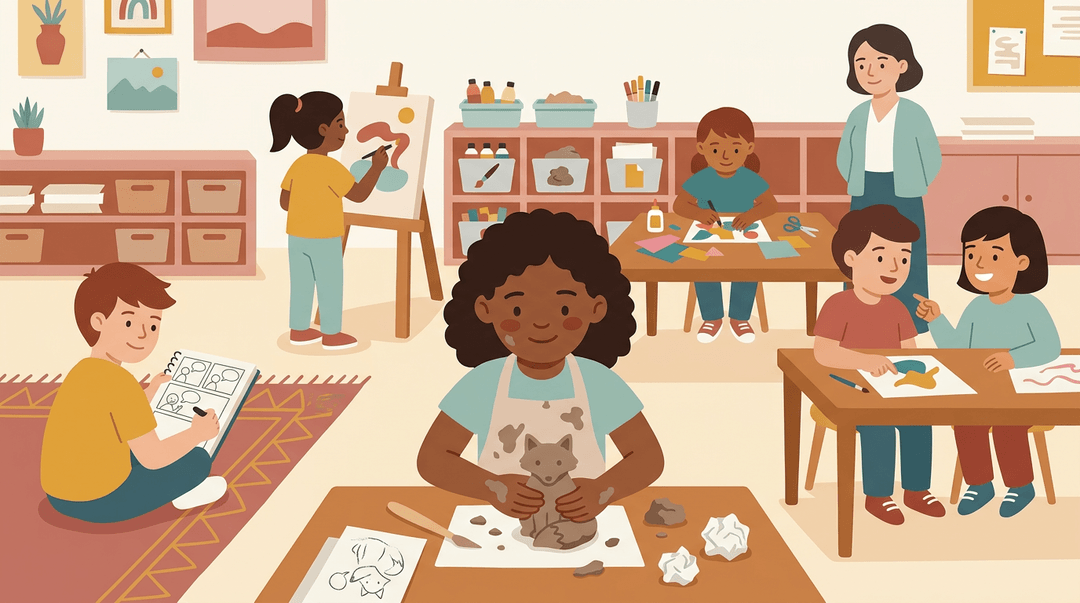
Picture a busy art room during open studio time. One student is sketching by the window, another is mixing paint, and a third is reworking a piece from last week, while the teacher moves from table to table asking questions.
That's the heart of Teaching for Artistic Behavior: students make real choices about their work, and the teacher guides those choices with purpose.
In this post, we'll explain what the approach means, where choice fits on the spectrum, and how to set up your studio.
We'll also cover lesson structure, assessment, and a practical classroom management playbook for keeping a choice-based room running smoothly.
What Teaching for Artistic Behavior Is
Teaching for Artistic Behavior (TAB) is a choice-based approach to art education, and its roots explain much of its design.
Where choice-based art came from
Choice-based art education puts students in charge of real studio decisions. TAB grew from grass-roots efforts by teachers working together, not a top-down mandate.
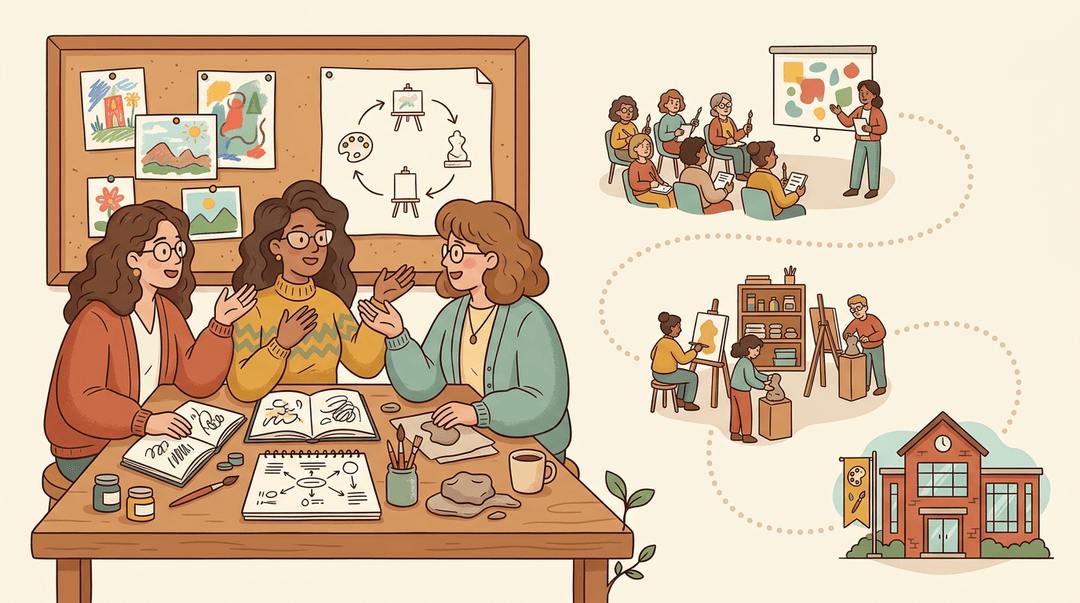
According to TAB's own history, Douglas, Crowe, and Joseph met in the 1990s to offer choice-based professional development at Massachusetts College of Art and at regional and national conferences. It's research-backed, too.
Academic institutions have endorsed it. According to Katherine Douglas, faculty at Massachusetts College of Art and Design teach a yearly week-long graduate institute on it.
How this connects to other frameworks
It connects to several established ideas:
- Studio Thinking habits of mind. TAB draws on the habits of mind artists use while they work.
- Student inquiry and choice. Students pose their own questions and follow them.
- Focus on artistic behaviors. The emphasis is on what artists actually do: choose, experiment, revise, and reflect.
- Complex curricular concept. TAB isn't a bundle of activities. It reshapes how you plan and run your room.
Traditional Discipline-Based Art Education (DBAE) builds lessons around content the teacher sets. TAB flips the focus from what students are assigned to how they think and work as artists.
How much choice students get
Not one size fits all. The right amount of choice depends on your students' age, experience, and goals.
Varying degrees of choice. Choice runs along a spectrum, from a few open prompts to students picking their own subject and process. Choice is a dial, not a switch.
Think of a middle school art teacher who opens the year with three open prompts. By October, her students are working on very different projects, and she has time to confer with each student.

Setting up a Choice-based Classroom
Choice works best when the room makes choosing easy. Here's how to set that up for Teaching for Artistic Behavior (TAB), from centers to routines.
Choosing your centers and studio areas
Start with three anchor areas:
- collage
- drawing
- painting
Decide which areas are permanent centers and which are temporary. Permanent centers build habit; temporary ones add novelty.
Short on space? Try table kits instead of centers: a tray of paper, glue, and scissors at each table.
Organizing supplies students can grab easily
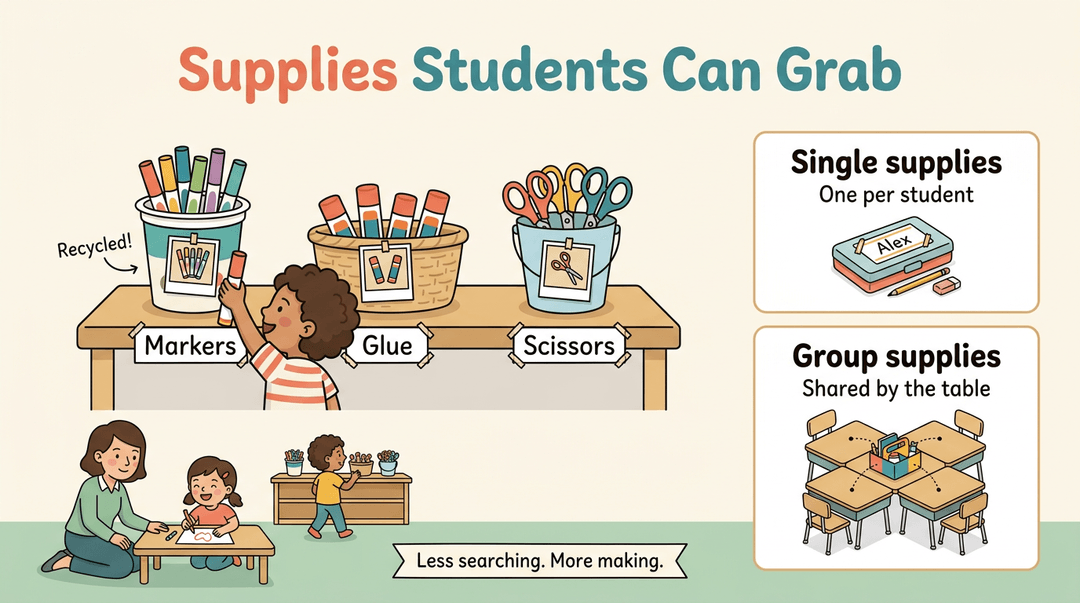
Label everything with photos as well as words, so students can find materials without asking. Small baskets and buckets keep supplies within reach, and low-cost recycled containers, like yogurt tubs, work just as well.
Decide which items are single supplies and which are group supplies. Single supplies belong to each student; group supplies belong to the table.
Picture a second-grade teacher who tapes a photo to each bin. By Wednesday, students grab markers on their own, and she's free to confer with a student at the drawing table. Less searching. More making.
Teaching the routines students follow
Launching TAB? Spend your first week teaching routines, and add centers only once students can run the basics.
Five routines carry the studio:
- Procedure posters per center: Post three or four illustrated steps at each center.
- Cleanup expectations: Show what a clean table looks like.
- Close messy centers if neglected: Shut a center until students can show the cleanup routine. A closed center is a lesson too.
- Ongoing adjustment with student feedback: Ask what's working, then tweak routines together.
- Attention signals during studio time: Pick one signal, like a chime, and practice until students stop on cue.
Checklist for Running a Choice-based Studio
Use this guide to open a choice-based studio, run each day's rhythm, and fix trouble fast. Launch first, then keep the daily routine steady, then adjust for your grade band.
Launch your studio
- Start with two centers
- Pick familiar ones, like drawing and collage, that are easy to supervise.
- Model each procedure
- Show how to get, use, and return materials, then ask a student to redo it.
- Practice cleanup together
- Say: "Before anyone makes anything, let's rehearse cleanup once."
- Add centers gradually
- Introduce each new center with a short demo of its materials.
⚠️ Watch out: Opening more centers before cleanup is solid invites the problems in the last table below.
Ready for a new center? Confirm:
- Cleanup is quick. Materials return to their homes without reminders.
- Procedures hold. Students get and return supplies without you stepping in.
Run the daily routine
The same beats every day let students spend their energy on art, not on guessing what comes next.
| Beat | What happens | Your move |
|---|---|---|
| Mini-lesson | One short demo or idea | Show one technique, then stop |
| Planning check-in | Students name their plan before moving | Ask: "Where are you working, and what will you try?" |
| Work time | Students work at centers | Circulate and hold short conferences |
| Cleanup signal | A timed cue ends work | Give a warning, then a chime |
| Reflection circle | Students share and look back | Ask: "What did you try today, and what's next?" |
Example: A fourth-grade teacher ends the mini-lesson with a clay-coil demo. Students check in at the door of their center, work, and clean up on the chime. In the circle, one student holds up a lopsided pot and explains the coil that collapsed. The class now has a real problem to solve tomorrow.
Adjust for your grade band
| Grades | Planning tool | What it looks like |
|---|---|---|
| K-2 | Picture choice boards | Students point to or clip a picture of their center |
| 3-5 | Planning sheets and goals | "Today I will... My goal is..." |
| 6-8 | Independent project proposals | A short proposal with idea, materials, and plan, approved before starting |
Solve common problems quickly
| When you see... | Try... |
|---|---|
| Student stuck without ideas | Say: "Show me what you've tried. What's one thing you could change?" Or point to a classmate's work or a past plan. |
| Supply misuse | Pause that center, re-model the procedure, then reopen it. |
| Off-task student | Hold a quick conference: ask about their plan, agree on one next step. |
| Trust is shaky after a reset | Reopen centers one at a time, name what's going well, and hand choices back gradually. |
Use EMStudio's planner to track student choices, center rosters, and behavior notes in one place.
Structuring Lessons Around Student Choice
Open choice with no direction can leave students stalled before they start. Structure is what makes choice work, so here's how we frame every lesson around one big question. Teachers looking for proven ways to build that structure can start with Marzano classroom instruction that works.
Order of a structured choice lesson
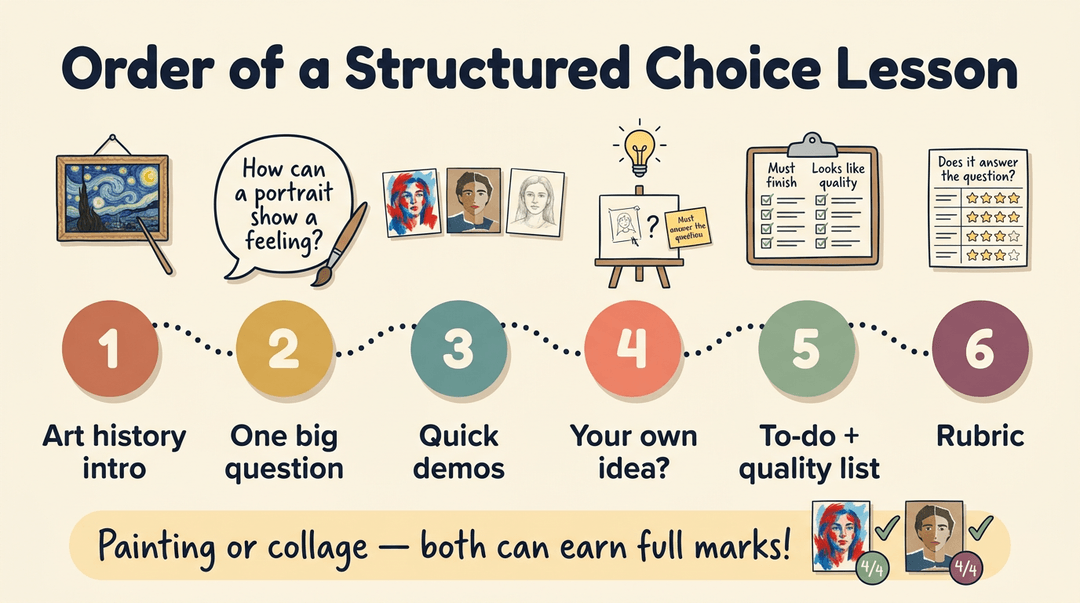
Every lesson runs in this order:
- Art history topic introduction. Open with a short look at an artist, movement, or idea.
- Essay-style question answered artistically. Pose one open question and let students answer it with artwork, not paragraphs.
- Short multi-project demos. Show two or three quick projects that answer the question differently, so students see real options.
- Option to design own project. Students may propose their own project if it answers the same question.
- To-do and expectation lists. Post what everyone must finish and what quality looks like.
- Rubric tied to question. Score each piece on how well it answers the question.
Picture a middle school art teacher asking, "How can a portrait show a feeling?" A painting and a collage can both earn full marks.
Planning, differentiating, and assessing student work
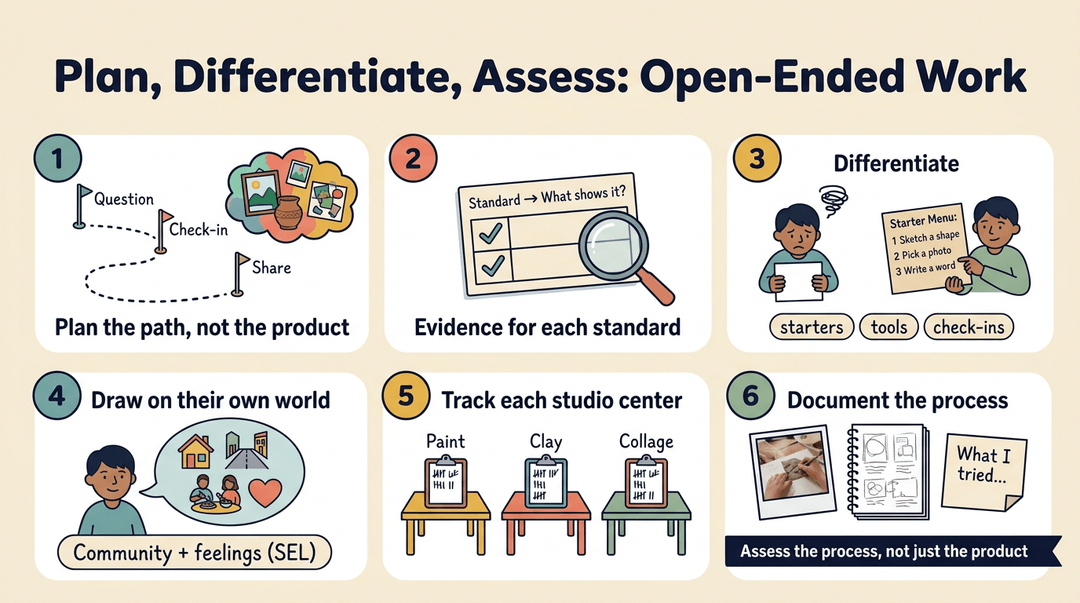
- Open-ended lesson planning. Plan the question and checkpoints, not one final product.
- Standards and assessment questions. Ask what evidence shows a student met each standard, and build that into your rubric.
- Differentiated instruction. Adjust starters, tools, or check-ins. A student who freezes at a blank page can choose from a three-option starter menu, so they don't start from nothing.
- Culturally responsive and social-emotional learning (SEL) goals. Invite students to draw on their own communities and experiences.
- Track student progress per center. Keep a simple record for each of your studio centers, the stations where students build their work.
- Assessing choice-based work: documentation methods. Collect photos, sketchbook pages, and reflections so you can assess the process rather than the product.
Why Teachers Choose This Approach
Teachers who make this switch often start with one question: what happens when students get to decide?
How choice gets students more engaged
When students choose their own subject or medium, the work feels like theirs. That's authentic engagement.
Teaching for Artistic Behavior (TAB) puts process ahead of product. A study on strategies for guiding children's art activities found that students in TAB classrooms engage in more exploration and risk-taking.
Students like having choice, and that shows up in their effort. Picture a fifth-grader who would rather sculpt a clay animal than draw one. When she gets to pick, she sticks with it through the messy middle, where the real learning happens.
Choice also brings out talents a single assignment can miss: the student who sketches comics at lunch can finally lead with that skill.
Peer critique becomes a natural habit once students work on different projects. They ask questions, offer feedback, and borrow ideas from each other. Choice opens the door, and collaboration walks in right behind it.
What drives teachers to make the switch
For many teachers, a mentor's encouragement is what makes the leap possible. Watching a veteran art teacher run a studio full of different projects can change how you see your own room.
Many art teachers got into the field because they love making art, and they want students to feel that same pull. The goal is students who keep creating long after the bell rings.
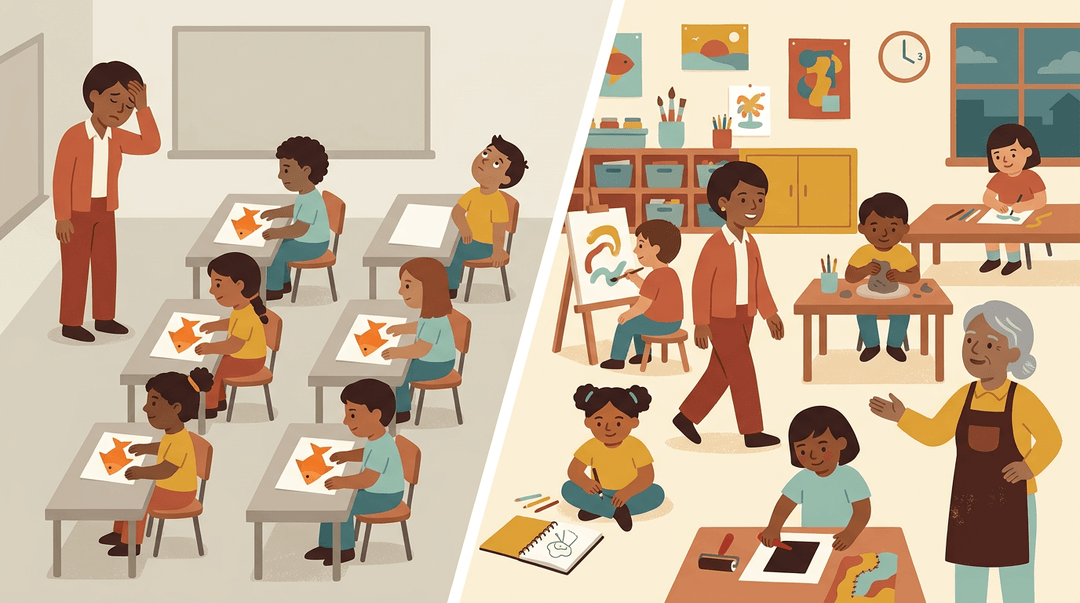
Teachers also switch when the old model stops working. If every student makes the same project, you end up managing the few who finish early and the ones who never start. Teachers weighing a new model of instruction can also read The New Art and Science of Teaching.
A choice-based studio trades that for a different challenge: supporting many projects at once.
Where to Learn More and Get Support
Once you've got Teaching for Artistic Behavior (TAB) down, you'll want people and resources to keep growing, so here's where to look.
Books and courses worth your time
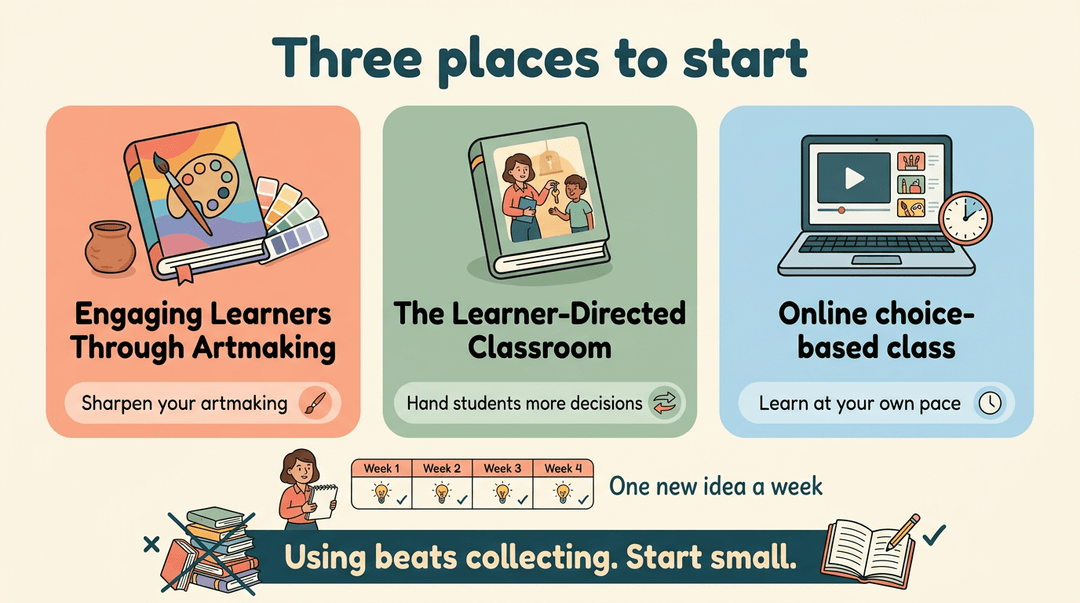
Picture a middle school art teacher who's just shifted toward student choice. A book or course fills the day-to-day gaps, so she can try one new idea each week instead of rebuilding everything at once.
Three places to start:
- Engaging Learners Through Artmaking: strongest for sharpening the artmaking side of your studio.
- The Learner-Directed Classroom: a good match when you're handing more decisions to students.
- Online choice-based class: useful when you'd rather work at your own pace.
Growth comes less from collecting resources and more from using them. Start small.
Webinars and groups that can help
Think of a first-year art teacher who's the only studio teacher in her building. A peer group gives her someone to ask when students request something new.
A few live and community options are worth a look, starting with the National Art Education Association (NAEA):
- NAEA Going Deeper with TAB: a strong pick once you're ready to go beyond the basics.
- Studio habits webinar: worth watching when you're building daily routines.
- TAB website and conferences: check for updates and conference sessions where you can meet teachers.
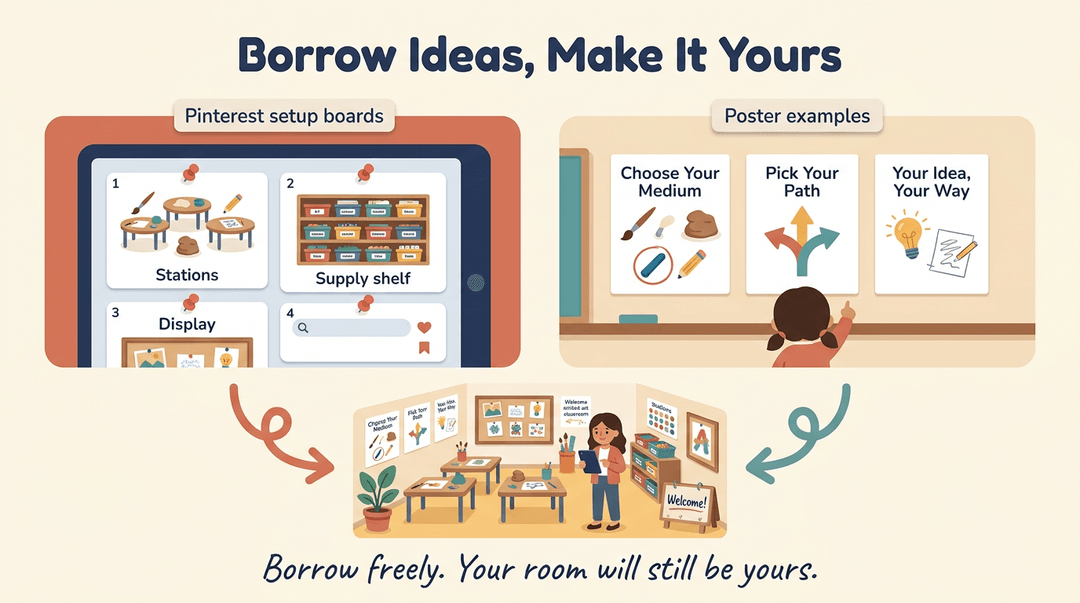
Pinterest boards and poster ideas
Consider a high school art teacher who wants her room to feel inviting from day one. Saved boards let her borrow layouts instead of starting from a blank page.
Two ways to start:
- Pinterest setup boards: save layouts for stations, supply shelves, and displays.
- Poster examples: pick posters that show students what choice looks like in practice.
Borrow freely. Your room will still be yours.
Common Worries and Roadblocks
Choice-based studios raise real questions. Here's where they show up, and how we tackle them.
How administrators may see choice
Some administrators hear “student choice” and picture a “do whatever” classroom. The answer isn't less choice. It's structured choice: students pick from defined media and goals while you set expectations.
A second-grade teacher who shares her schedule and materials list makes that structure visible.
The heavy planning and supply load
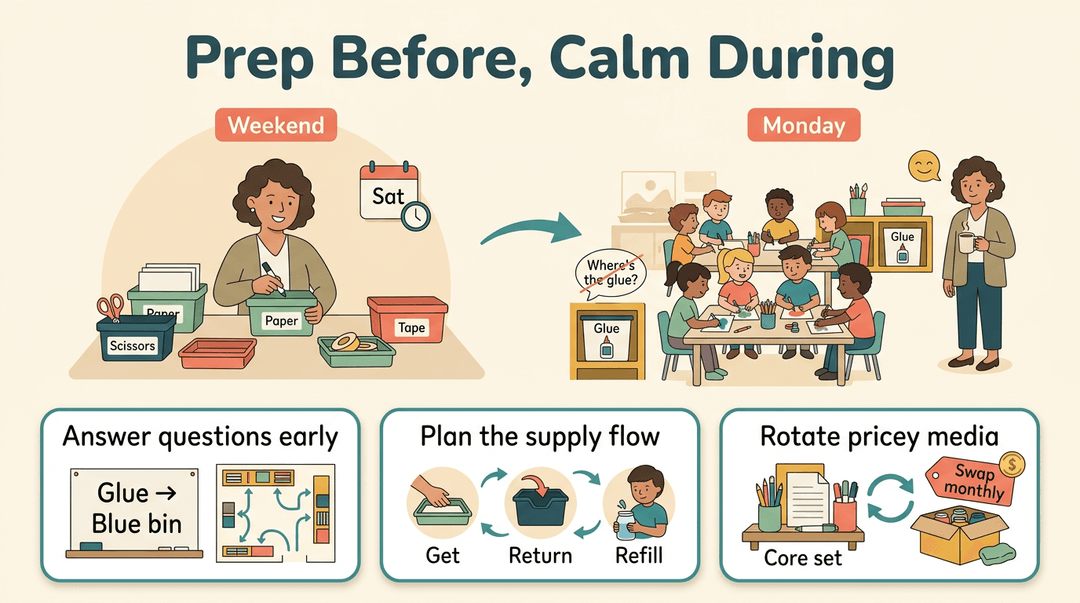
Choice-based studios take more prep. Heavy upfront planning is the first hurdle, since most of the work happens before students walk in. Watch these three areas:
- Anticipating student questions. Post answers to “Where's the glue?” so you're not repeating it all morning.
- Material availability and distribution. Decide how supplies get out, where they go back, and who refills them.
- Budget limits on media. Paint and clay add up fast, so choose a core set and rotate the rest.
Think of a third-grade teacher who spends one weekend labeling bins. Soon she's answering far fewer “Where is it?” questions.
Keeping self-directed students on track
Students must self-direct, which means knowing what to do next, not just being left alone. That's personal responsibility, and it's a skill students build, not one they arrive with.
Centers can feel like recess to students and colleagues. A studio looks like learning rather than free time when students can name their next step.
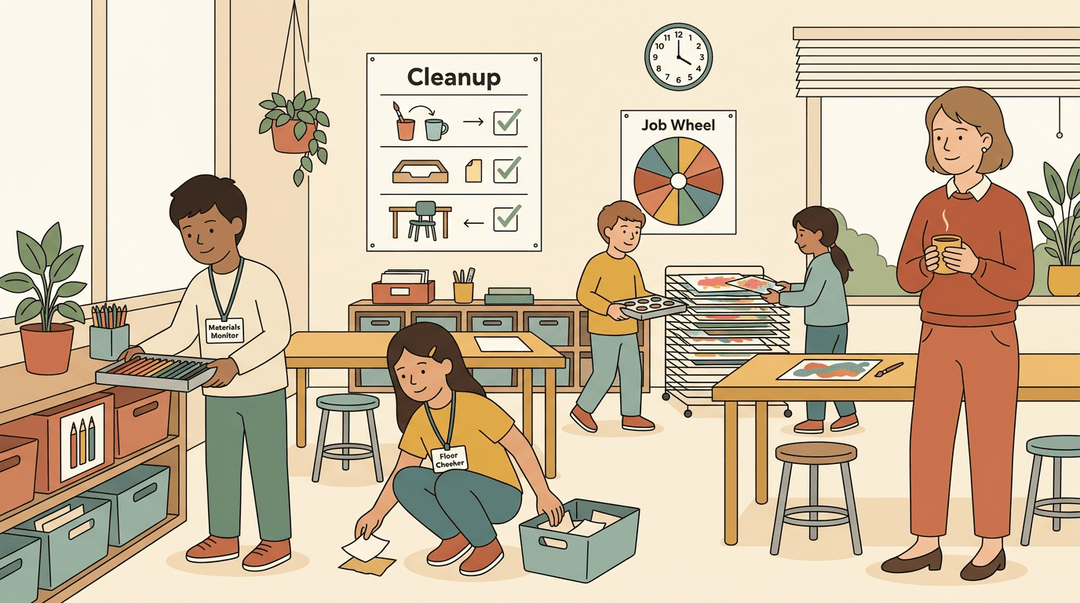
Cleanup is often where studios wobble, so write expectations down: what goes back and where it goes.
Hand cleanup to students with rotating studio jobs, like materials monitor or floor checker. Think of a fourth-grade teacher whose last five minutes stop being a scramble.
When students own their work and you've built a clear structure around it, choice doesn't mean chaos. It becomes a powerful tool for growth, in a studio where every learner knows what to do and why it matters.
Ready to bring that structure to your own studio? Explore Class Management in EMStudio to organize your classes, sections, rosters, and timetables in one place.
References
- Katherine Douglas — exa.ai (2026)
- Effective strategies for teachers to guide children’s art activities: based on a survey of children’s art activities and teacher guidance, and an analysis of their correlation — pmc.ncbi.nlm.nih.gov (2025)
- Our History — teachingforartisticbehavior.org
Frequently asked questions
What is the least stressful teaching job?
There is no single least stressful teaching job; stress depends on the school, workload, class size, and support. Some teachers find roles with predictable routines and smaller groups less stressful, while choice-based art teaching can offer meaningful student engagement but requires upfront planning and active classroom management.