Preschool Classroom Layout: A Complete Guide

Jump to section
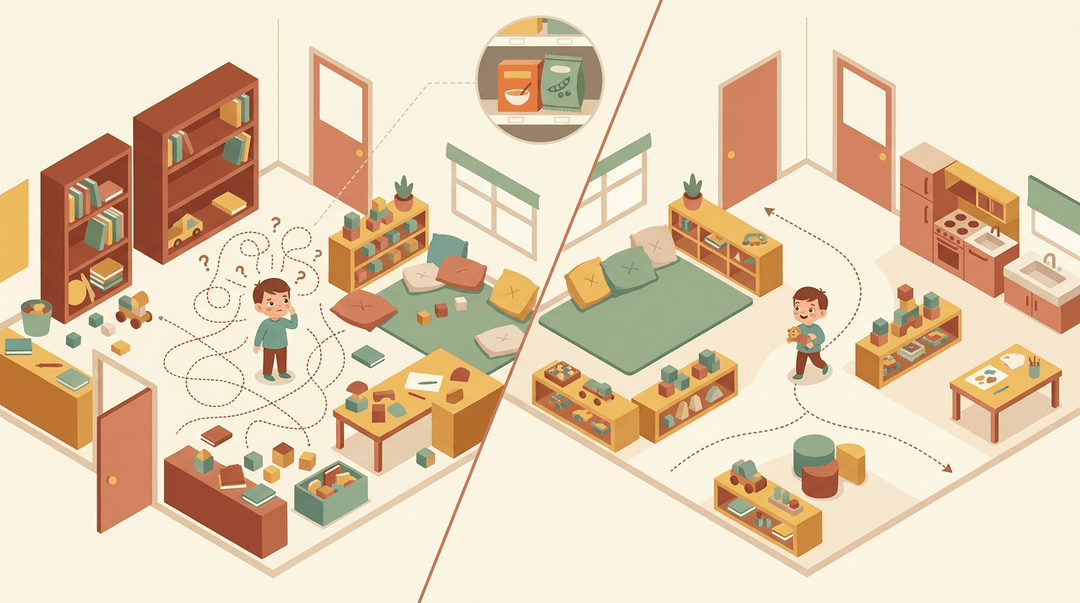
Picture a grocery store where the cereal is hidden behind the frozen peas. You'd spend more time hunting than shopping. A preschool room can feel the same way to a four-year-old when the layout isn't working, but a little planning changes that.
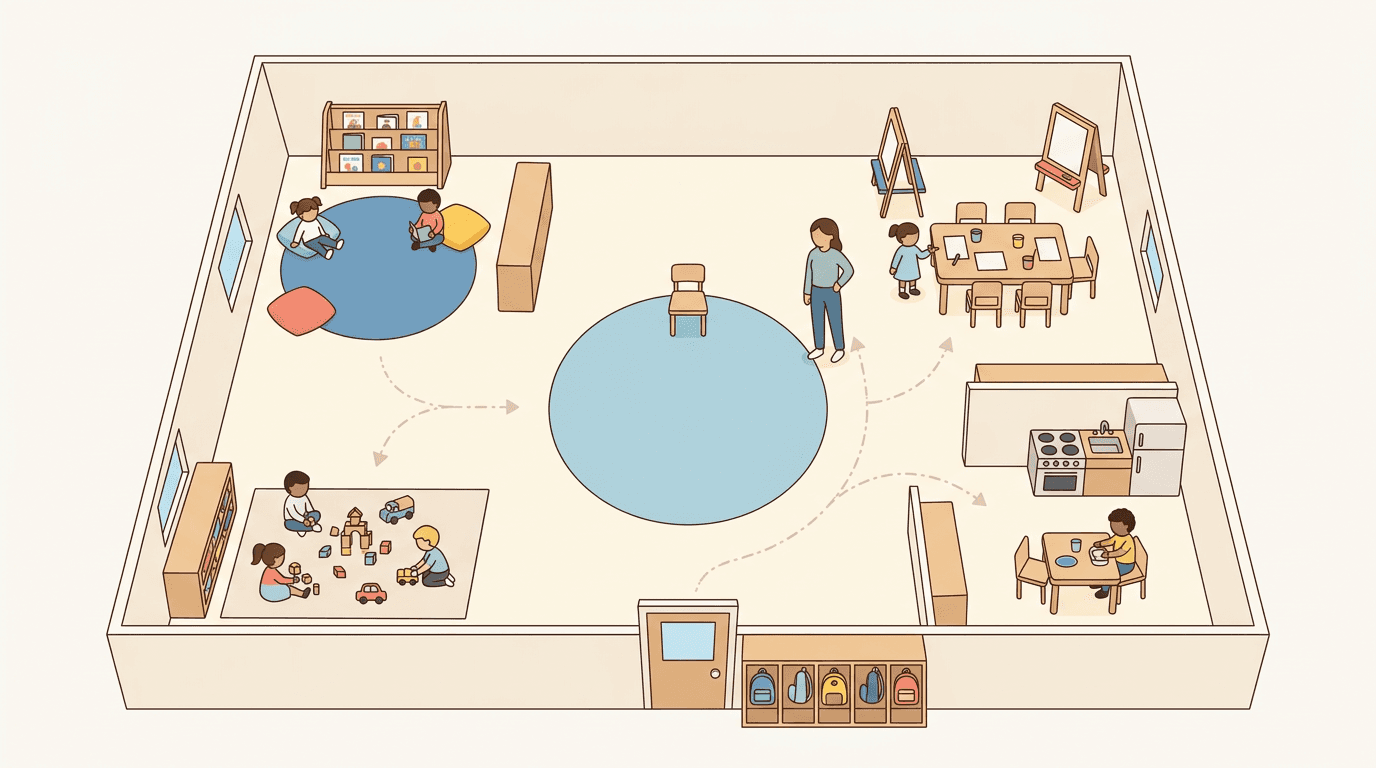
Preschool classroom layout is how you arrange interest areas, furniture, traffic paths, and materials so children can move, choose, and play with purpose.
In this post, we'll cover interest areas, furniture placement, traffic flow, safety, and inclusion, then finish with a setup-and-adjust checklist you can use right away.
Defining Interest Areas for Preschool Classroom Layout
Interest areas are defined spaces where children choose their own play. Here's what to include and why it matters.
The core play areas to include
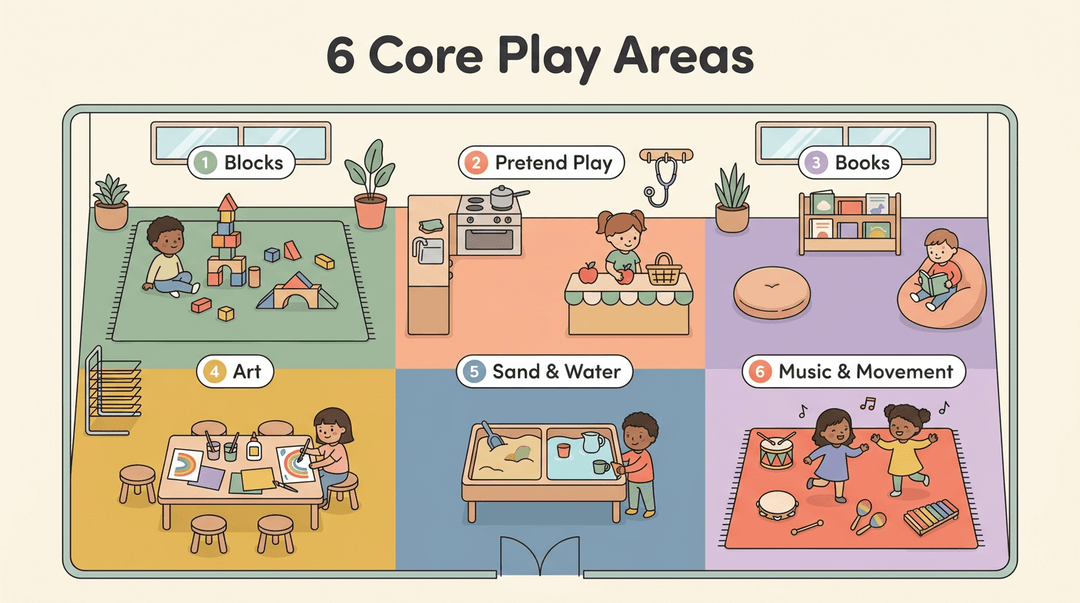
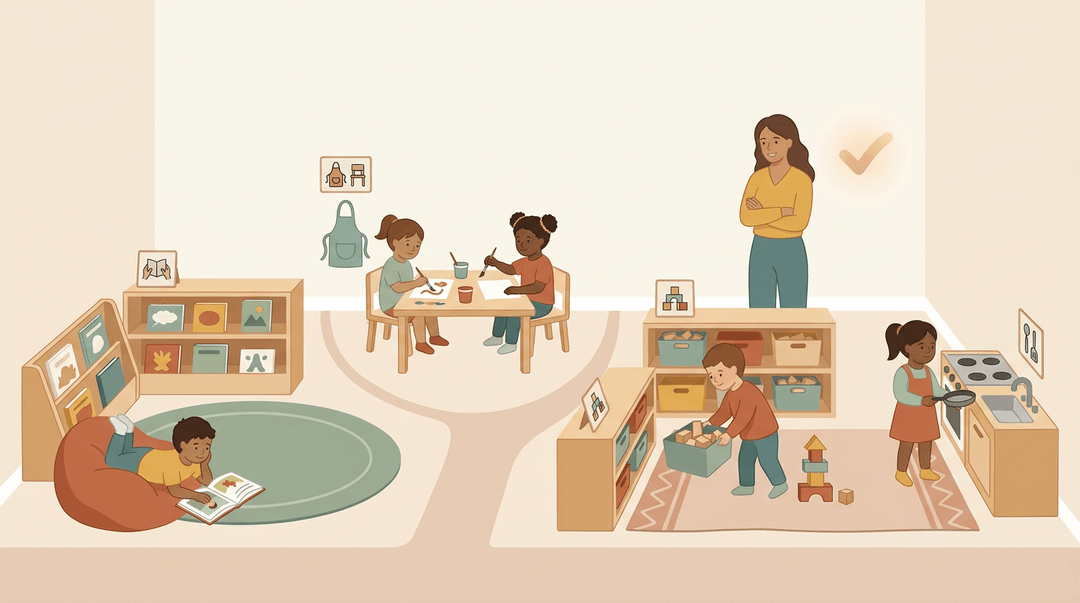
Most rooms need these six core spaces:
- Block area: Open floor space for building and balancing.
- Dramatic play area: A pretend kitchen, store, or clinic.
- Library area: A cozy corner with books at child height.
- Art area: A washable table for paint, glue, and paper.
- Sand and water: A contained tub for pouring and scooping.
- Music and movement: Room to sing, dance, and play simple instruments.
Where science, math and STEM happen
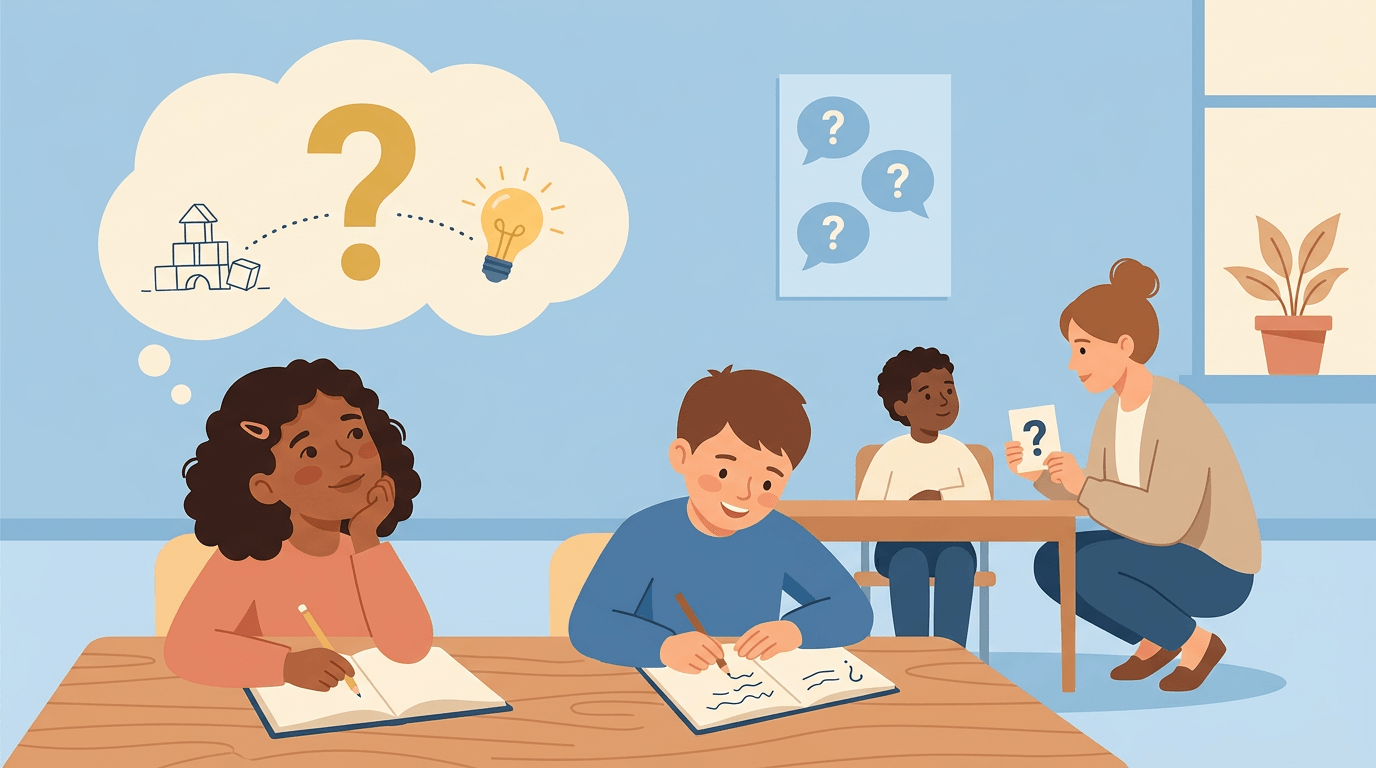
Think of a pre-K teacher who swaps one new object into the discovery area each week. Children start asking questions, and the teacher spends less time hunting for prompts. The goal isn't answers but questions.
- Discovery area: Shells, magnifiers, and natural objects to sort and observe.
- Science corner tools: Scales, cups, and a display for a class plant or pet.
- Math learning center: Counting bears, pattern blocks, and number cards.
- STEM discovery table: Simple building challenges, like marble runs and gears.
Stations for sensory and creative play
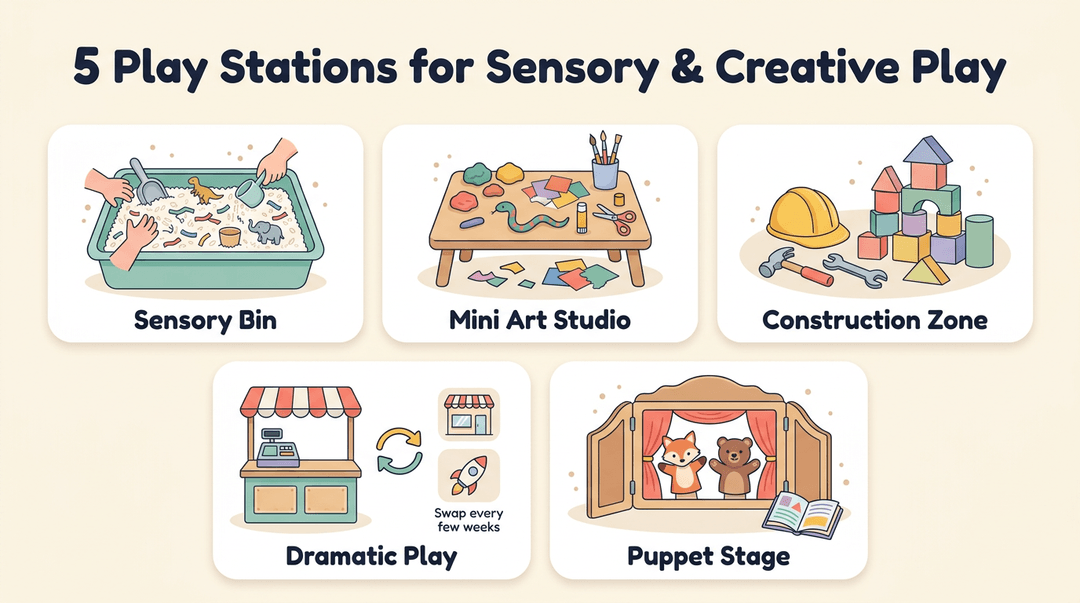
- Sensory bins: Shallow tubs of rice or shredded paper with scoops.
- Mini art studio: A small table with clay and collage scraps.
- Rotating dramatic play themes: Swap the setup every few weeks to keep it fresh.
- Construction zone: Hard hats, pretend tools, and foam blocks.
- Puppetry and storytelling corner: A small stage with puppets for retelling stories.
Why clearly defined areas help kids
Clear areas do more than tidy a room. They shape how children behave in it:
- Fosters child independence: According to Cryer et al. (2003), materials should be easily accessible so each child can use them independently.
- Boosts engagement and exploration: Virtual Lab School's Learning Environments lesson notes that interest areas are key tools for learning in preschool environments.
- Reduces challenging behaviors: Children don't spend as much time wandering when each space has a clear purpose.
- Supports small-group interaction: A two-chair art table invites a few children to work together.
- Post simple rules per area: Keep one or two short rules at each station, with a picture for each.
Clear spaces mean less repeating yourself.
Placing Areas and Choosing Furniture
Where each interest area sits shapes how children play and move. Here's how we'd place each one and choose furniture that lets children explore on their own.
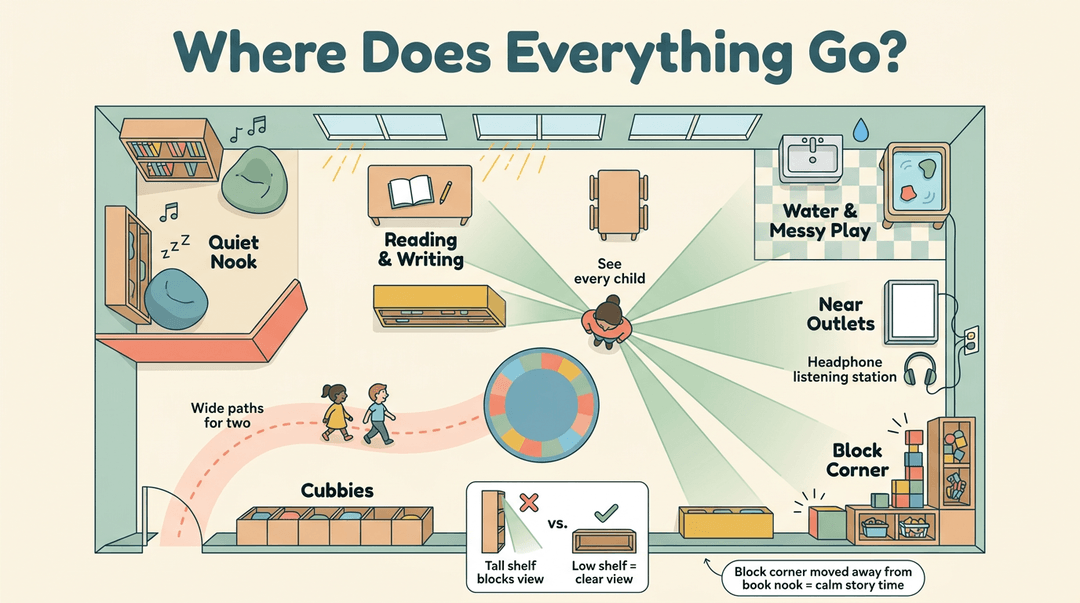
Choosing where each area goes
- Water and messy play: Set up near a sink and tiled floor, so spills stay small and easy to mop.
- Natural light: Put reading and writing areas by windows, angled so glare doesn't wash out the page.
- Quiet areas: Tuck the book nook away from the door and cubbies.
- Electrical outlets: Place light tables and listening stations near outlets, with cords out of reach.
One preschool teacher moved her block corner away from the book nook after every fallen tower sent noise across the room. Now story time stays calm.
Placement also means planning sightlines, the clear view from your usual spot to every child. Check that no tall shelf blocks it. Good layout is invisible, and it lets you supervise without hovering.
Watch the traffic flow too. Walk the route from door to cubbies to rug, and keep main paths wide enough for two children to pass. Clear pathways mean fewer bumps and calmer transitions.
Picking furniture for each area
- Worktables and chairs: Choose sturdy, child-sized pieces where little feet rest flat on the floor.
- Shelves for materials: Use low, open shelves with labeled bins at child height, so children can find and return materials themselves.
Furniture that supports independent exploration lets children reach for materials rather than wait for you to hand them out. Independence grows one small choice at a time.
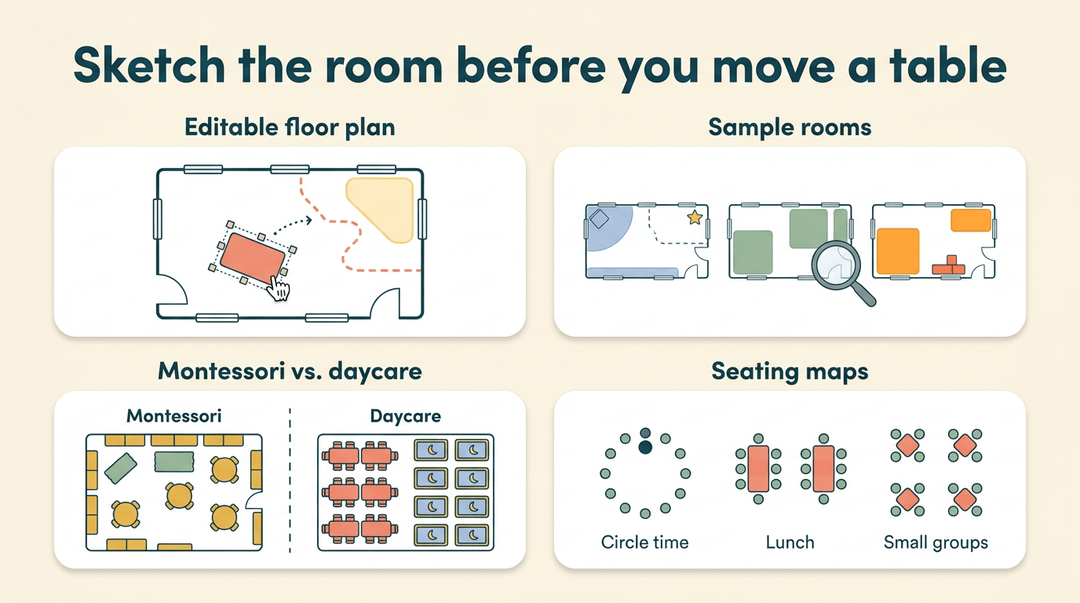
Templates to plan your layout
Sketch the room before you move a single table.
- Editable floor plan templates: Drag and resize furniture until paths and zones work.
- Preschool layout examples: Browse sample rooms to see how other teachers group their areas.
- Montessori and daycare plans: Compare an open, low-shelf Montessori room with a daycare plan built around meals and naps.
- Seating arrangement templates: Map where children sit for circle time, lunch, and small groups.
Treating an open room like a loft
Picture an open loft apartment. There are no interior walls, yet a rug or a bookshelf makes the living room feel like its own place.
Your classroom can do the same with defined zones: rugs, low shelves, and tables that mark where each area starts and stops. Keep those boundaries low enough that you can still see over them.
Checklist for Setting up Your Room
Use this guide to set up before the first day, then test and tweak once children are in the room. Work through it top to bottom, and come back to the last block each term.
Before week one
- Sketch the floor plan first
- Draw walls, doors, windows, sinks, and outlets on paper.
- Cut paper squares for shelves and tables so you can slide them around.
- Mark the wet and quiet zones
- Wet play (art, sand, water) goes near the sink, on floor that wipes clean.
- Quiet spaces (books, cozy corner) go away from the door and the block area.
- Check sightlines from every corner
- Stand in each corner and note any spot you can't see.
- Turn or lower any shelf that blocks your view.
Test how children move
Once the furniture is in, experience the room the way a child does. Confirm each of these:
- Pathways work at child height. Crouch and walk from the door to the cubbies, bathroom, and rug.
- Every area has a cap. Post a simple sign, like "Sand table: 4 children," with a picture for each spot.
- No bottlenecks form. Watch the doorway, sink, and cubbies during your next transition.
⚠️ Watch out: A room that feels open when you're standing can feel cramped when you're crouching. Judge every pathway from the knees down.
Adjust and review
Keep a sticky note or clipboard handy for a few days. Jot down where and when things go wrong, because the pattern tells you what to move. Then find your row:
| When you see... | Try... |
|---|---|
| Running down a long open stretch | Break it up with a low shelf or rug edge |
| Crowding at one popular area | Spread duplicate materials to a second spot |
| Block towers knocked by passersby | Move blocks to a corner away from traffic |
| An area nobody visits | Refresh the materials or move it closer to the action |
Rearrange one area at a time. Change the book corner today, then watch for a few days. If you move everything at once, you can't tell what helped, and children lose the familiar landmarks they rely on.
Review the whole layout each term. Pull out your original sketch and compare it with what the room looks like now. Then update the sketch.
Example: A teacher notices from her notes that arguments cluster near the sink at cleanup. She moves the art drying rack to the opposite wall, leaves everything else alone, and checks her notes the following week. Fewer pileups, and she knows exactly why.
Keep your floor plan, observation notes, and weekly routines together in EMStudio's online teacher planner.
How Materials and Checkups Support Learning
Good materials meet children where they're at, and regular checkups show whether they're working.
Matching materials to each child
Start with observed skills. If a child is stacking tall block towers, add more blocks and small figures. Respond to what a child can do, not what we think they should be doing.
Reflect interests and families. A child who talks about dogs will linger over books about pets, and photos from home help families feel welcome.
Rotate books and materials every few weeks so they don't go stale. Add clay for fine motor work, since pinching and rolling build the small hand muscles children use for writing.
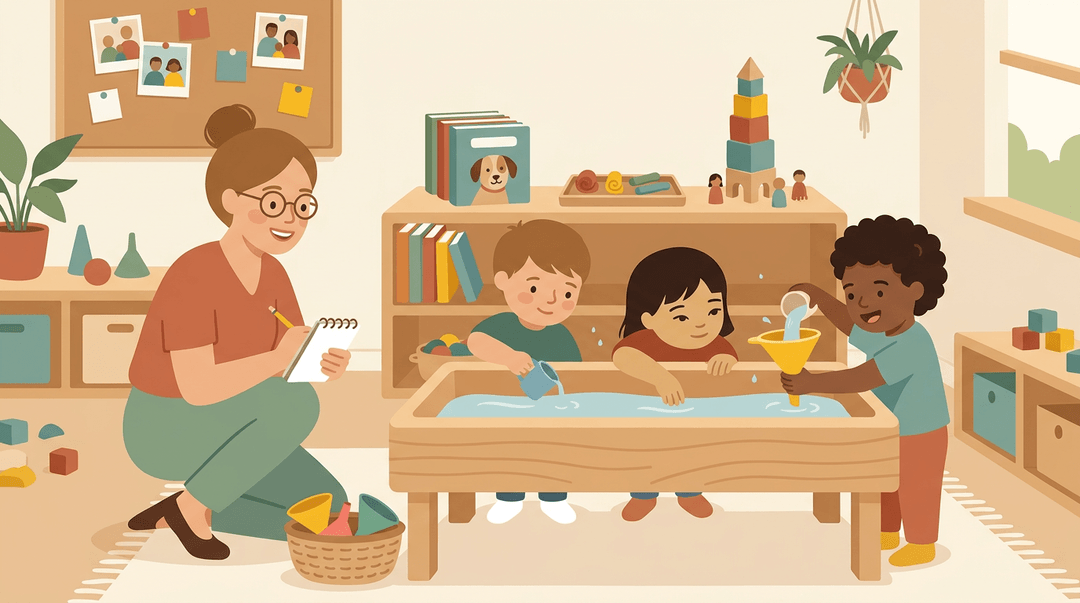
Picture a preschool teacher who notices three children pouring water between cups. Next week, funnels join the sensory table, and the play lasts longer.
Checking in on learning over time
Jot down a line or two per child each week as observation notes. They reveal patterns, so you know when to swap or add materials.
Each quarter, ask a few guiding questions:
- Which areas are busiest?
- Who plays alone?
- What skill comes next?
At checkpoints, ask whether the room is working, not just whether it looks tidy.
Keep a quick weekly observation log: date, child, area, and one sentence. Five minutes on Friday is enough.
Swapping dramatic play themes and props
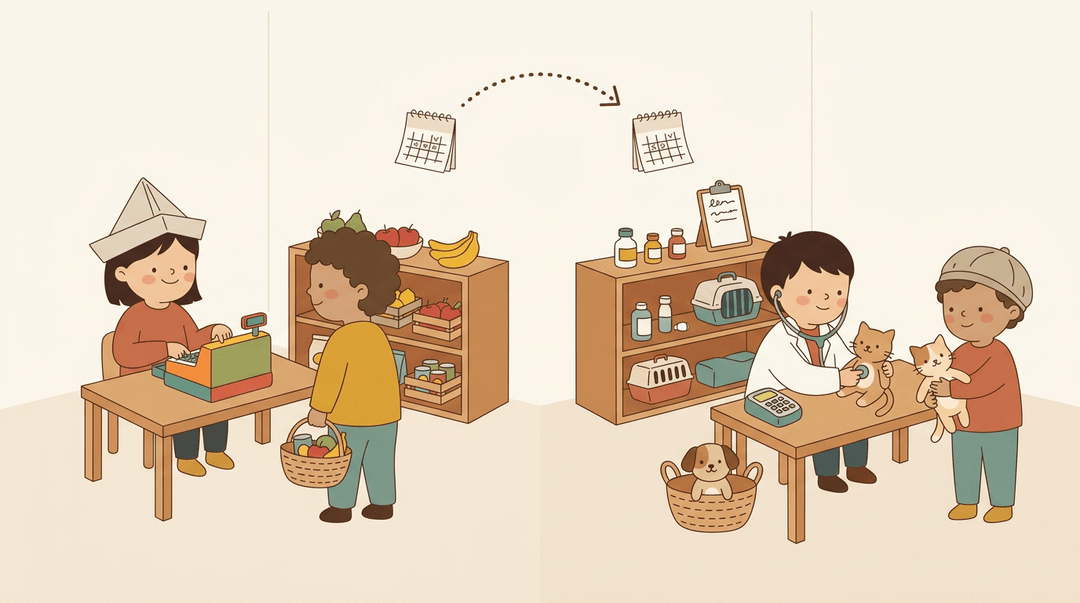
Change dramatic play themes every few weeks, following what children are talking about: a grocery store one month, a vet clinic the next.
For props and costumes, choose simple items like hats, a basket, or a toy phone that children can turn into whatever the story needs. Change the props, and the play changes too.
Keeping Storage, Routines and Walls Organized
Good organization lets little learners work without asking for help every five minutes. Here's how to set up storage, routines, and walls they can use independently.
Organizing storage with color and labels
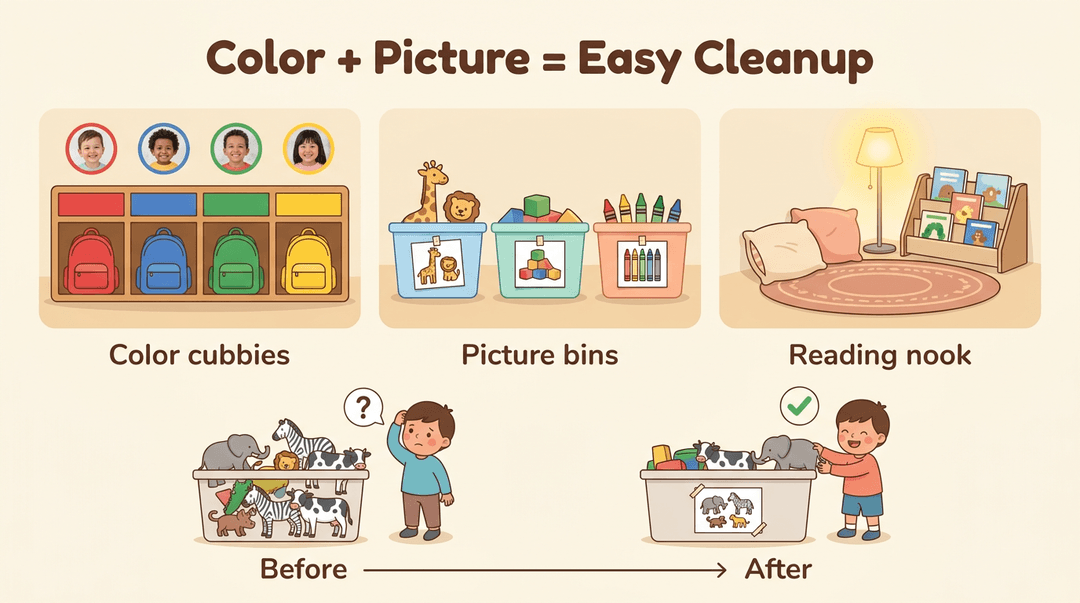
Little ones can't read labels yet, but they can match colors, so color-coding works: each bin and cubby gets a color that repeats on its matching center.
- Color-coded cubbies: Give each child a color and a photo, so backpacks always have a home.
- Picture labels: Pair every bin with a photo of what goes inside.
- Cozy reading nooks: Add a rug, pillows, and picture books to a quiet corner.
Consider a pre-K teacher who adds photos to a jumbled bin of plastic animals. Cleanup gets faster because children can see where everything goes.
Show the day with visual schedules
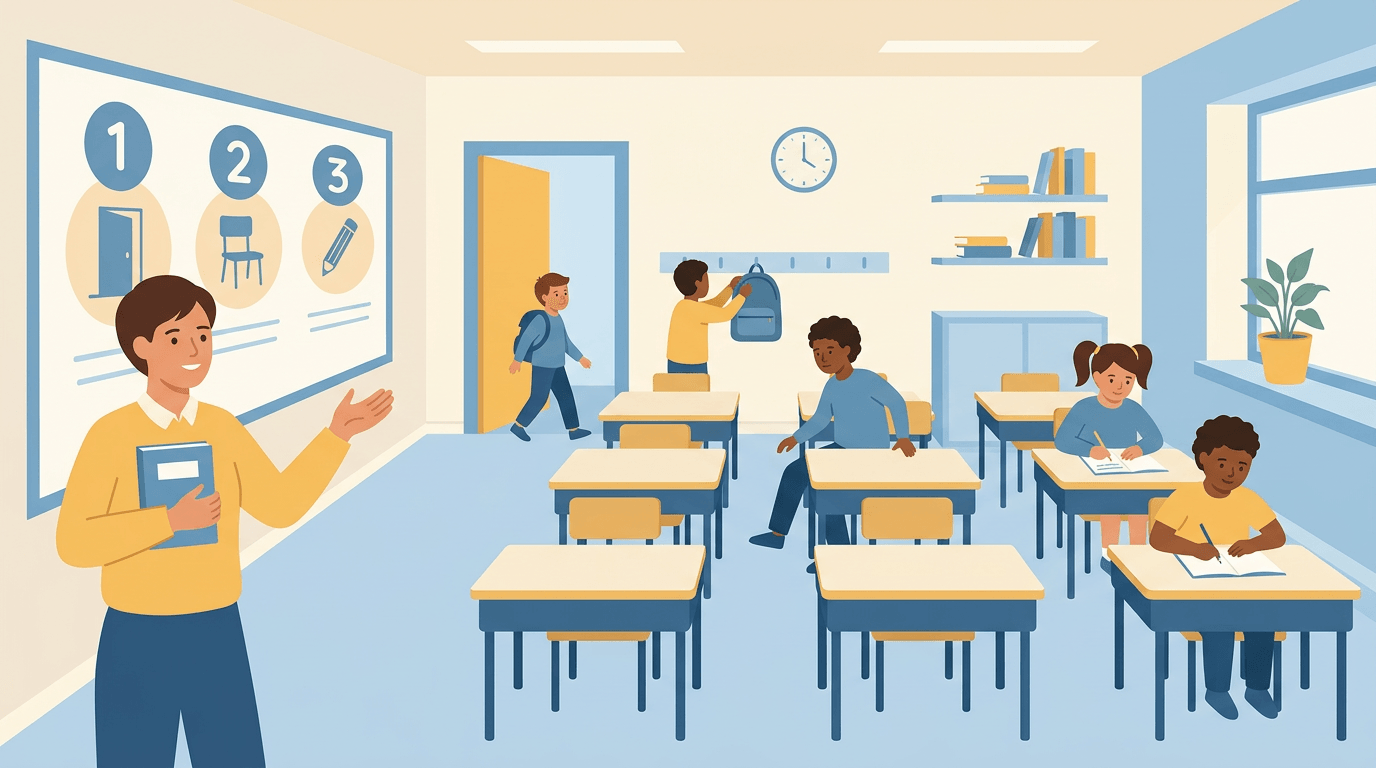
Young children don't read clocks yet, so a visual schedule shows what comes next. A daily routine chart lines up arrival, circle time, snack, and pickup as photos at child height.
Add a simple word under each picture so the chart works for emerging readers too. Predictability builds security: fewer surprises mean calmer days.
Before playtime ends, point to a clean-up picture, then the next activity's photo. Visual cues don't replace your voice. They support it.
Walls that double as learning tools
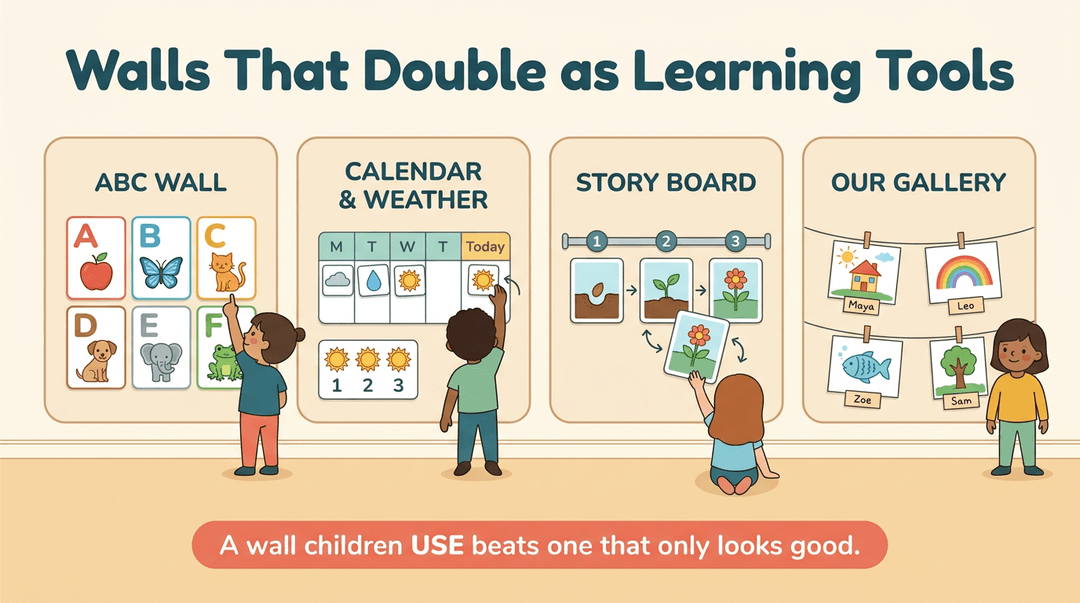
- ABC wall: Pair each letter with a picture of something that starts with it.
- Calendar and weather corner: Children move picture symbols each morning to practice counting.
- Interactive storyboard: Children rearrange picture cards to retell a story in order.
- Children's artwork gallery: Display finished work at child height, labeled with each child's name.
A wall children use beats one that only looks good.
Keeping the Room Safe and Families Involved
A safe room and an informed family make the rest of your layout work. Here's how to set up both.
Child-sized furniture that stays safe
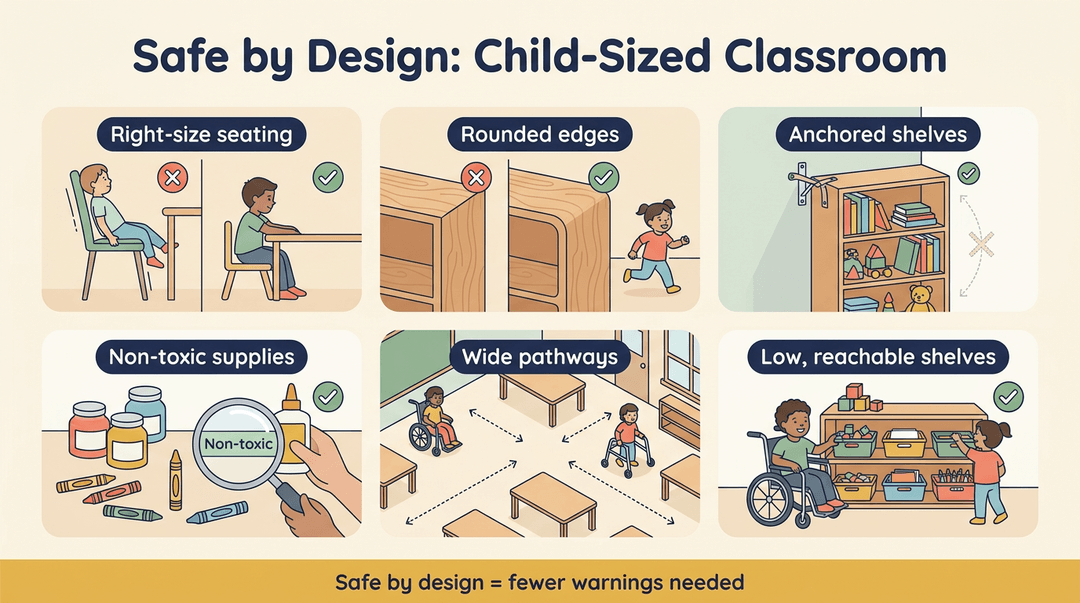
Start with child-sized tables and chairs so feet rest flat on the floor and elbows sit near the tabletop. Picture a teacher watching four-year-olds lean back on adult-height chairs at snack: one wobble, and the whole table is at risk.
Look for rounded edges on shelves and cubbies, so a child sprinting past a corner doesn't end up with a bump on the head. Bookshelves should be anchored furniture, secured to the wall so they can't tip.
Choose non-toxic materials for paints and craft supplies, and check labels before anything enters the room. Children mouth and rub everything, so a room that's safe by design needs fewer reminders than one that depends on constant warnings.
Build in accessible layout choices too:
- wide pathways for a child using a walker or wheelchair
- everyday materials on low shelves every child can reach
Spaces where parents get updates
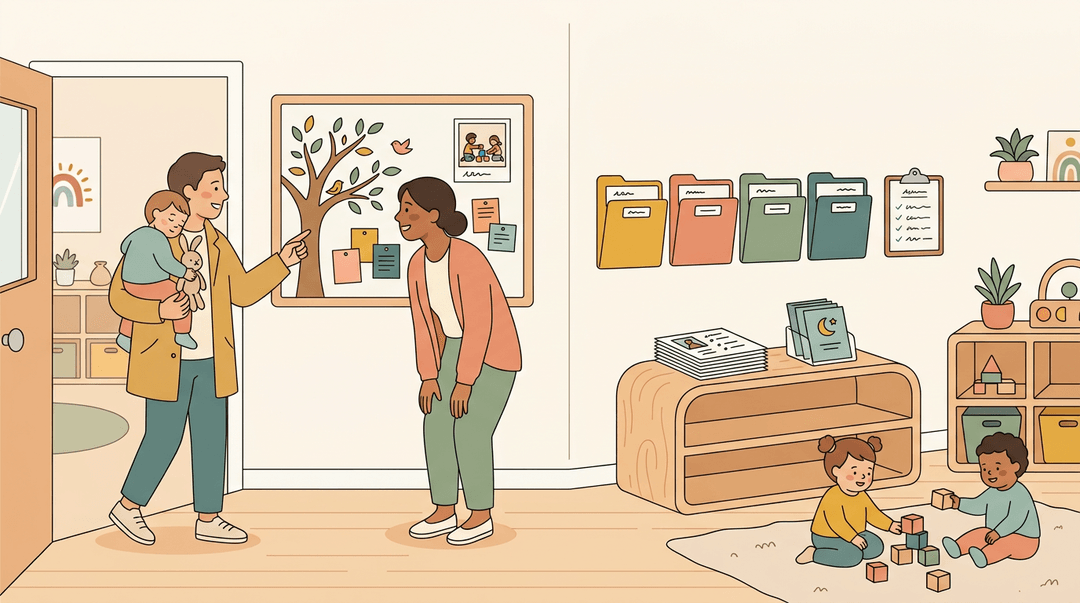
Set a welcome board near the entrance with the week's theme and a recent photo. A parent rushing in with a sleepy toddler gets a quick glance at what the class is building, which becomes an easy pickup conversation.
Next, create a communication corner with a folder for each family and a conference sign-up sheet, placed at adult eye level, away from the children's path.
Finally, share a short newsletter and a shelf of take-home resources, like bedtime routine tips. Keep the newsletter predictable: same day each week, a few bullets, one photo.
A well-planned room doesn't have to be fancy. It just has to make sense to the children who use it every day. When interest areas are clear, furniture fits the traffic, and safety and inclusion come first, every child has a place to belong.
Use the checklist as a starting point, then adjust as you learn what your students need.
Ready to bring that same order to your schedules? Check out our Classroom Management page to organize classes, sections, rosters, and timetables in one structured workspace.
References
- The interest center choices of preschool children — digitalcommons.lsu.edu (2006)
- Learning Environments: An Introduction — virtuallabschool.org (2026)