Set up your timetable
In this article
Your timetable defines when you teach each class throughout the week. Set it up once and EMStudio generates your entire semester schedule automatically — no more manual planning.
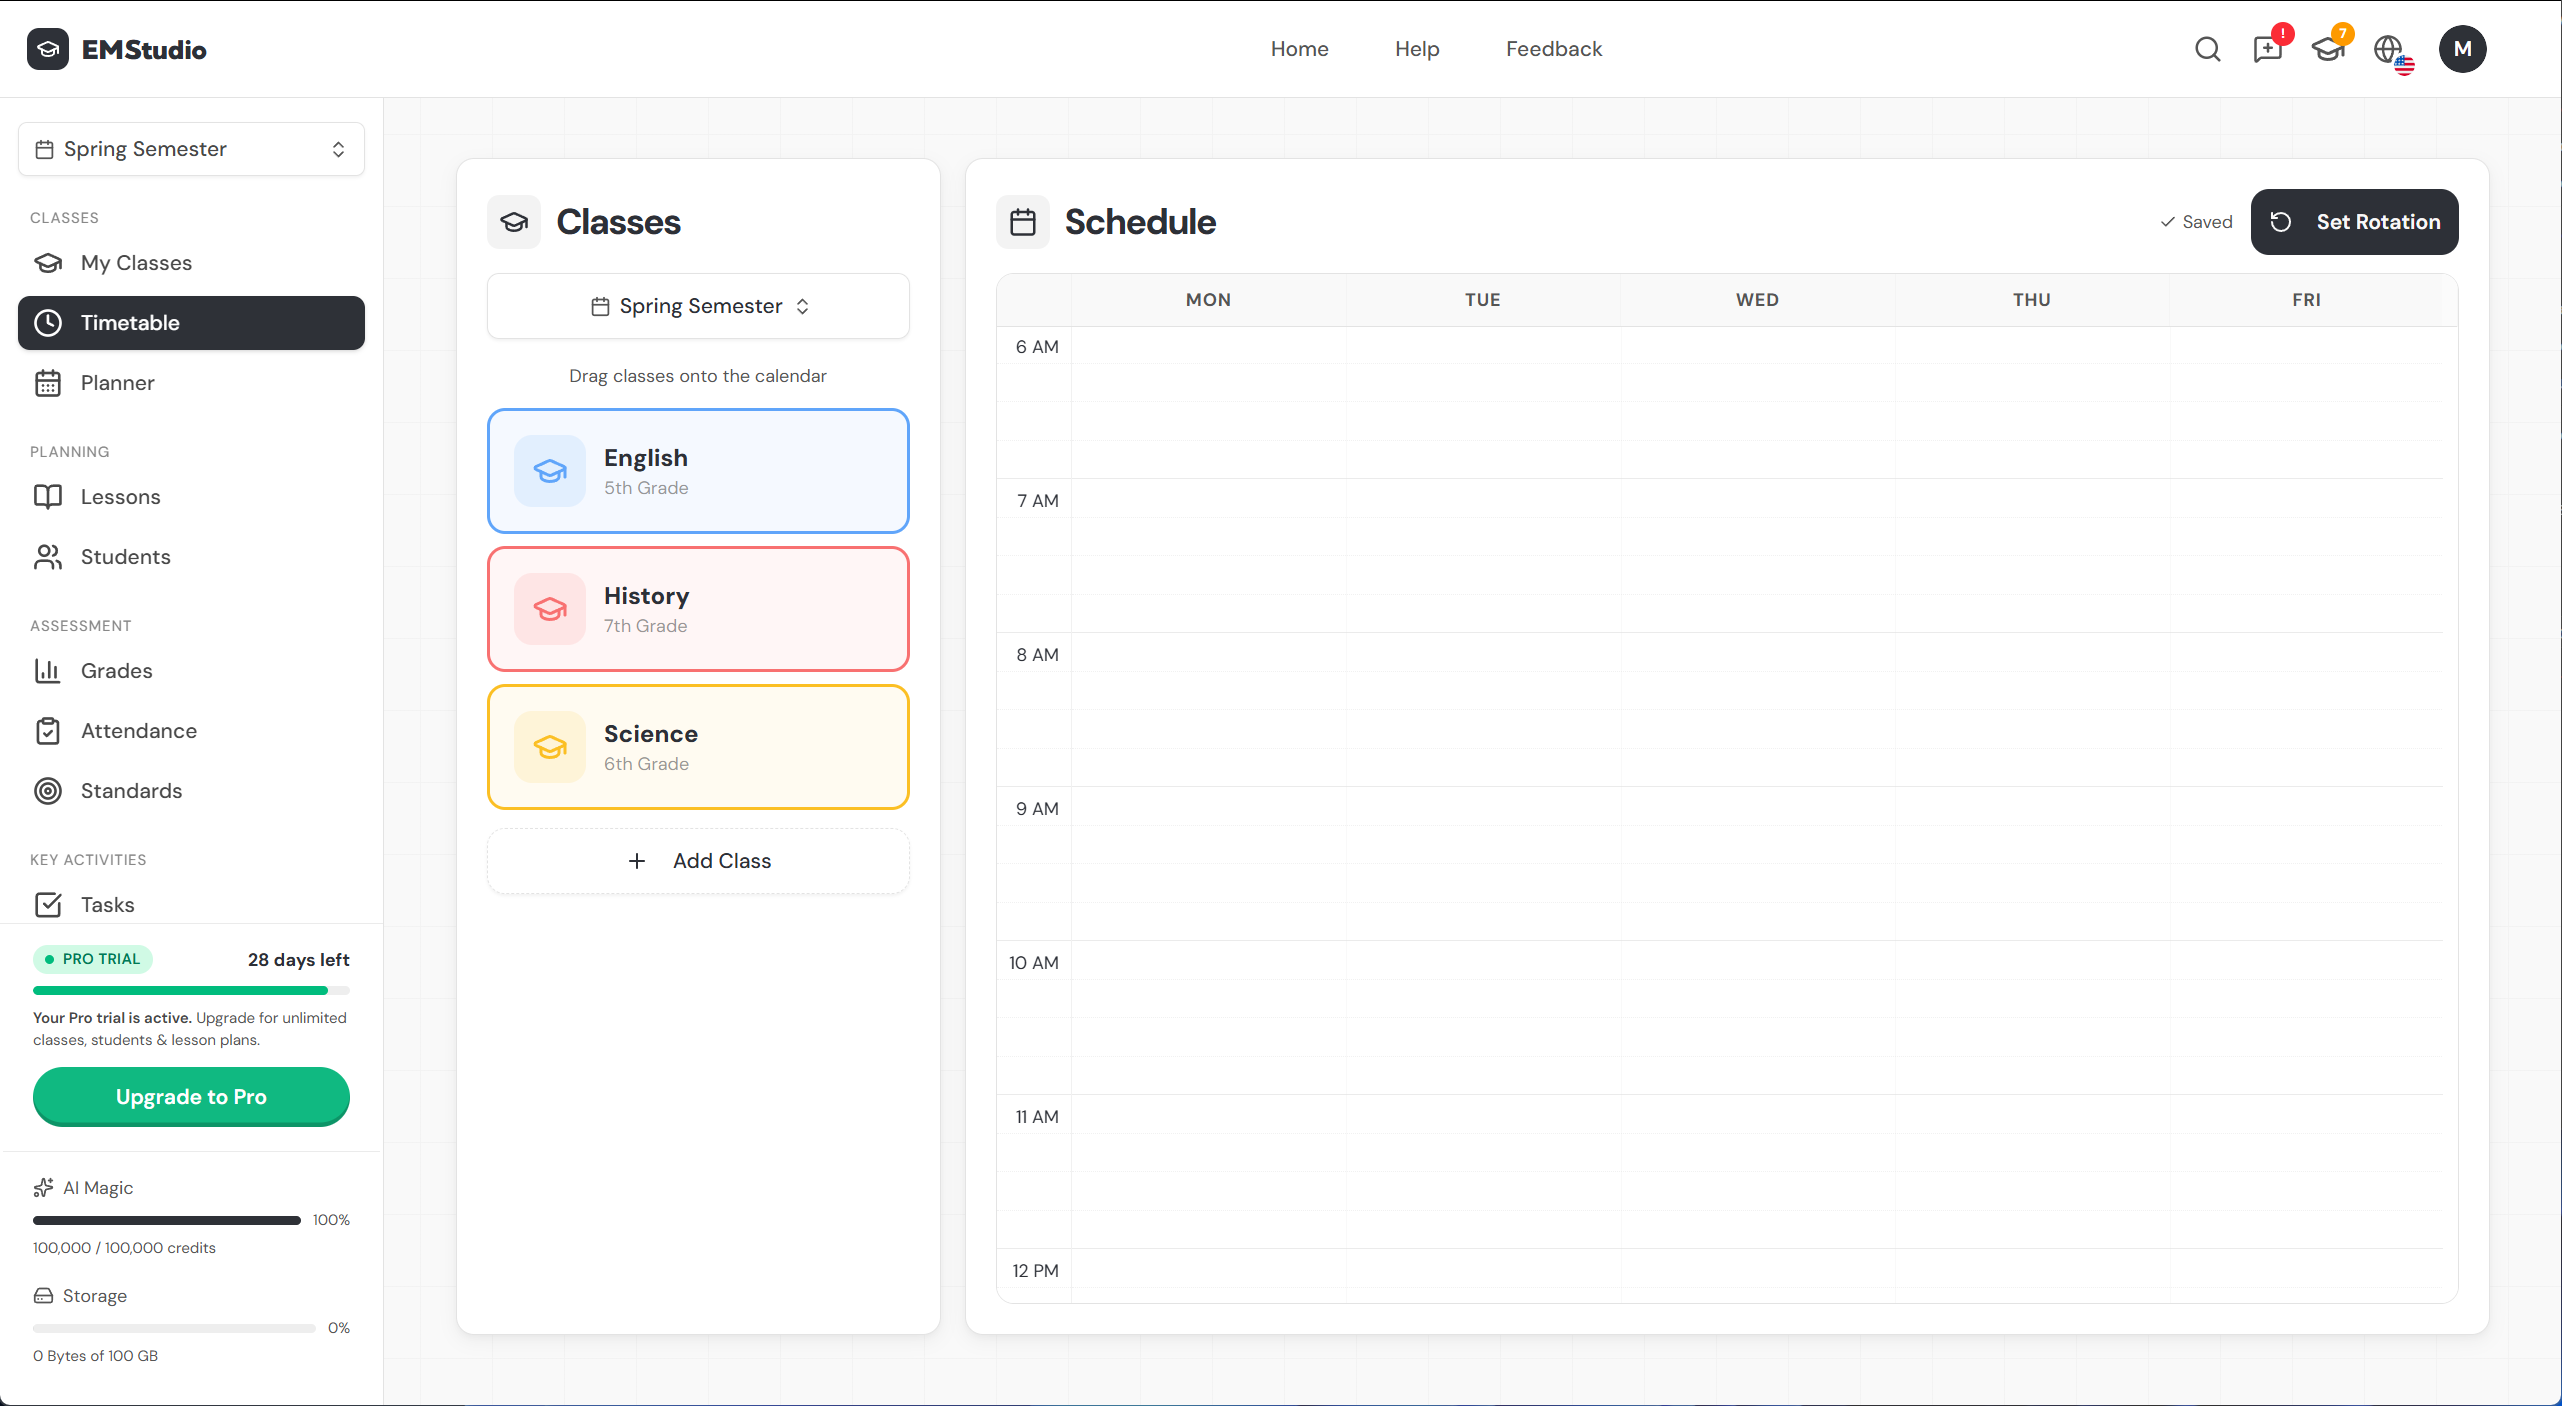
Open the timetable
Click Timetable in the sidebar. You'll see your classes on the left and an empty weekly schedule on the right. For a deeper dive into the timetable grid, see Build your schedule →
Set your rotation first
Before adding classes, set your rotation type by clicking Set Rotation in the top right. This determines the structure of your entire schedule:
- No rotation — standard Monday-to-Friday weekly schedule
- Day rotation — a fixed cycle of days (Day 1, Day 2, etc.)
- Weekly / Multi-week — alternating weekly schedules (A/B weeks, bi-weekly)
Get this right first — your rotation type shapes your entire planner. Learn more about rotations →
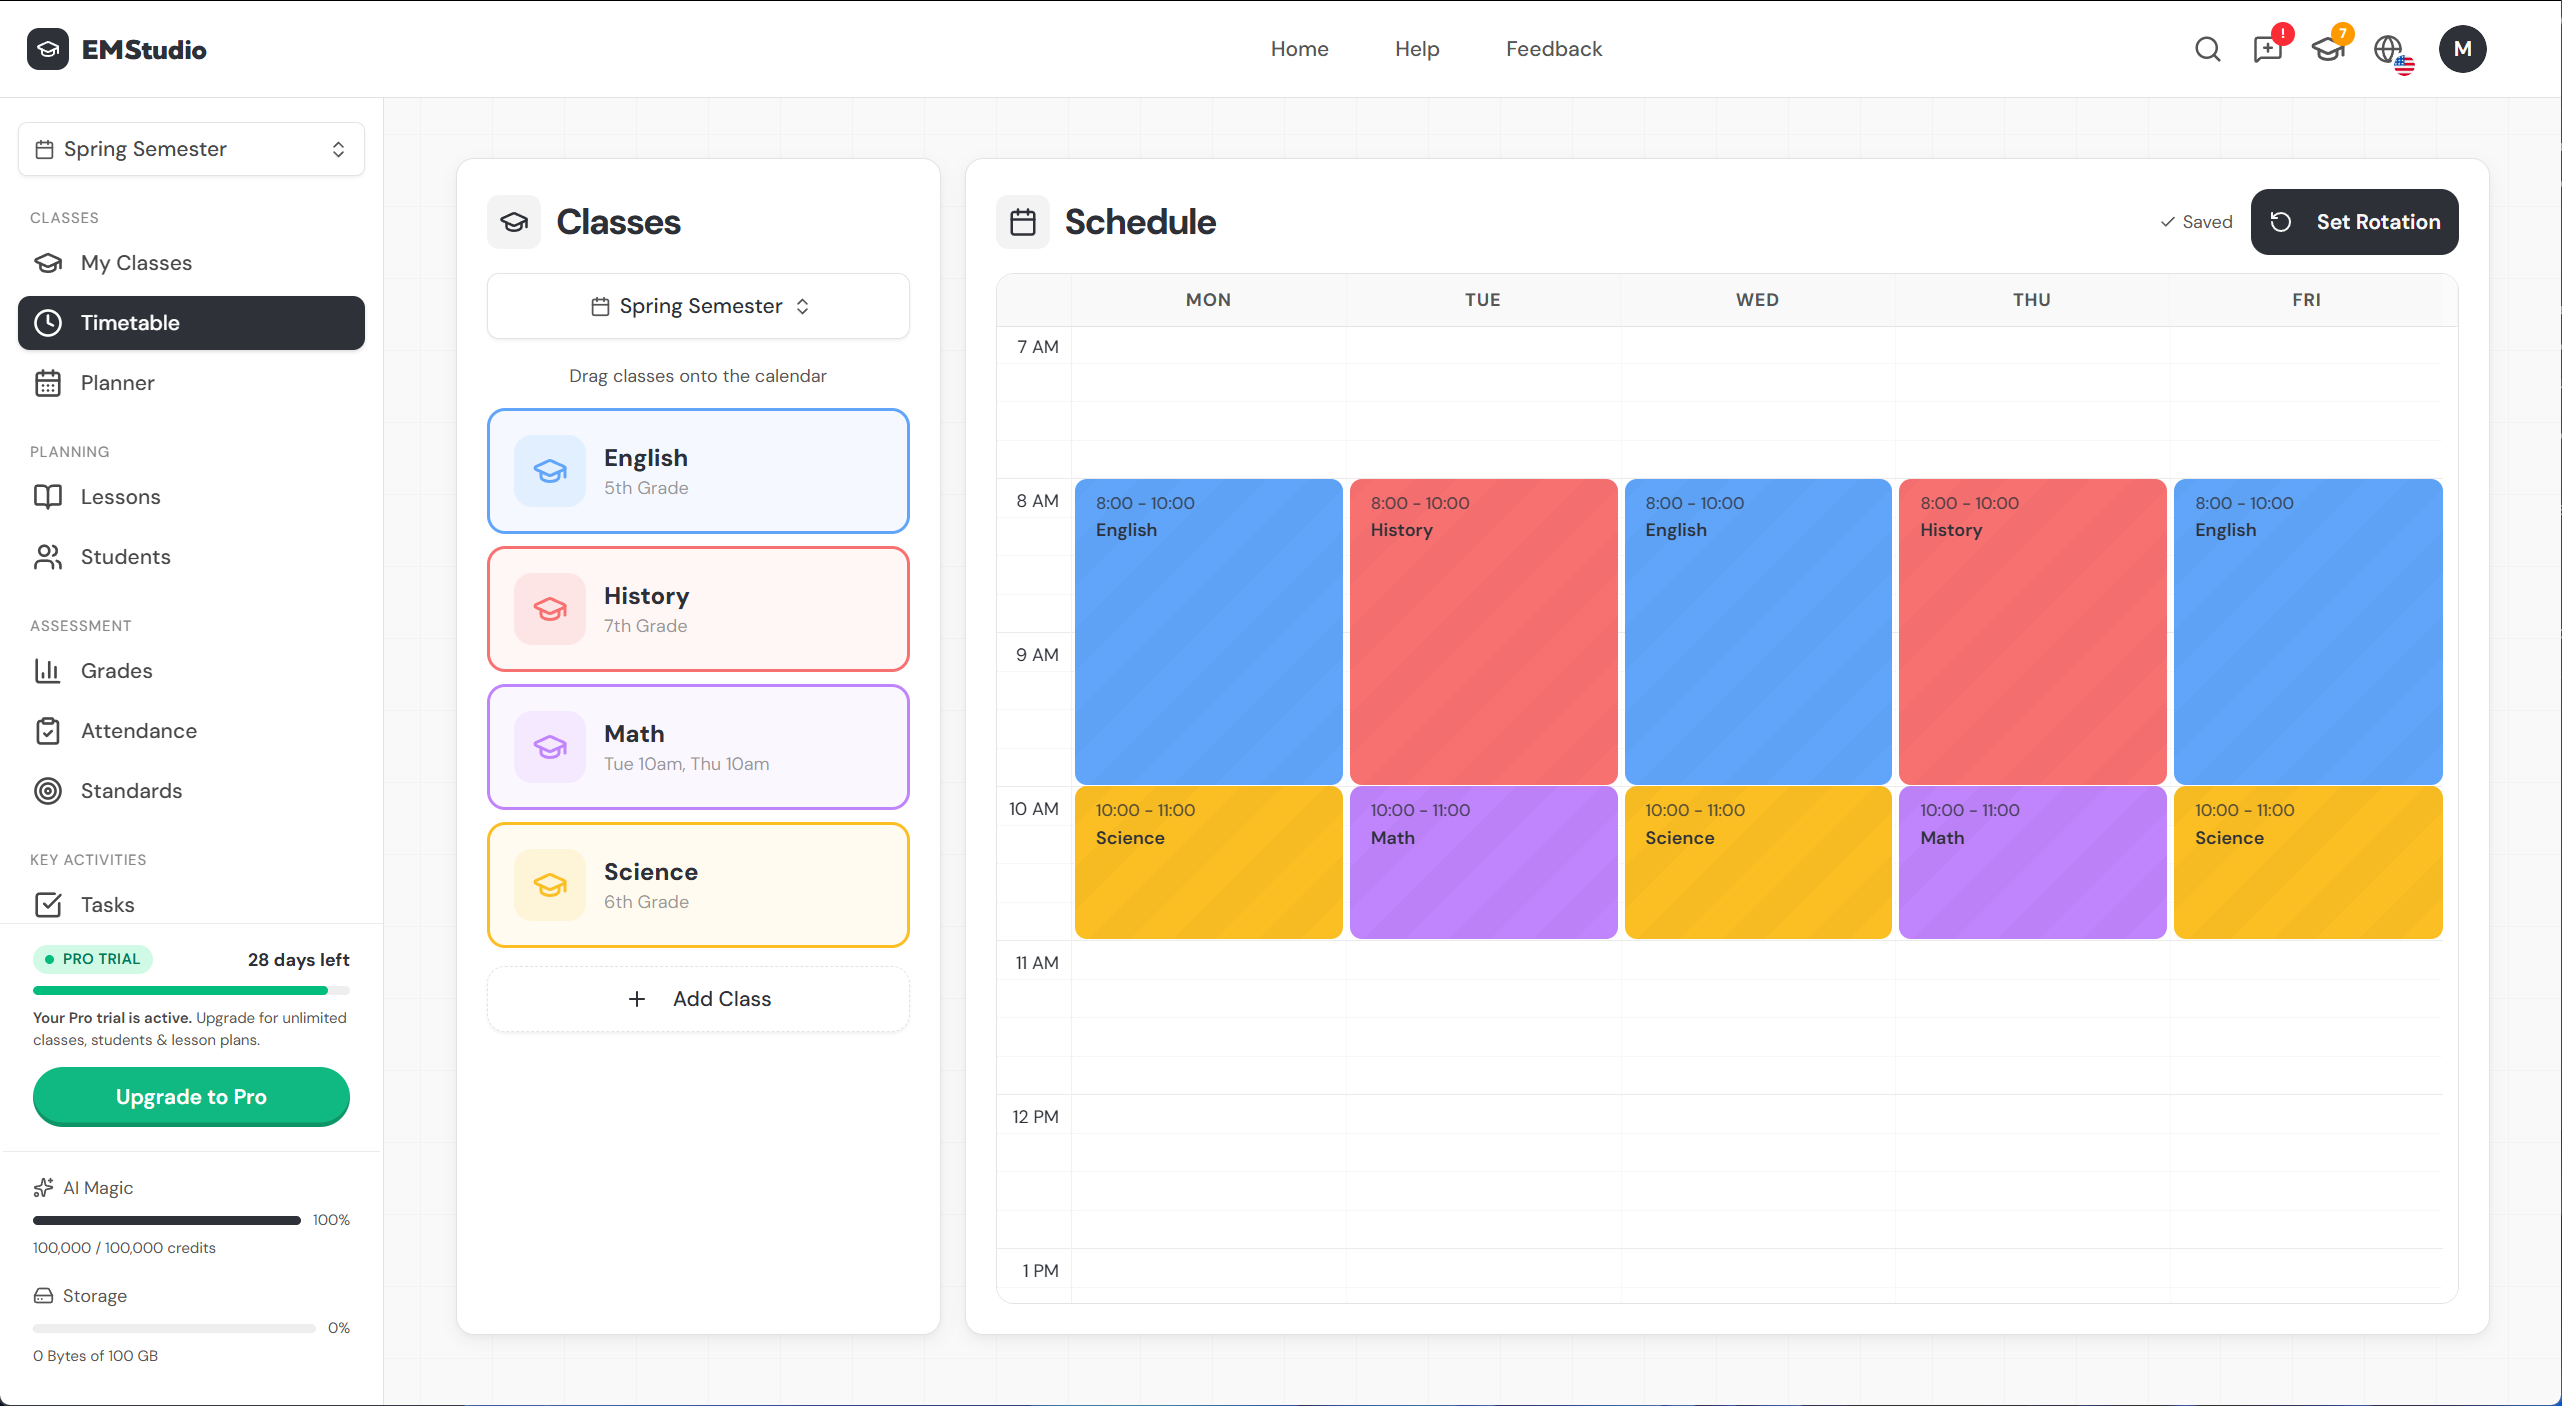
Add classes to the schedule
There are two ways to place a class on your timetable:
- Drag from the left panel — drag a class card onto any time slot in the grid.
- Click and drag on the grid — click an empty spot on the grid and drag to create a new slot, then assign a class to it.
Each block you place becomes a recurring slot for that class.
Adjust your time slots
Once a slot is on the grid, you can adjust it in several ways:
- Drag the edges to change the start or end time.
- Drag the whole slot to move it to a different day or time.
- Click the slot to manually edit the exact time.
You can place the same class on multiple days to match your real-world schedule.
Auto-save
Your timetable saves automatically as you make changes. Once saved, your classes appear on the planner calendar and the dashboard schedule. You can also mark holidays and blocked days to keep your schedule accurate.
Changes to your timetable are reflected on the planner instantly.
With your timetable set, you're ready to plan your first lesson.
Still have questions?
Chat with us— we're happy to help.